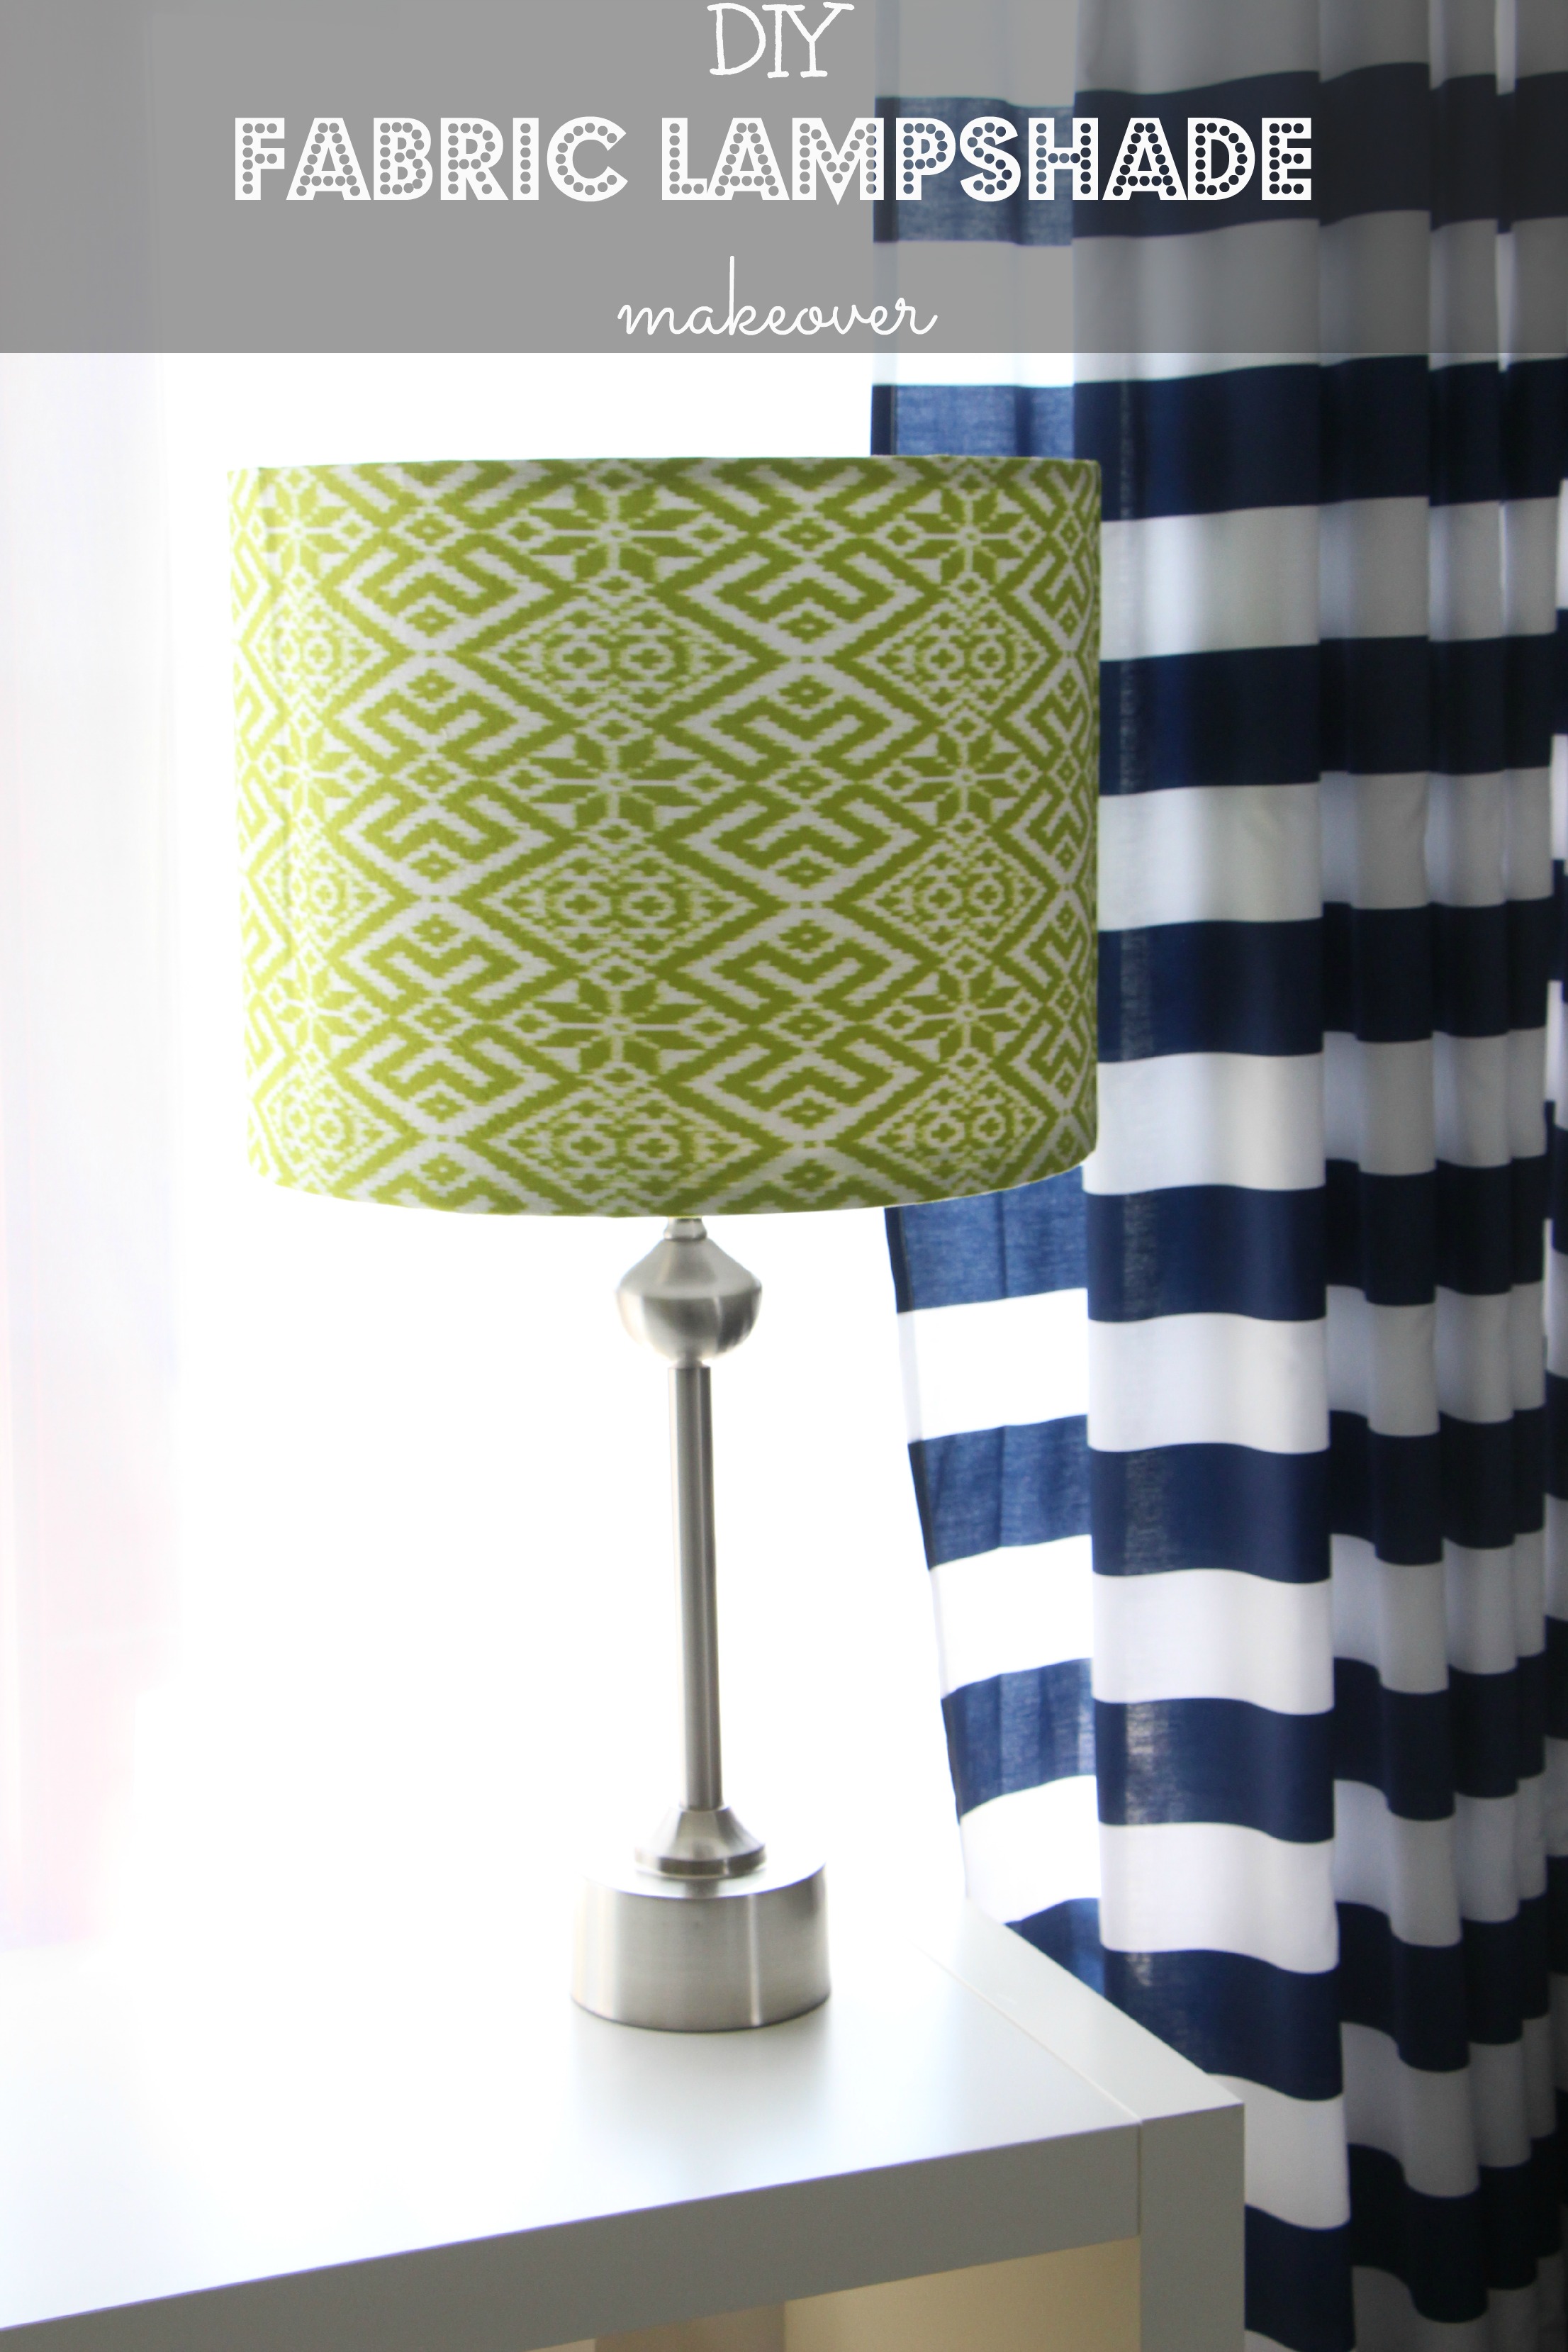
I have another super quick & easy DIY project for you today >>> a fun, fabric-covered lampshade! I made mine for little man, but you could make yours for any room in your home. It took me about 15 minutes and only 5 materials: plain white lampshade, fabric (purchased here on etsy), scissors, spray adhesive & Aleene’s Fabric Fusion. I already had a silver lamp base with a yellow & gray lampshade and could have recovered it, but was worried the pattern of the old shade would show through my new fabric when the light was on, so I picked up a plain white 15″ drum shade from IKEA.

Here are the simple steps I followed:
Measure the height & circumference of the shade. Add 2 inches to the height & 1 inch to the circumference for your are your fabric dimensions. Lay out your fabric & cut accordingly.


lay your fabric on your shade leaving 1 inch hanging off the top and bottom. lift small sections of the fabric & spray a light coat of spray adhesive underneath, working your way around. Be sure to smooth the fabric out as you go. once you reach your starting point, fold the end under 1″, spray and press down to secure it.
Next, you will be using the fabric adhesive to wrap the top and bottom edge of the fabric toward the inside of the lampshade. I did this in 2 inch sections, pressing the fabric down over the strip of adhesive to secure it.


The inside of the shade isn’t perfect, but no one will see it.

Let dry & put on base. That is it! Turn the light on and your lamp looks brand new!

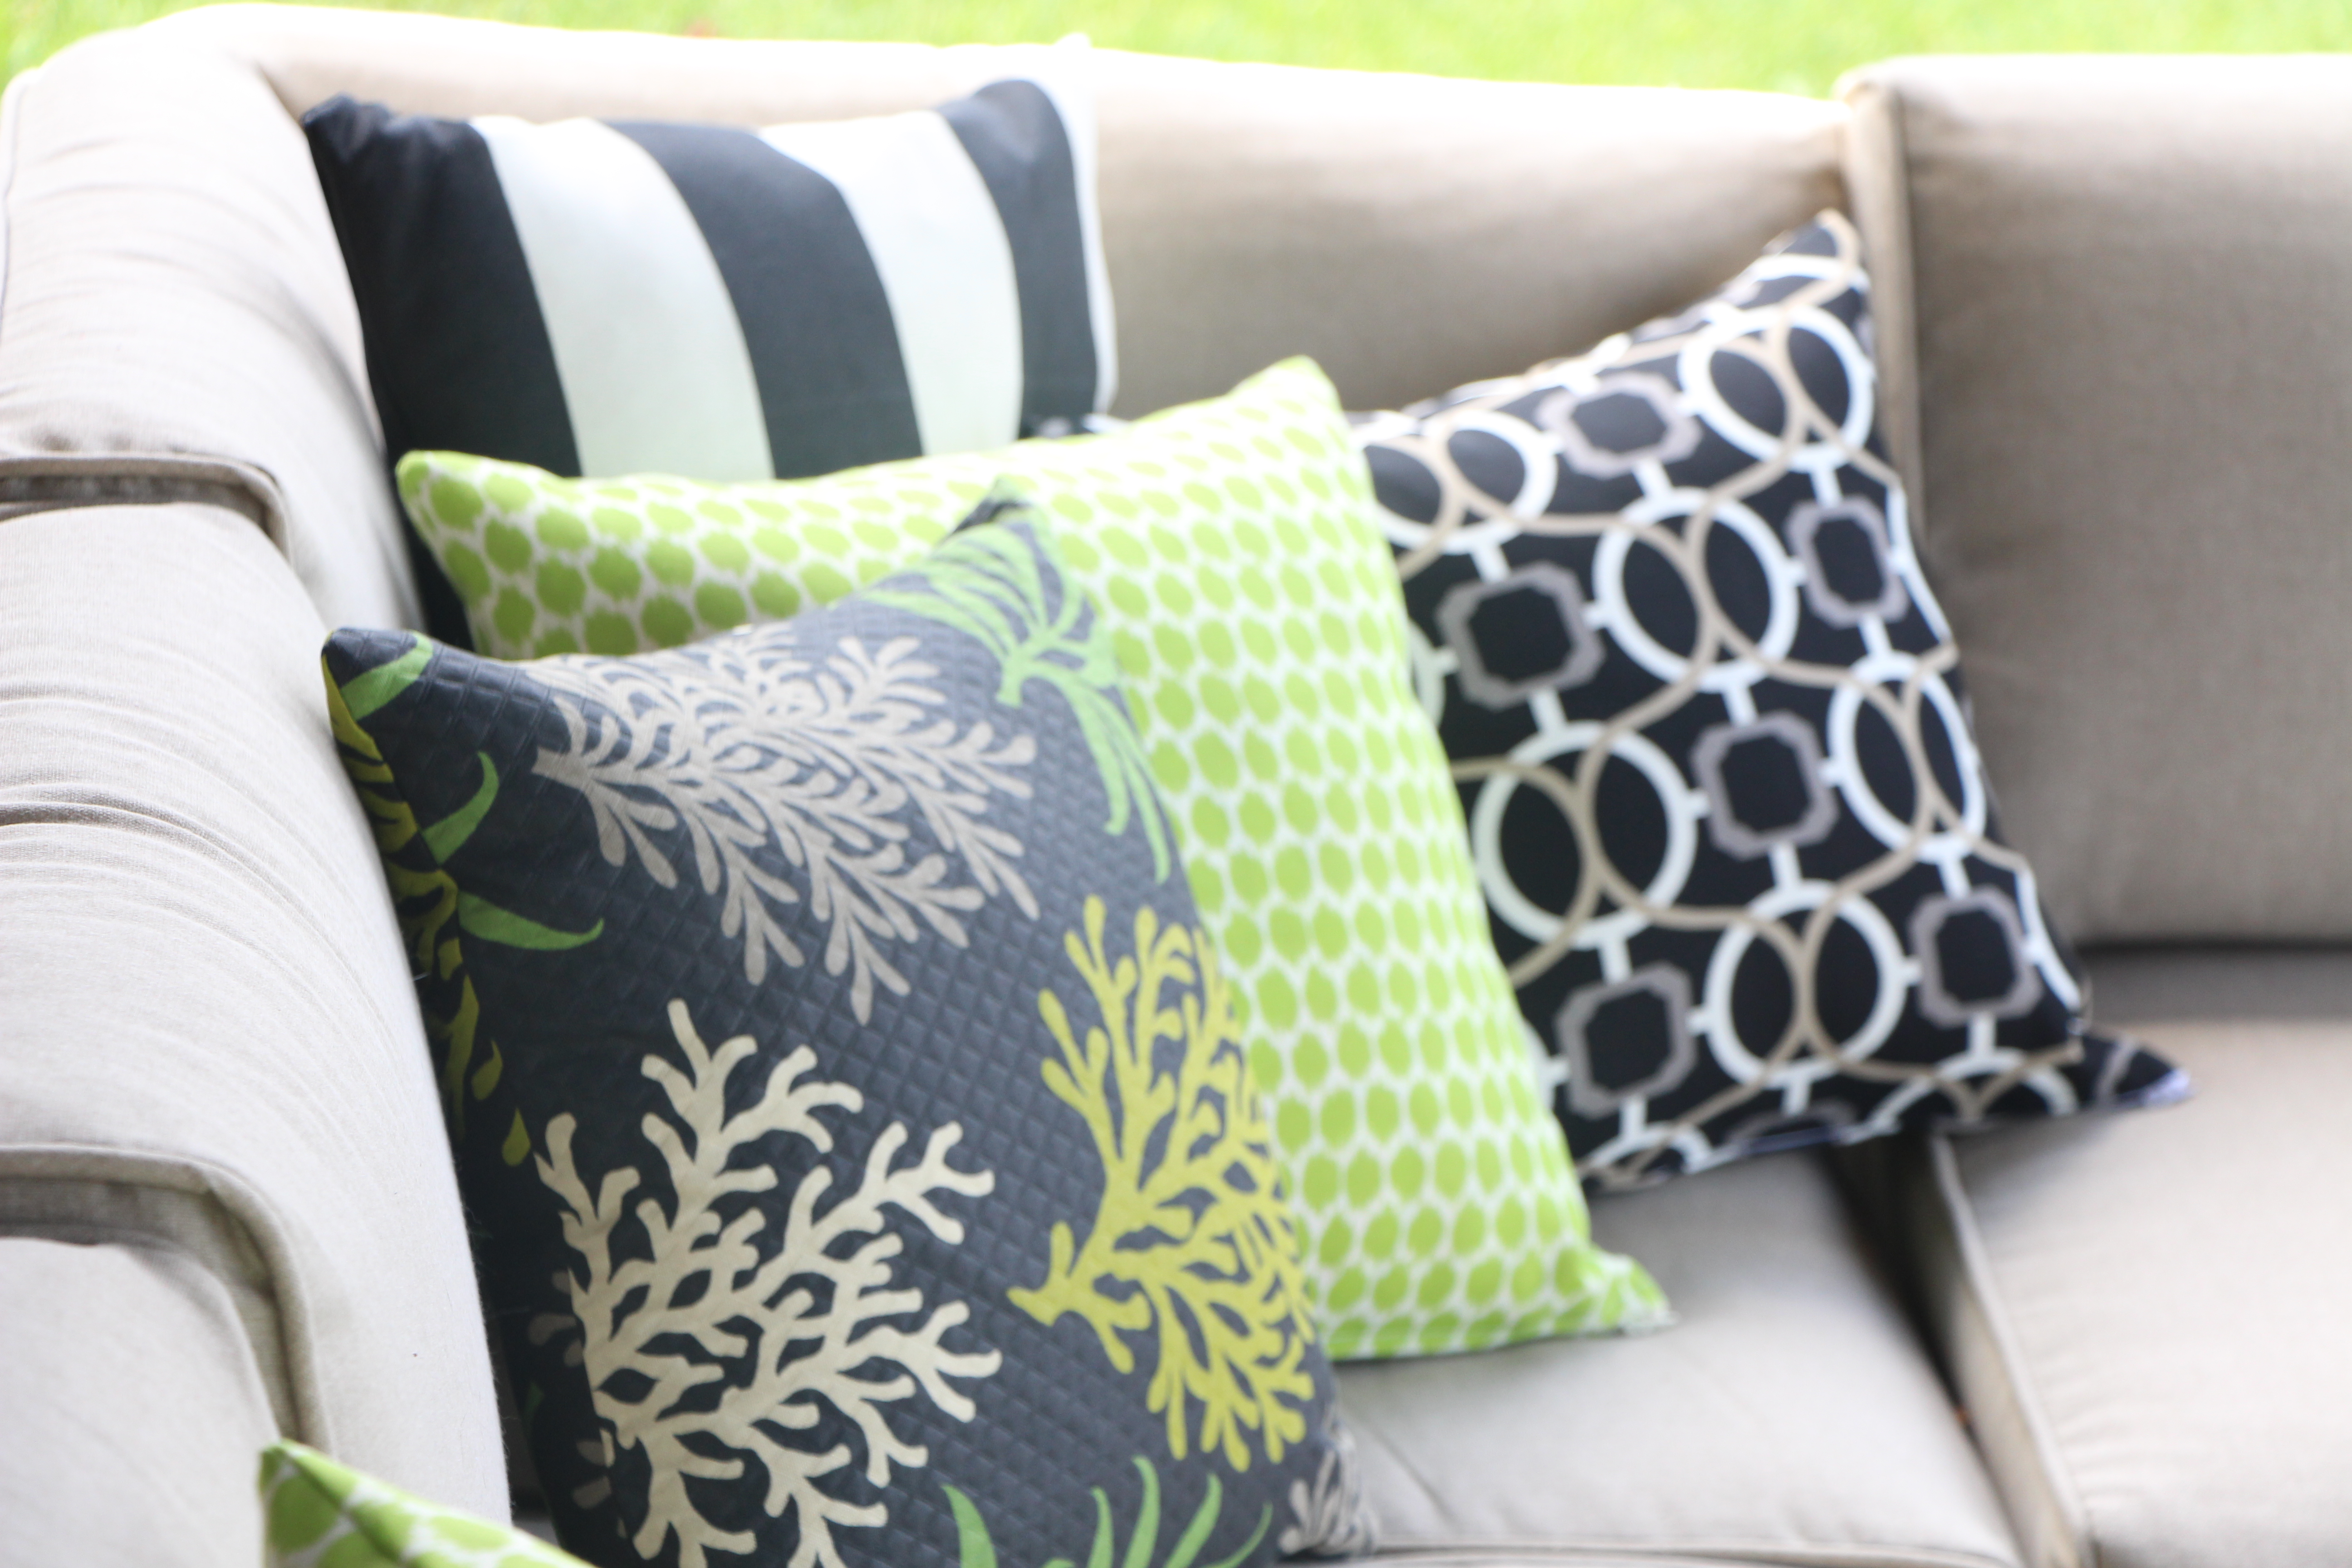
I really like the contrast of the funky Ikat pattern (Dear Stella in Fair Isle (Lime) from the Maasai Mara collection) of the lamp against the basic navy & white striped curtains. I plan to mix lots of prints and patterns in this room and I think these 2 work well together! There will probably be a slight delay on the nursery mobile post. We tried to hang it last night and it fell (& broke :() Nothing I can’t fix, but was a little frustrated it didn’t work the first time around! It wasn’t hung directly over the crib, so wouldn’t have hurt a little future someone, but we need to tweak our hanging mechanism and patch up the broken piece. Stay tuned next week for the post on it and a couple of other projects for BBB#2’s room and other areas in our house too!
Have an awesome weekend & thanks for being here with me.


S is for Simon {DIY Marquee Letter} | This is our Bliss
June 4, 2014 at 8:11 PM[…] curtains | Nursery closet | lampshade | Mustache shadow box | A to Z bookends | Silver Dinosaurs | Nursery […]
>>> Simon’s Nursery Reveal<<< | This is our Bliss
May 31, 2014 at 2:06 PM[…] Lampshade – Tutorial here […]
chelsea horne
May 26, 2014 at 12:13 PMLove your blog! I’m doing navy grey and white for my second sons nursery (due july 9th) but after this I must add green! Love it! Looking forward to seeing the rest of the room!
rbliefnick
May 27, 2014 at 9:58 AMThanks, Chelsea! I am so glad you found me 🙂 The room was so much fun to design & decorate! I couldn’t be happier with how well the colors work together. Our son was born last Tuesday, so will be posting more on him and the nursery very, very soon. I hope you stop by again to read more!! Thanks again, Rachael
rbliefnick
May 27, 2014 at 9:59 AMOh, I almost forgot to say congratulations!!!
Simple Silver Dinosaurs {DIY for $2} | This is our Bliss
May 8, 2014 at 10:35 PM[…] If you’ve missed any of them, you can find them here: Nursery curtains, closet makeover, lampshade, Nursery art and A to Z […]
girlathomeblog
April 28, 2014 at 1:19 PMHey there! I just came across your blog and this is so cute! I love the super simple tutorial. I can’t wait to go check it out further and see what else I can find!
rbliefnick
April 28, 2014 at 3:56 PMThanks so much for checking it out! I’m a very, very new blogger so love when I have a new reader stop by. I came upon your blog today and have loved reading through your posts! Hope to see you again soon… <3 ~ Rachael