So, this little linen closet makeover turned out to be a perfect opportunity to get creative & make an otherwise super dull & boring hall closet into something pretty. You are probably thinking, why does anyone care what the inside of a closet looks like!? Well, I can tell you, I do. I adore a beautifully decorated space, but to only have to rip out the dreadful, poorly functioning wire shelving & have a blank slate, well, I realized the possibilities were endless.
This closet needed some H-E-L-P.
 This shot was actually after we had emptied more than half of the towels, blankets & sheets out. I sometimes forget to take a good before 🙂
I originally planned to paint the walls a shade of gray with leftover paint from our master bathroom, which I did, but while I was gathering up my painting supplies, I immediately thought ACCENT WALL! A darker shade, maybe… or should I run out & buy wallpaper?! I had to do something. That’s when I ran into the loft / craft room & breezed past these guys.

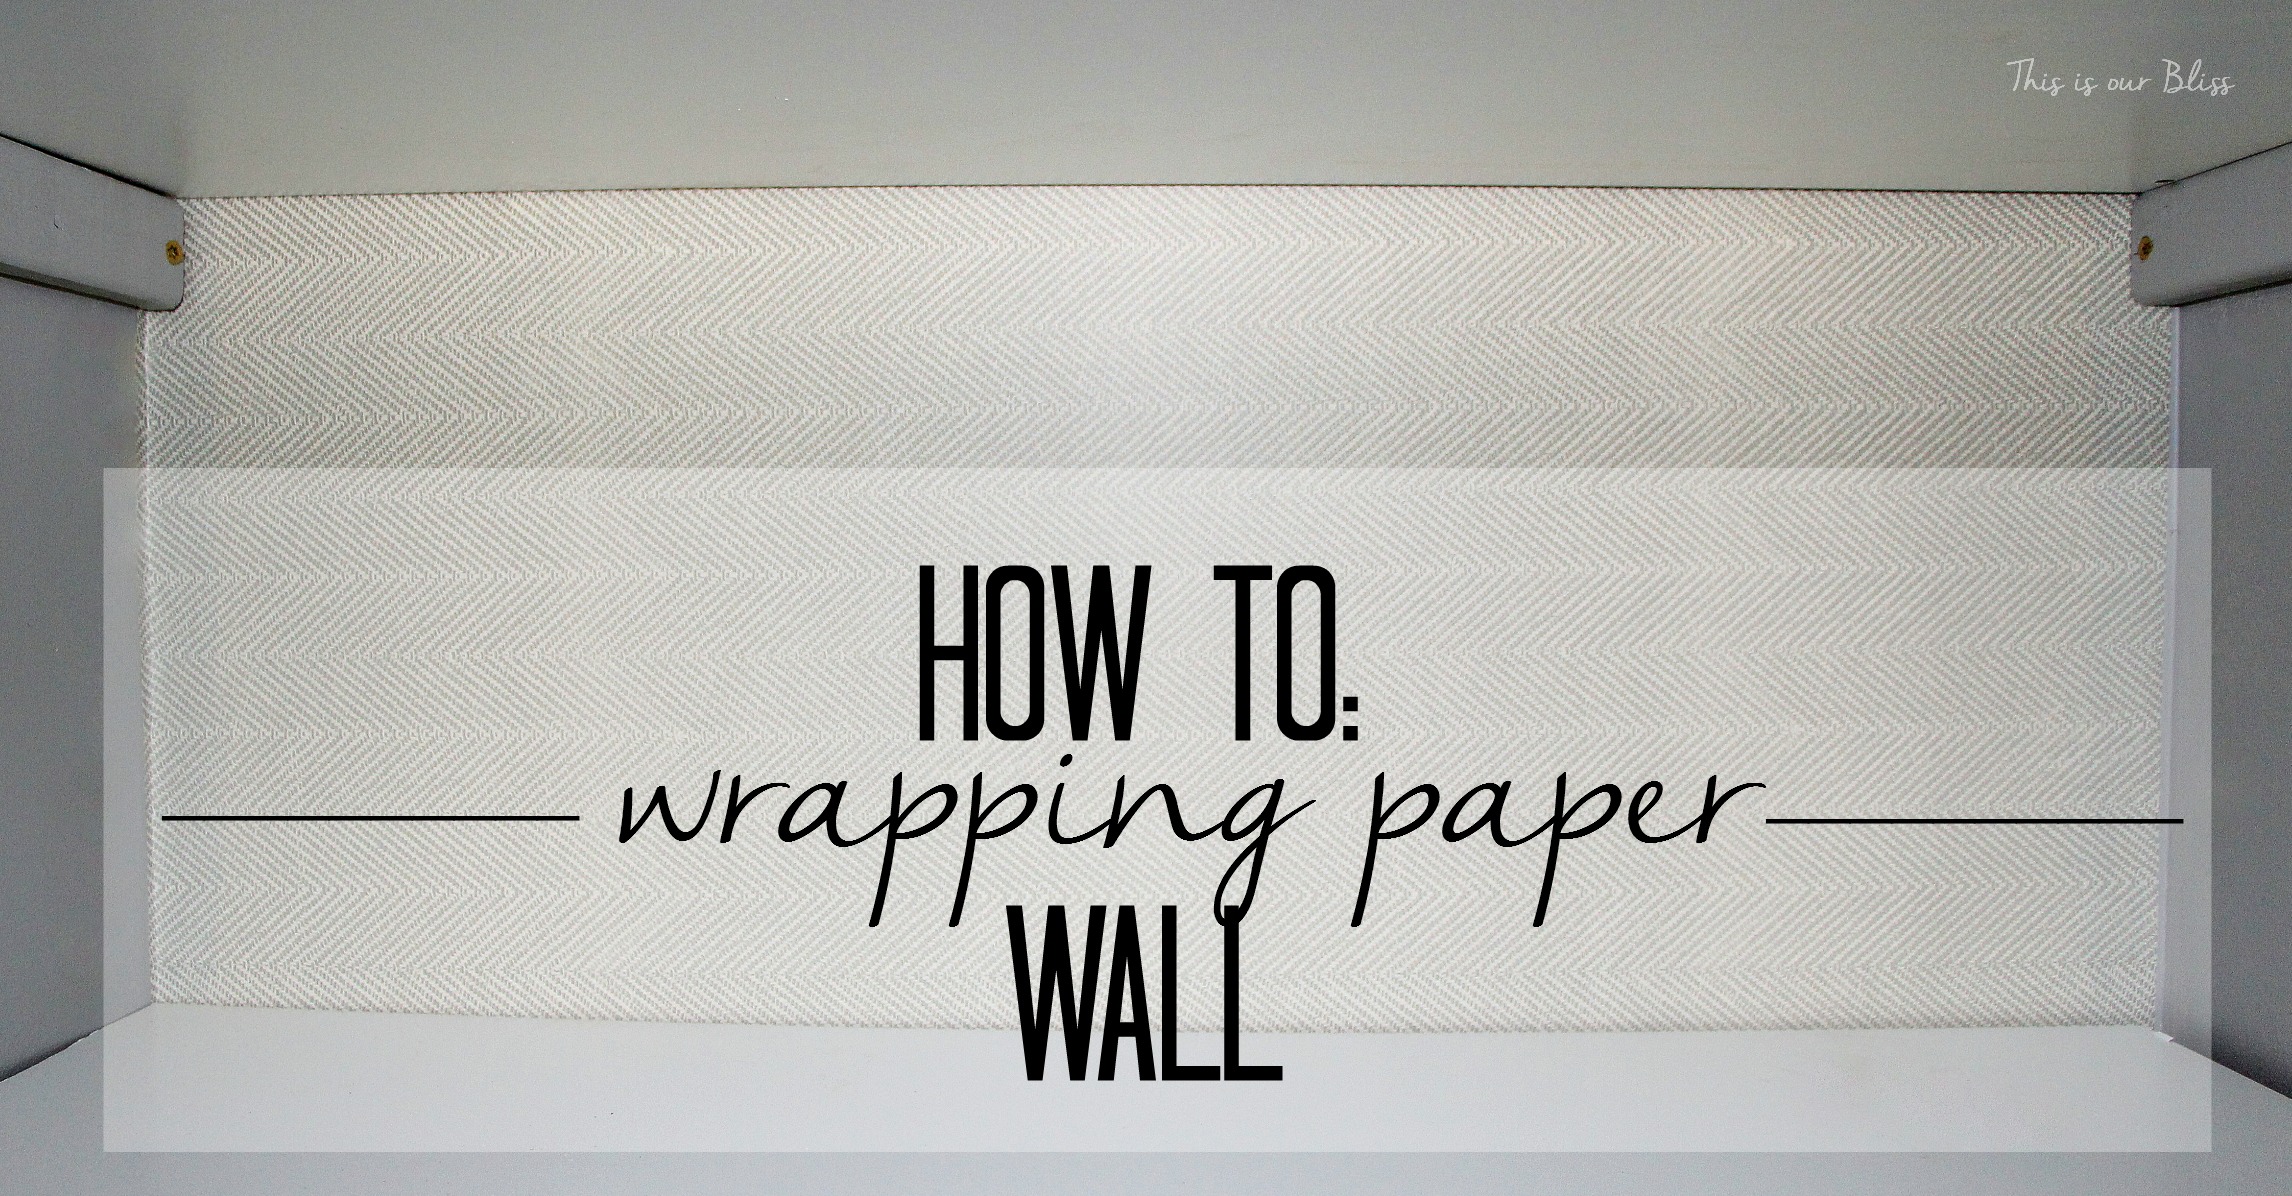
If you follow me on social media, then you may have already spotted the chosen one. I grabbed a roll of $3 wrapping paper out of my storage bin. It was one I had picked up at Homegoods sometime last year and decided it would look nice with the gray paint color. in the closet. yes, I did this!

After double-checking my back wall measurements, I decided I had enough paper to cover it since the roll was unopened. I found my can of Aleene’s multi purpose tacky spray (this stuff is great 🙂 ) and went for it.

First, I cut 3 pieces off of the roll. Each cut piece measured 27.75″ and the 3 of them would cover the wall, floor to ceiling.

I grabbed the can of adhesive, got up on the step stool and sprayed a generous coating on the top third of the back wall. Then, I picked up a piece of the cut wrapping paper and lined the top edge of the paper in the crease where the wall meets the ceiling. Once I had it straight at the top and the sides, I smoothed it down and out to cover the wall, working any bubbles out as I went along.

Repeat 2 more times.
It was super easy and I think took less than 30 minutes.
After Ted and my FIL put in the shelves, I did notice the edge of the wrapping paper slightly hung over the side walls, so I took a craft knife and ran it along the crease of the corner and the extra edge peeled right off.

 I never would have dreamt I’d have wrapping paper on a wall, but I am so glad I tried it out.The wrapping paper I used was fairly thick & pretty good quality, but all in all, I would say you could give it a shot with most types. For $3, I think it is awesome. You can barely have a paint sample mixed up for that price!
Part of me wishes I would have done a bold, fun print, but the other part of me is glad I stayed neutral. It is just a closet, after all. We can’t be having too much fun in there 🙂

I hope this little linen closet of mine isn’t starting to be too much of a snooze fest yet because I am still going to be sharing the DIY shelving details and then of course the reveal!
*update: you can see the linen closet makeover here!
Tomorrow, I am going to be talking about my ugly green chair and my latest inspiration for it. I am currently working on it in my upholstery class and it is coming along rather nicely! You may or may not be surprised with my fabric choice!
 P.S. I <3 fabric shopping. That is all.


Kaylin Tristano (@KaylinTristano)
October 9, 2015 at 8:54 AMCan you give us an update on how this held up? Was the craft adhesive enough to keep it from peeling or tearing?
Rachael @ This is our Bliss
October 28, 2015 at 2:10 PMHi Kaylin! Thanks for asking about this. It has help up decently well, but the corners are starting to look like they are going to peel back. I think I would definitely reinforce the seams and corners with something a bit more durable. It hasn’t torn at all, but it is at the very back, so no one is ever reaching back or actually touching it. I hope this helps!!
Bargain Buy [$5 pillow] + Guestroom Revamp checklist | This is our Bliss
February 26, 2015 at 5:12 PM[…] detail is pretty great too. I guess I am kind of into herringbone right now – remember my linen closet wall?! I have only bought pillows from Target once before, but have been totally impressed with their […]
Linen Closet Makeover Reveal | This is our Bliss
February 5, 2015 at 9:38 PM[…] wrapping paper wall! I heart […]
Sarah Lagen
January 30, 2015 at 8:50 PMThis is a great idea!! There are ton’s of cute wrapping papers out there — this would be a really fun thing to do and easy way to add some color!
Karen
January 30, 2015 at 7:12 PMThis actually such a neat idea, I want to do it for my Ikea cube system!
MUCH LOVE KAREN
(STYLESMORGASBORD) [BLOGLOVIN])