So, here is my first (project) post since spilling it all out there for you guys last week. And you know what? It is actually a project that has been on the docket for months after thrifting it back in the summer. $5 later, I had the perfect spot in mind for where use it. That “spot” is one of the areas I wanted to refocus my attention to, so I did!
Remember? Mission: Project – LOCK.IT.UP! Let’s finish up these half-completed/barely-started projects and move on!
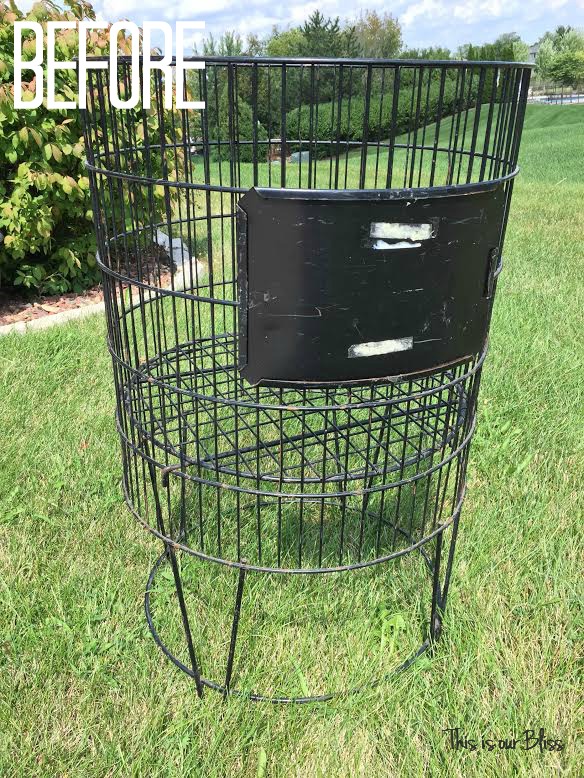
Anyone remember this rusted old bin from a past #thriftscorethursday post on Insta?
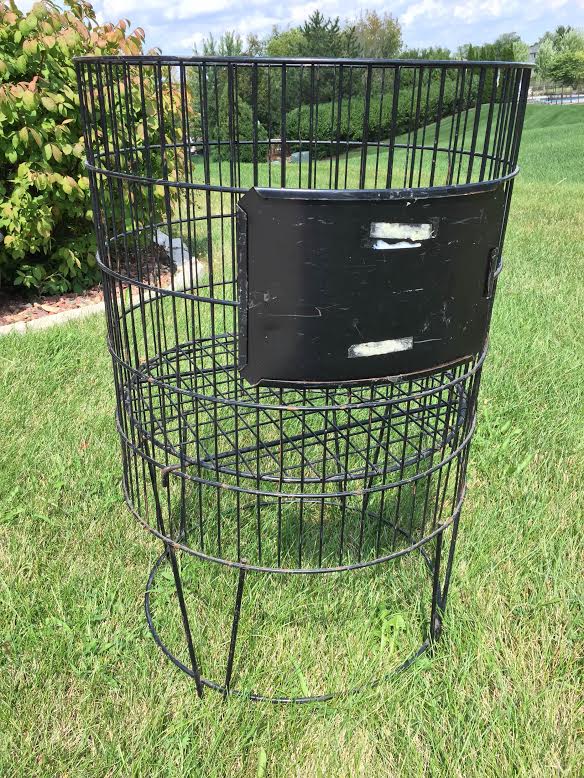 Well, I spiffed it up and have it ready to rock & roll as toy storage in the basement play area. Today, I’m going to share with you how!
 As you saw above, it needed some TLC, so here is what I did…
First, I took a damp paper towel and wiped it down to get all of the dust & cobwebs off of it. Yes, there was some serious spider business going on there and I hated every second of cleaning it even though it only took a minute.
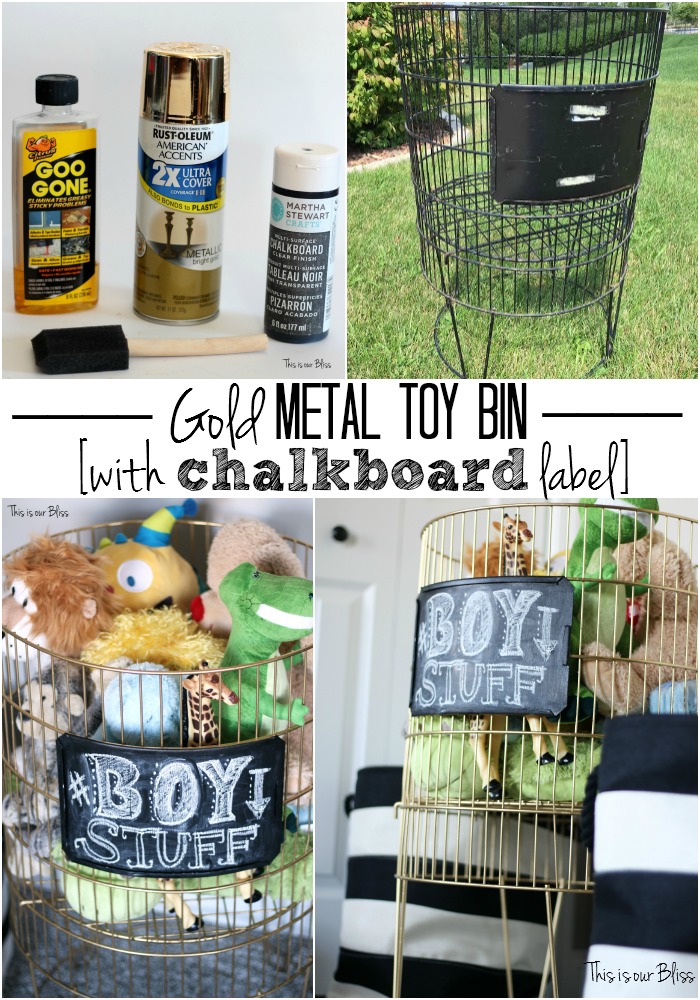
Next, I gathered my supplies:
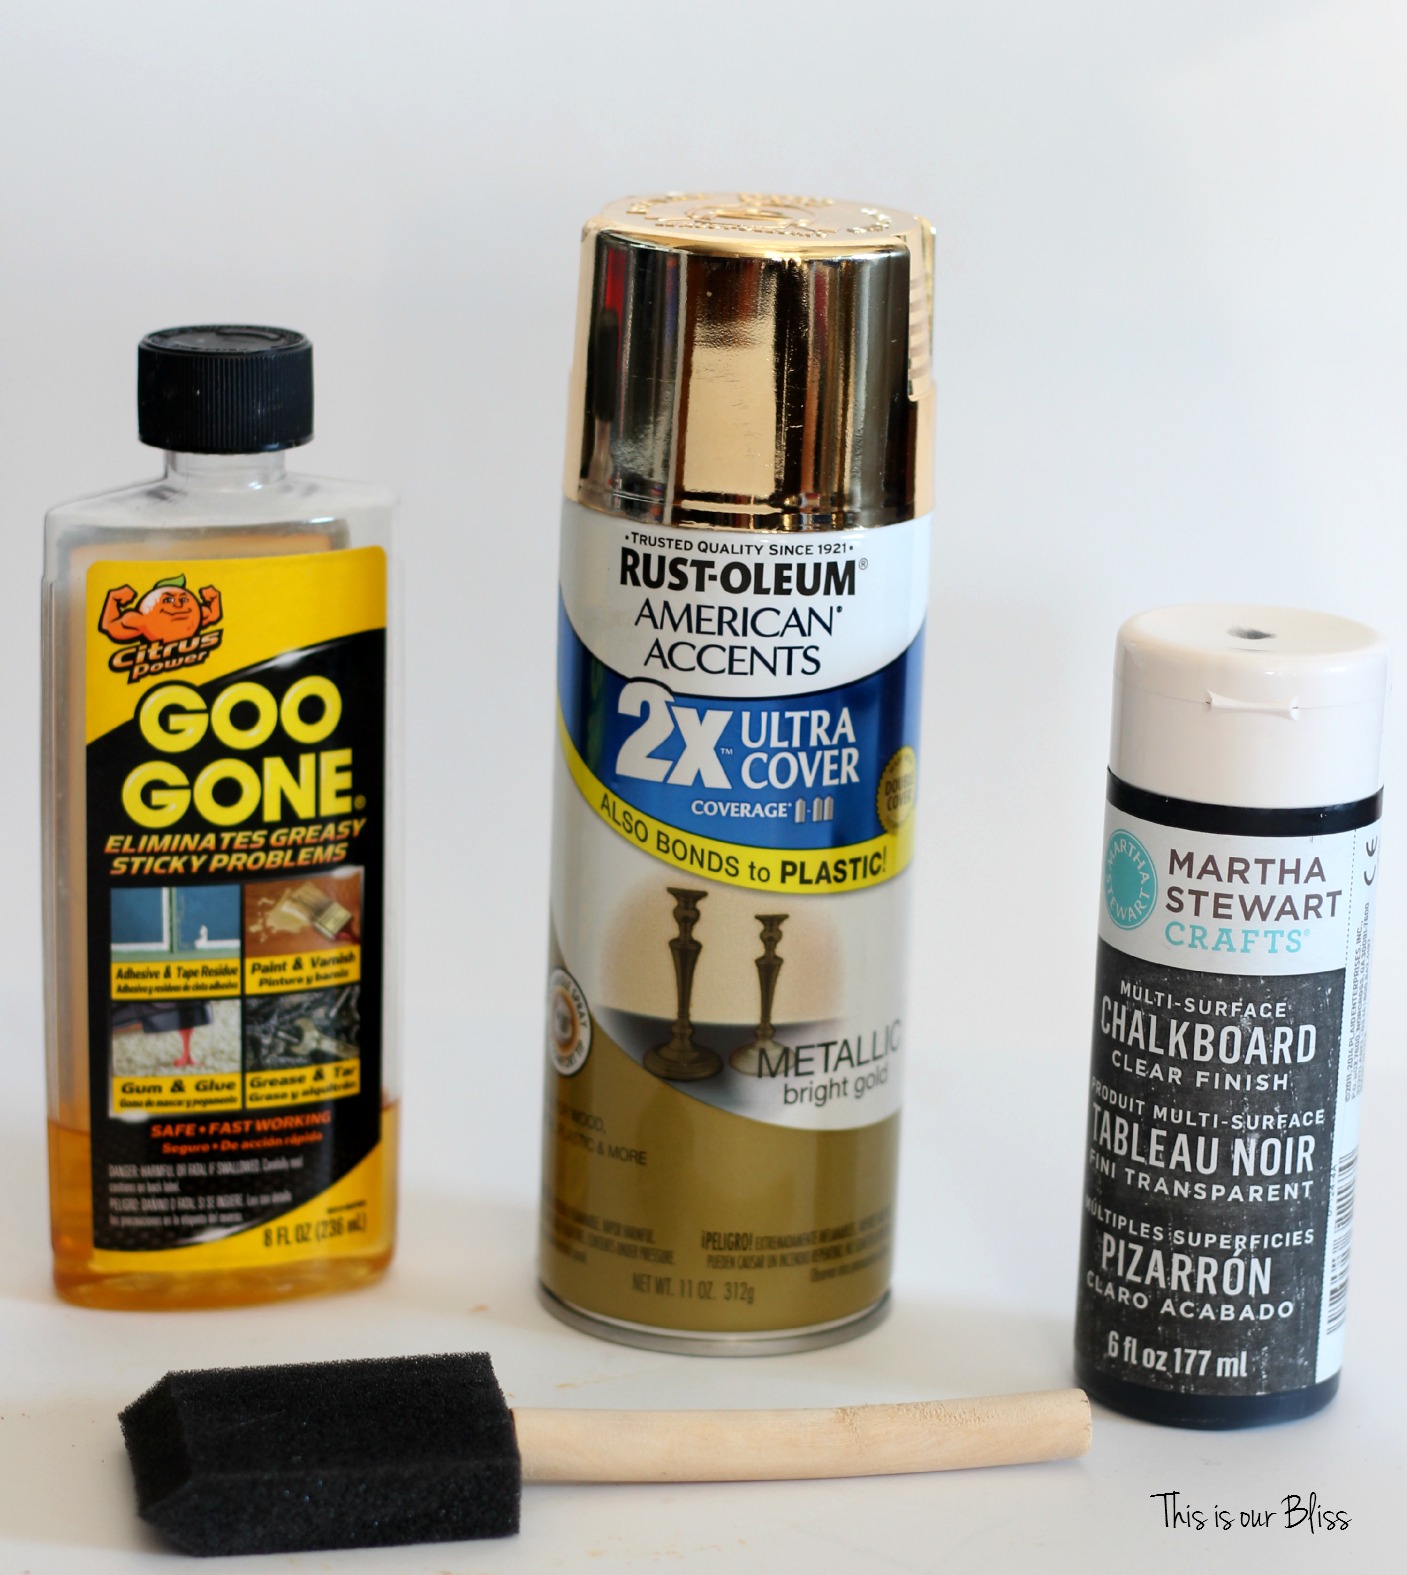
- Goo Gone

- gold spray paint
- foam craft brush
- Martha Stewart Chalkboard paint (Michaels)
- small paper plate (to pour chalkboard paint onto)
- white chalk
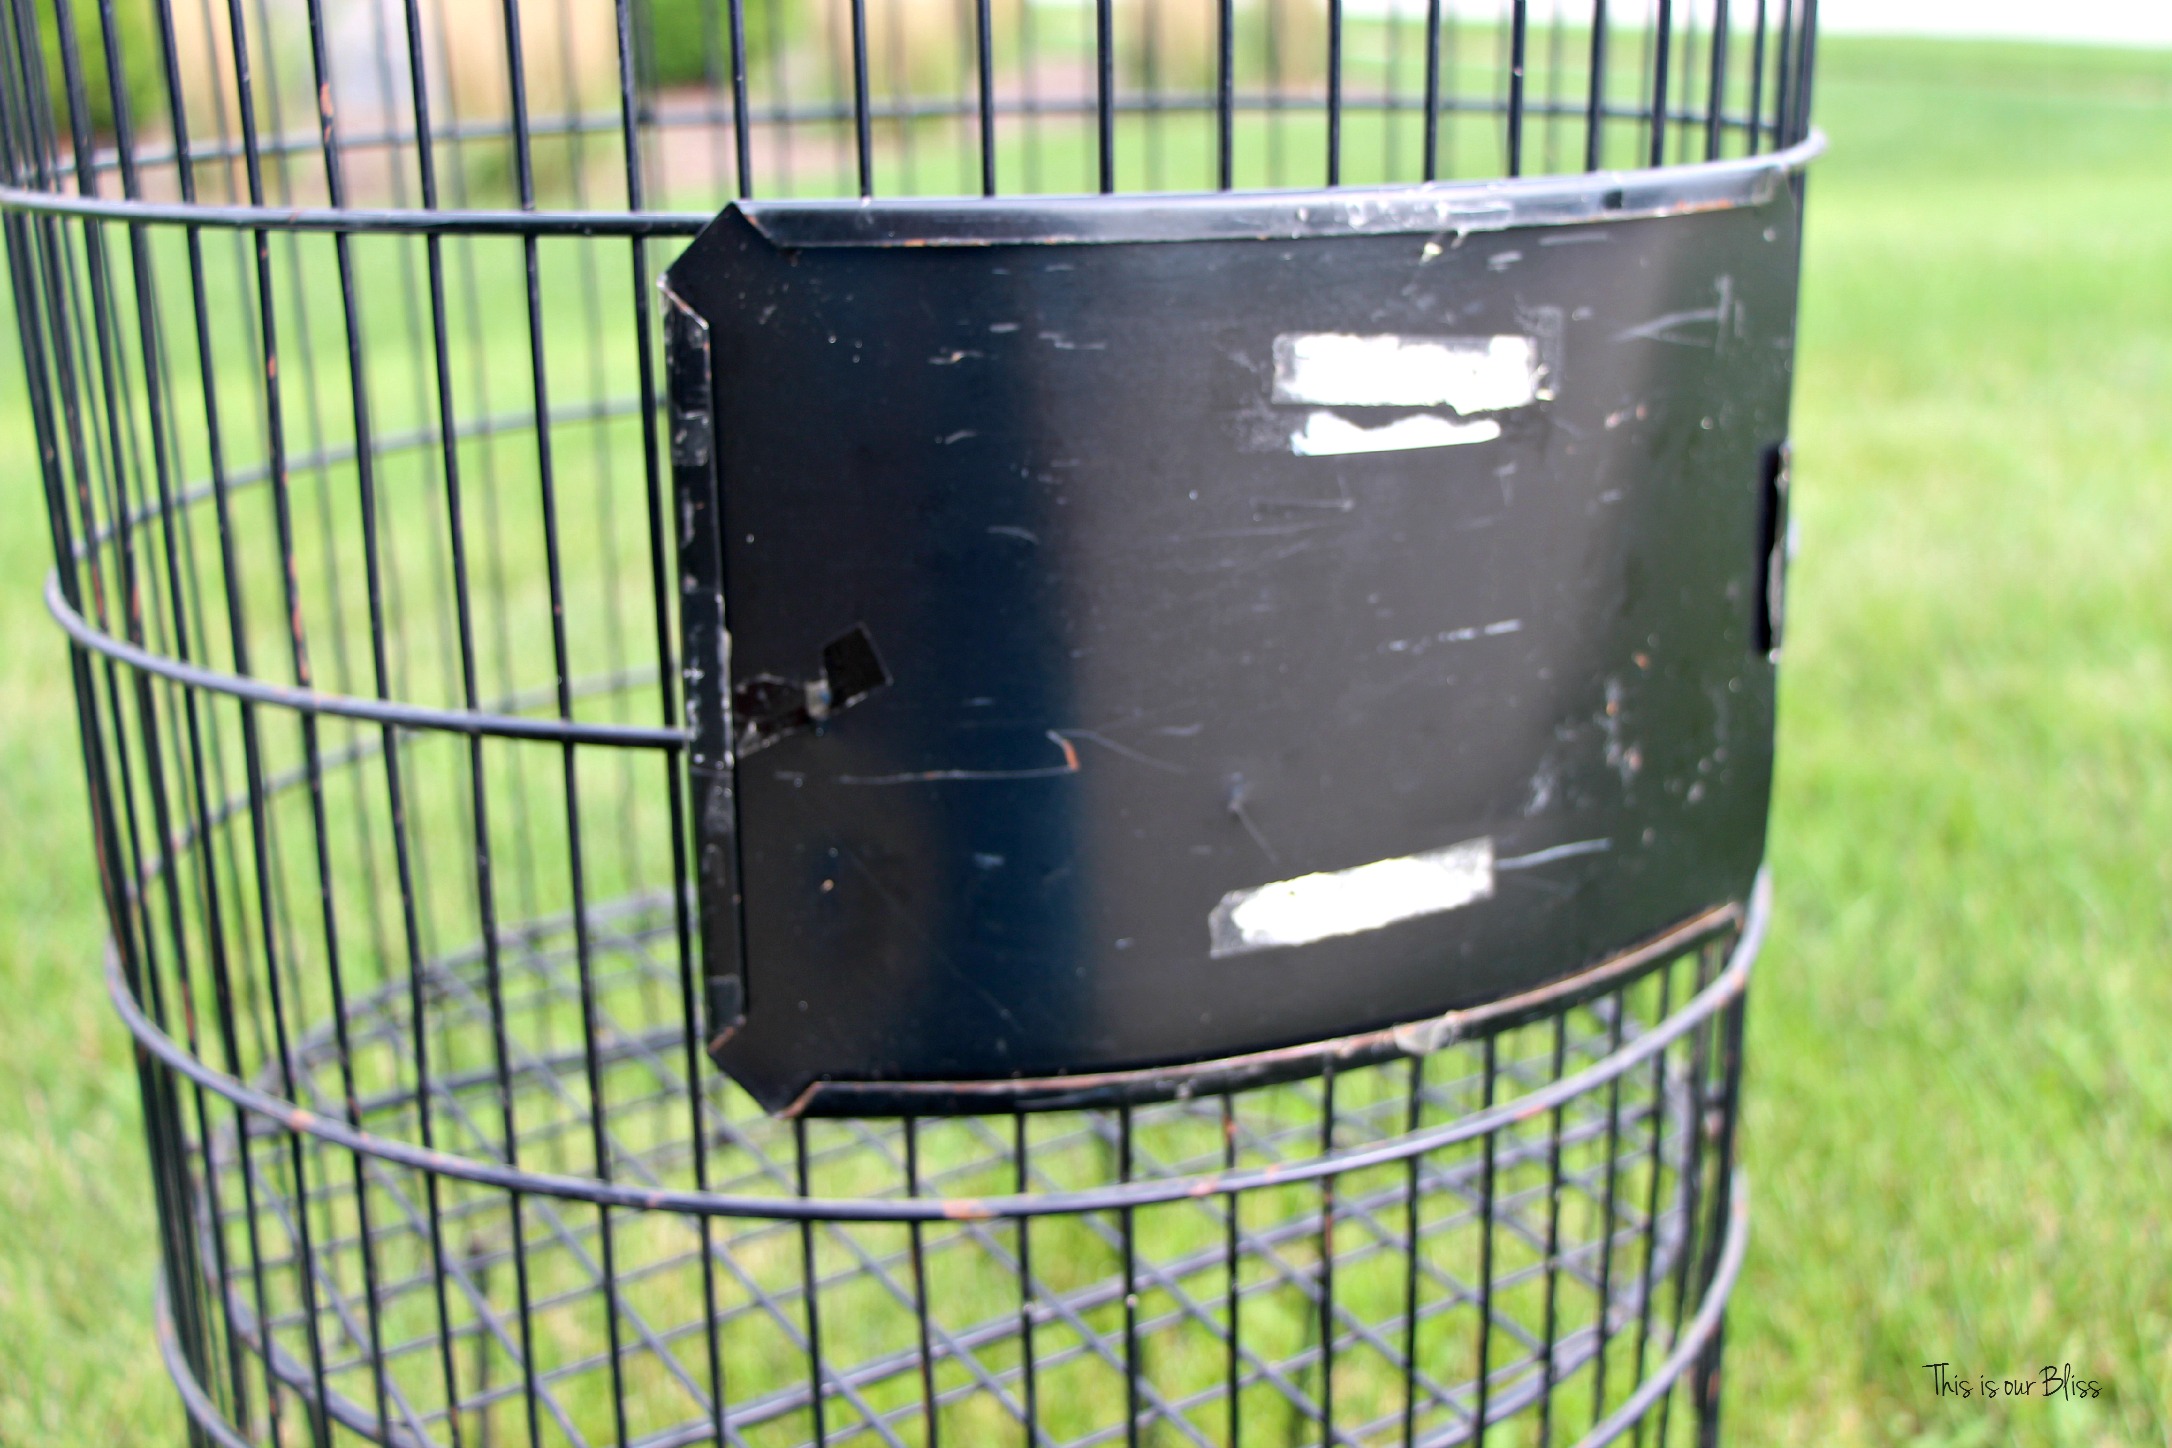 Then, I scrubbed down the label area with a wet paper towel and another paper towel dabbed in goo gone. There were probably 10 or more pieces of tape & remnants of adhesive all across the front of the label, so I had to give it some good ol’ elbow grease. After that, the labor-intensive part was over!
Next, I spray-painted the bin with gold, covering all of the metal wiring, but not worrying about the label area (since it was going to get painted later). I thoroughly applied a second coat of spray paint and then let sit overnight.
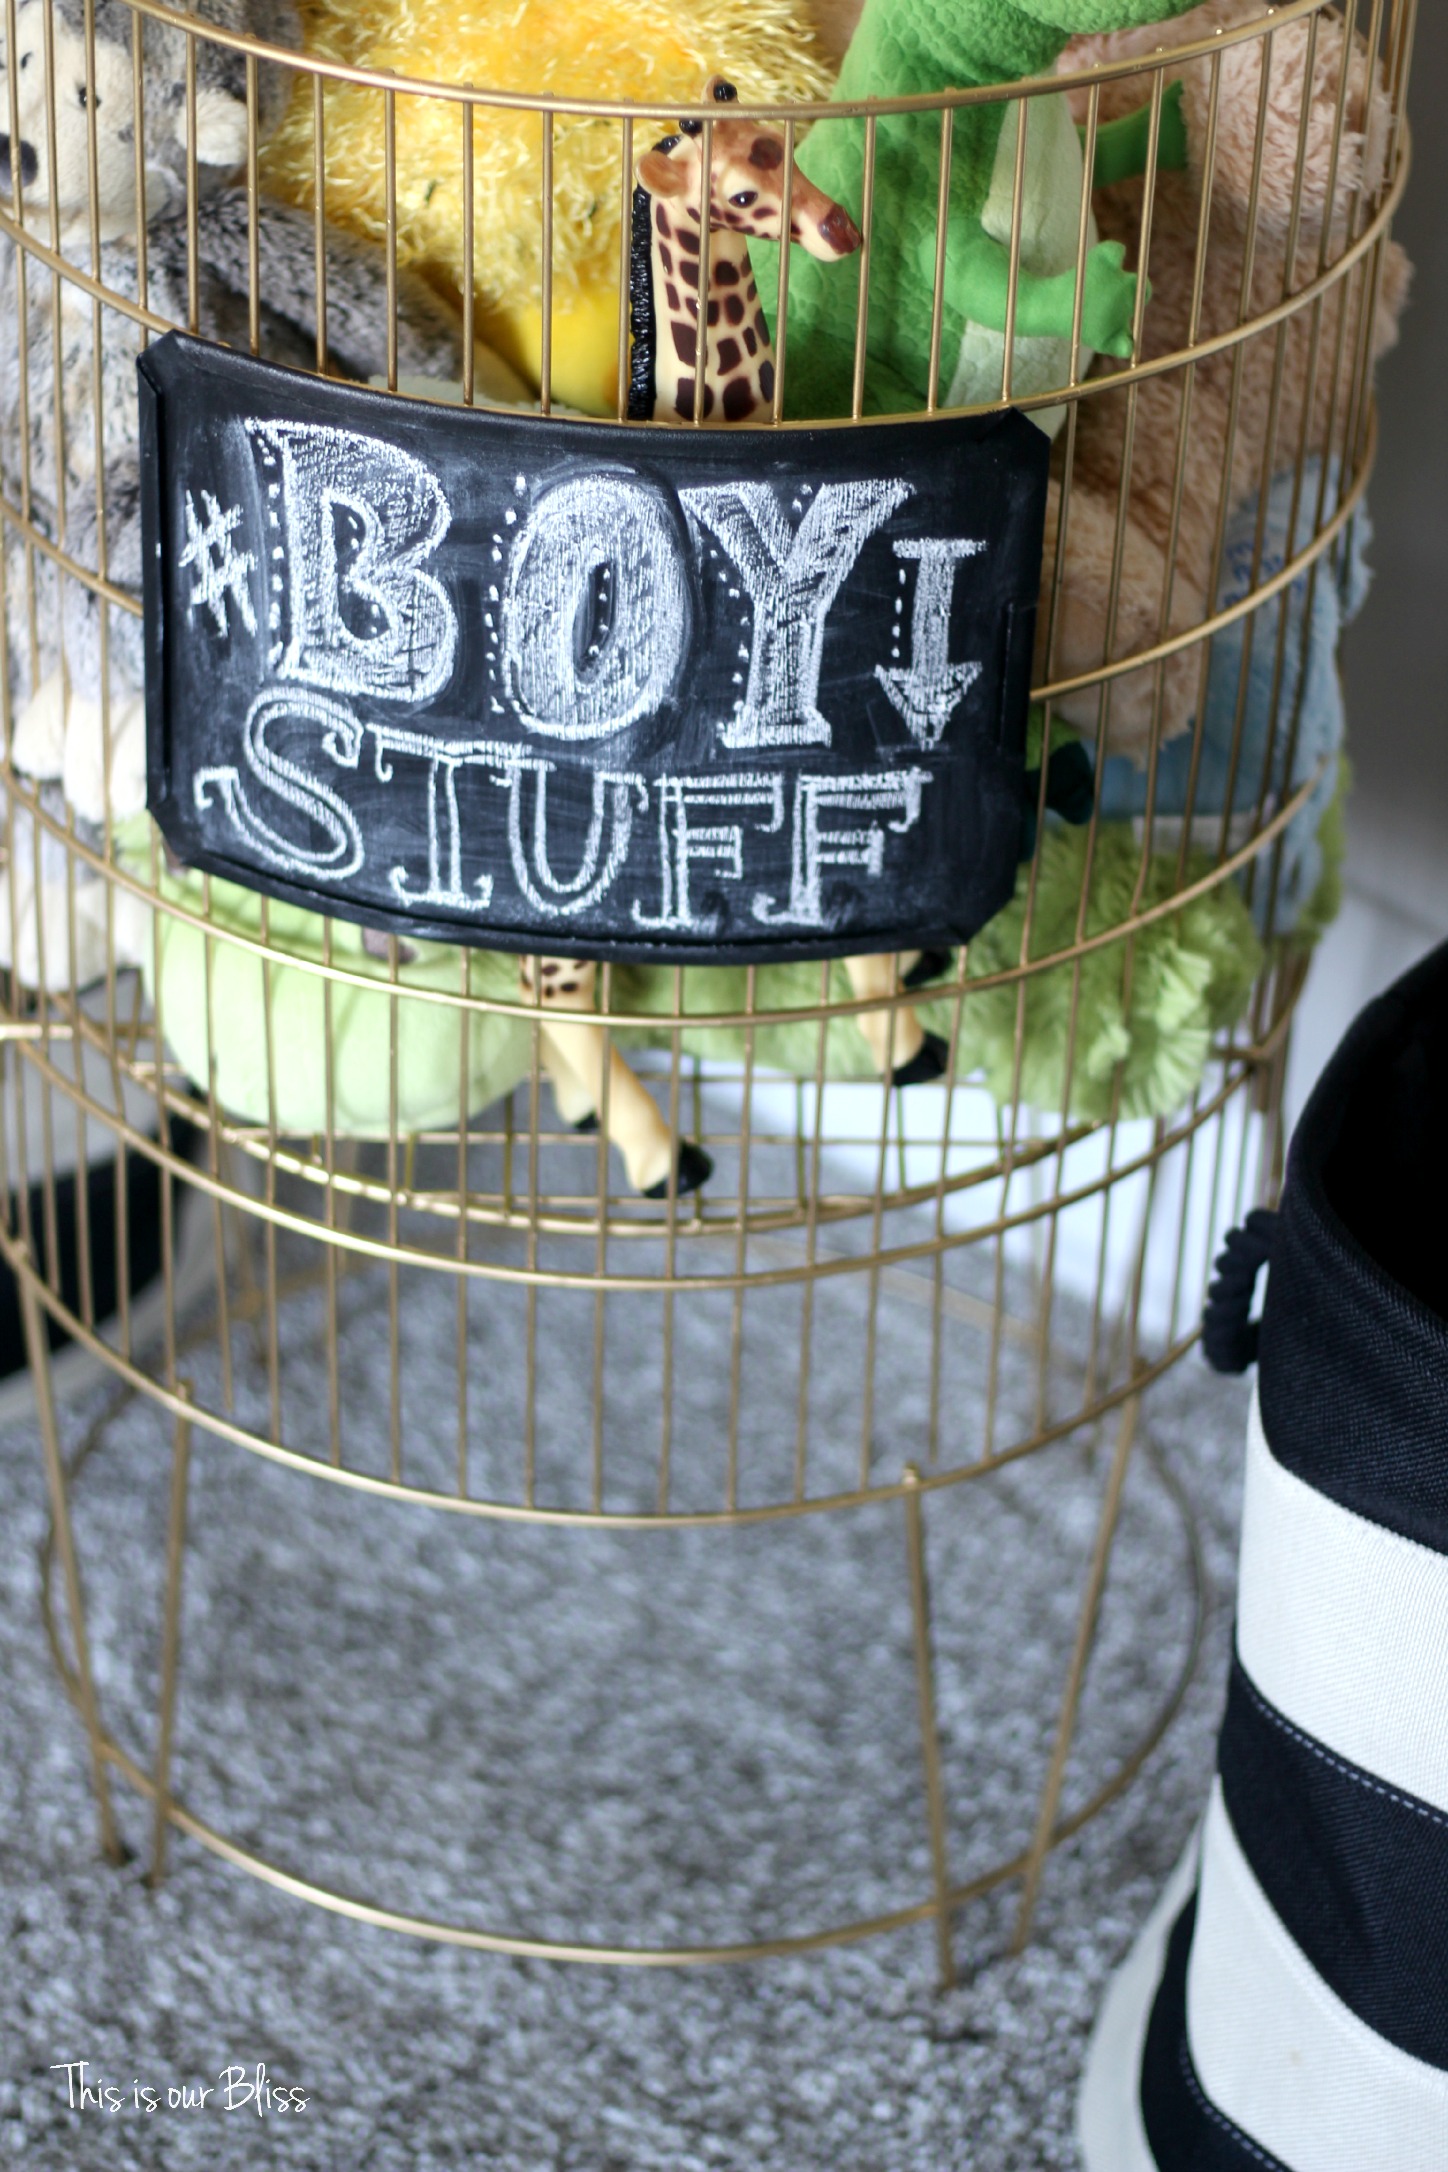
Now it was time for the label section. First, I poured some chalkboard paint onto the paper plate and dipped my craft brush into it, generously covering the bottom half of the foam brush. From there, I simply applied it to the label area of the bin. I outlined the edges first and then filled in the middle with back-and-forth brush strokes.
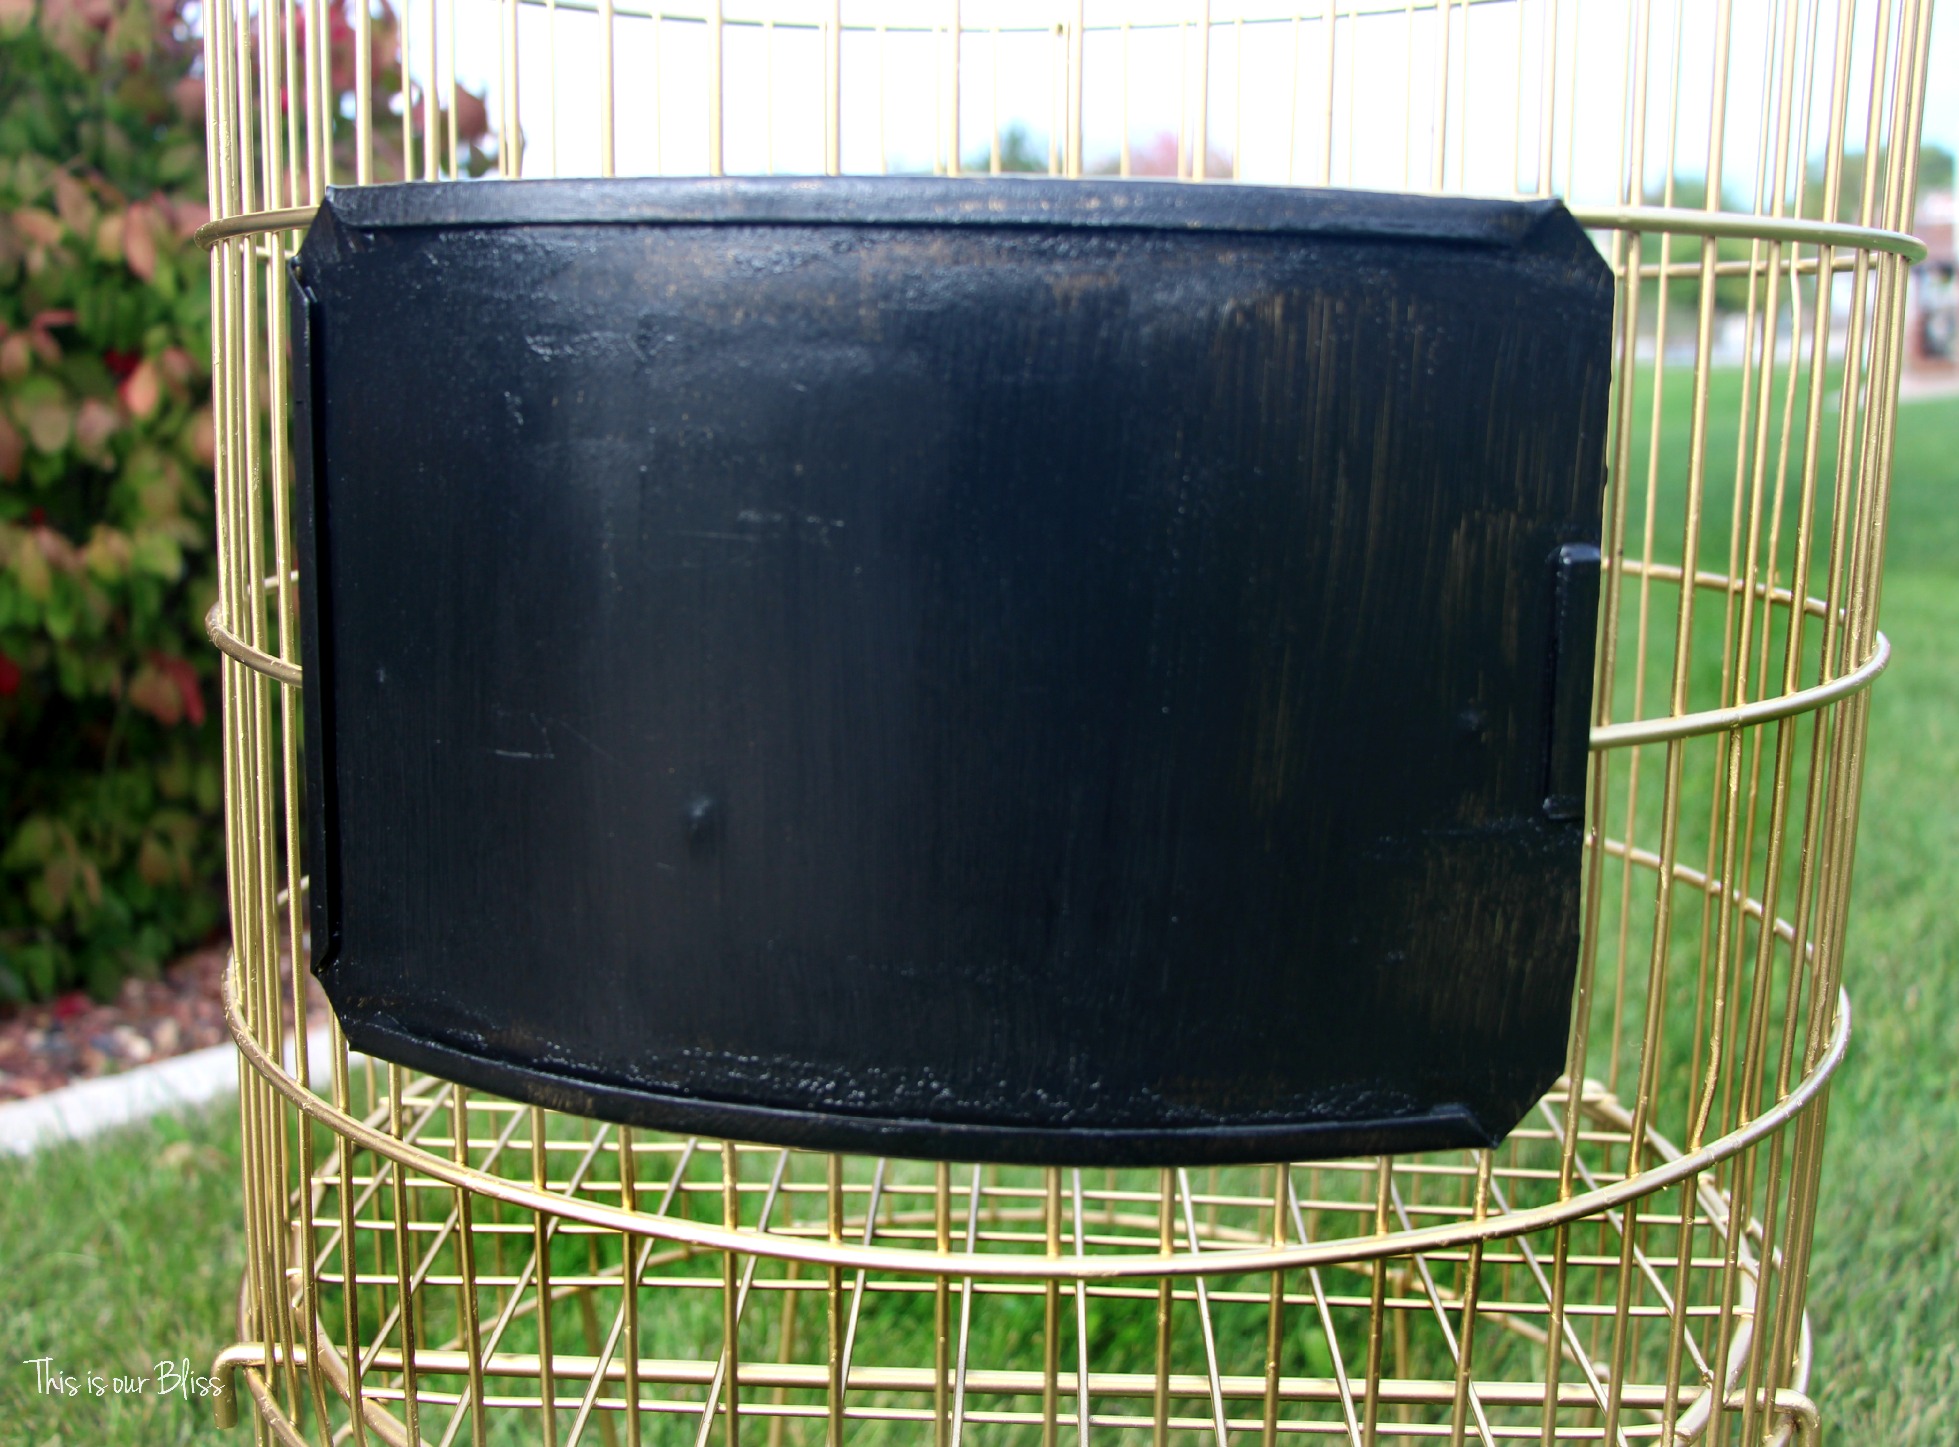 Here it is after two coats of chalkboard paint (I let the paint dry for 30 – 60 minutes between each coat)…
Next, I applied another coat & let it dry for 24 hours.
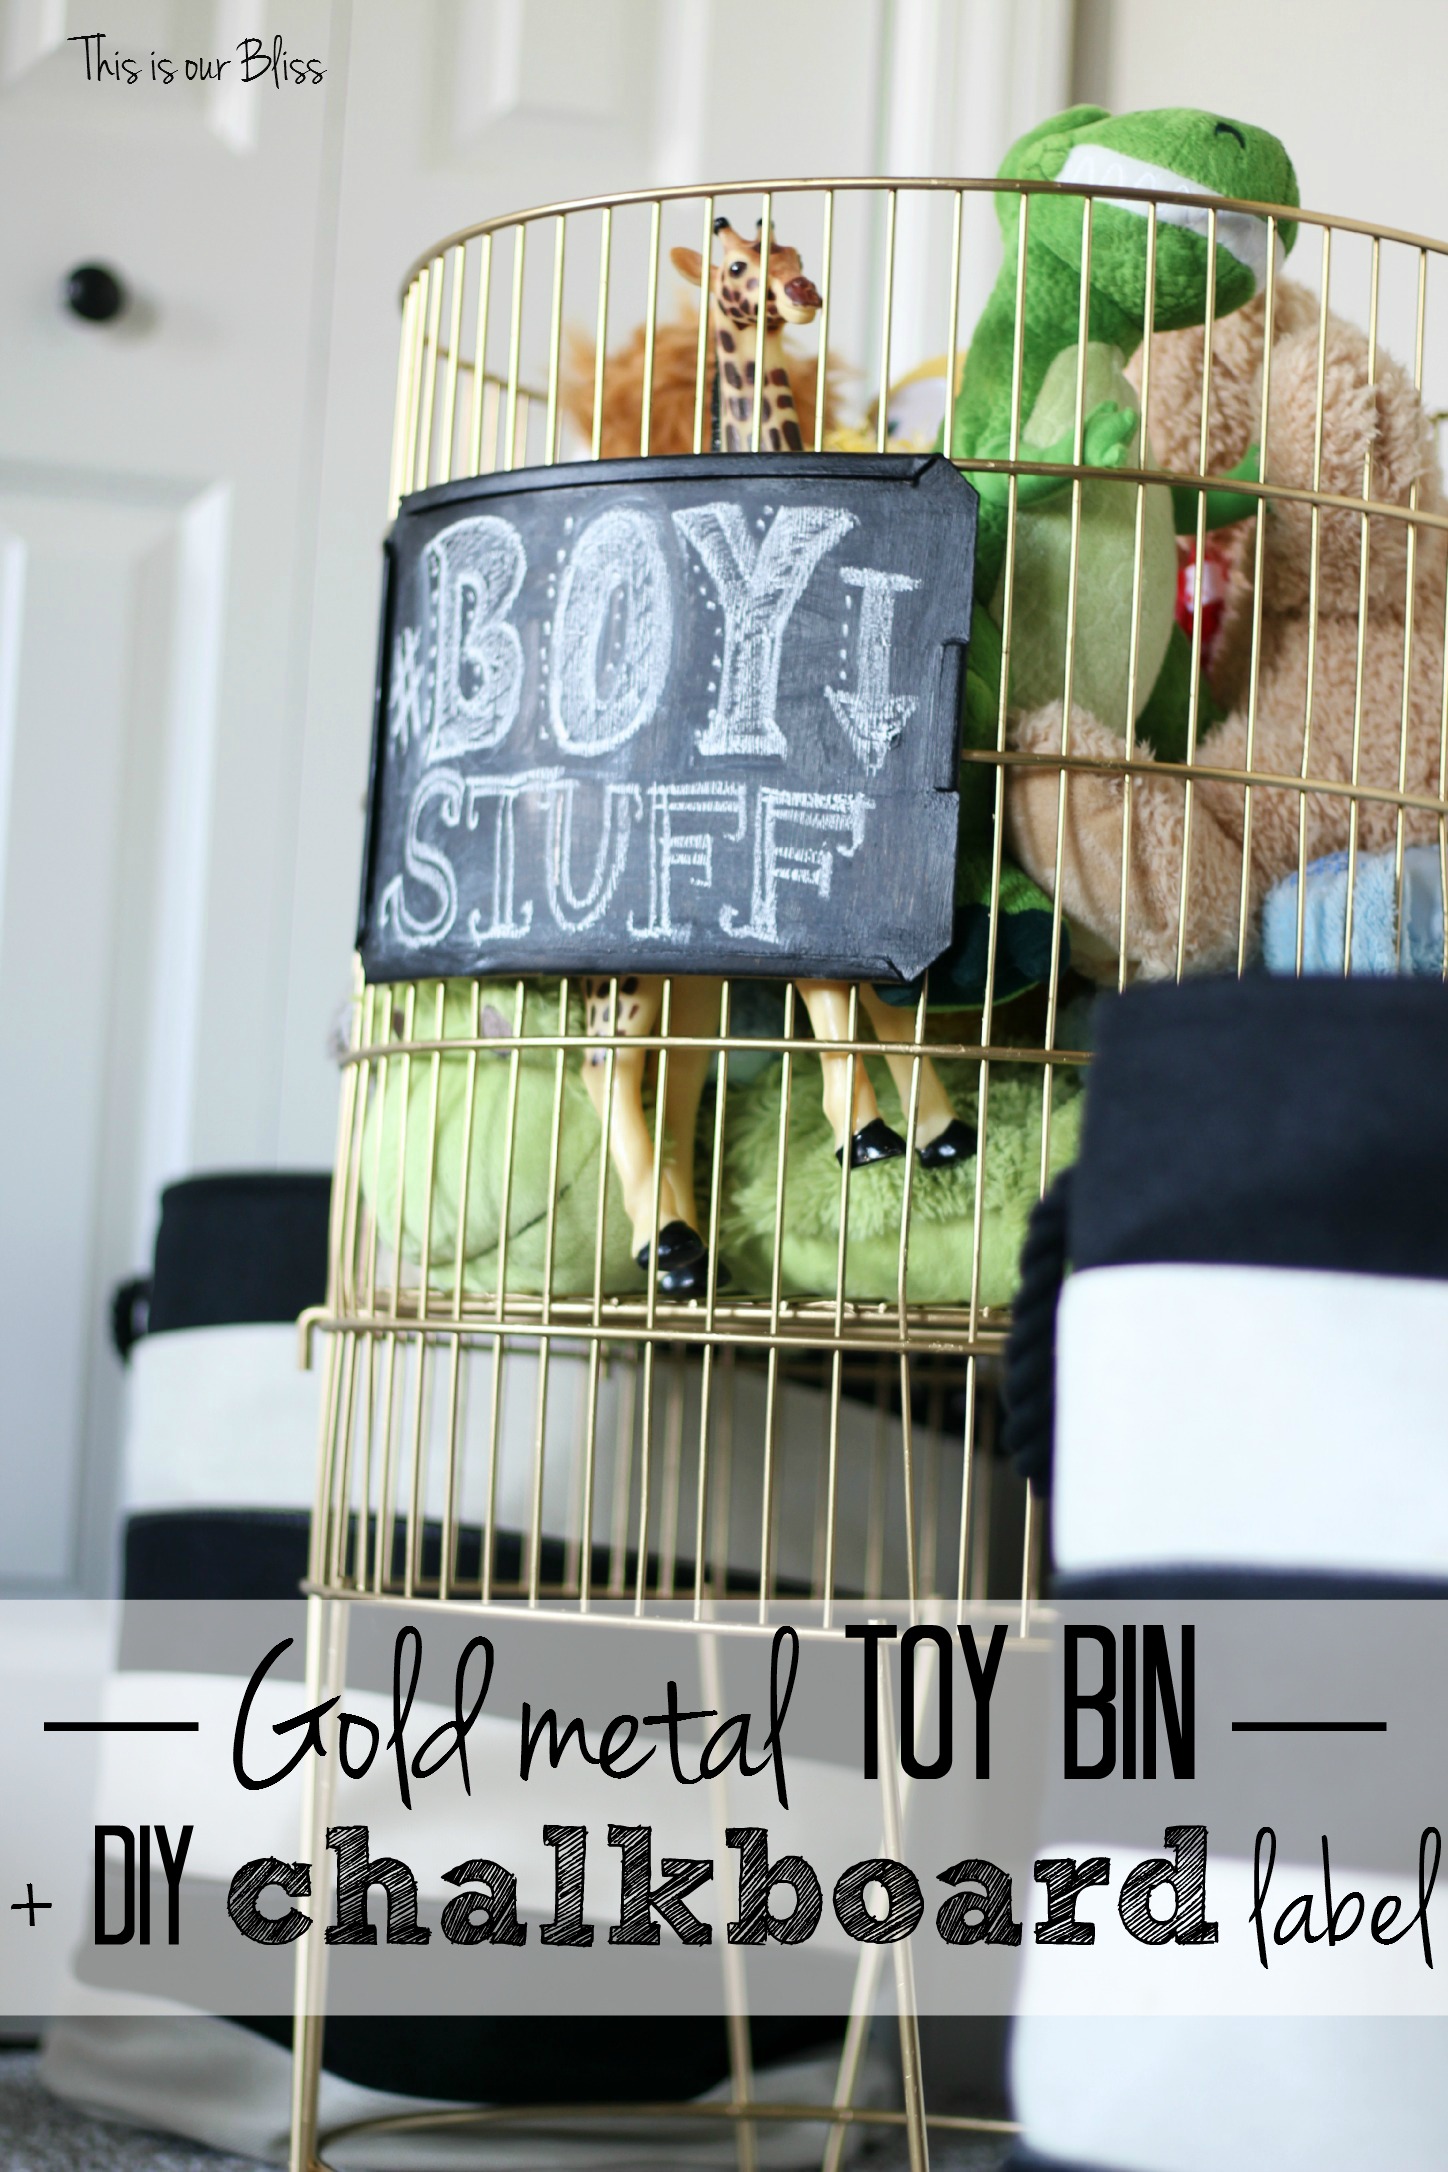
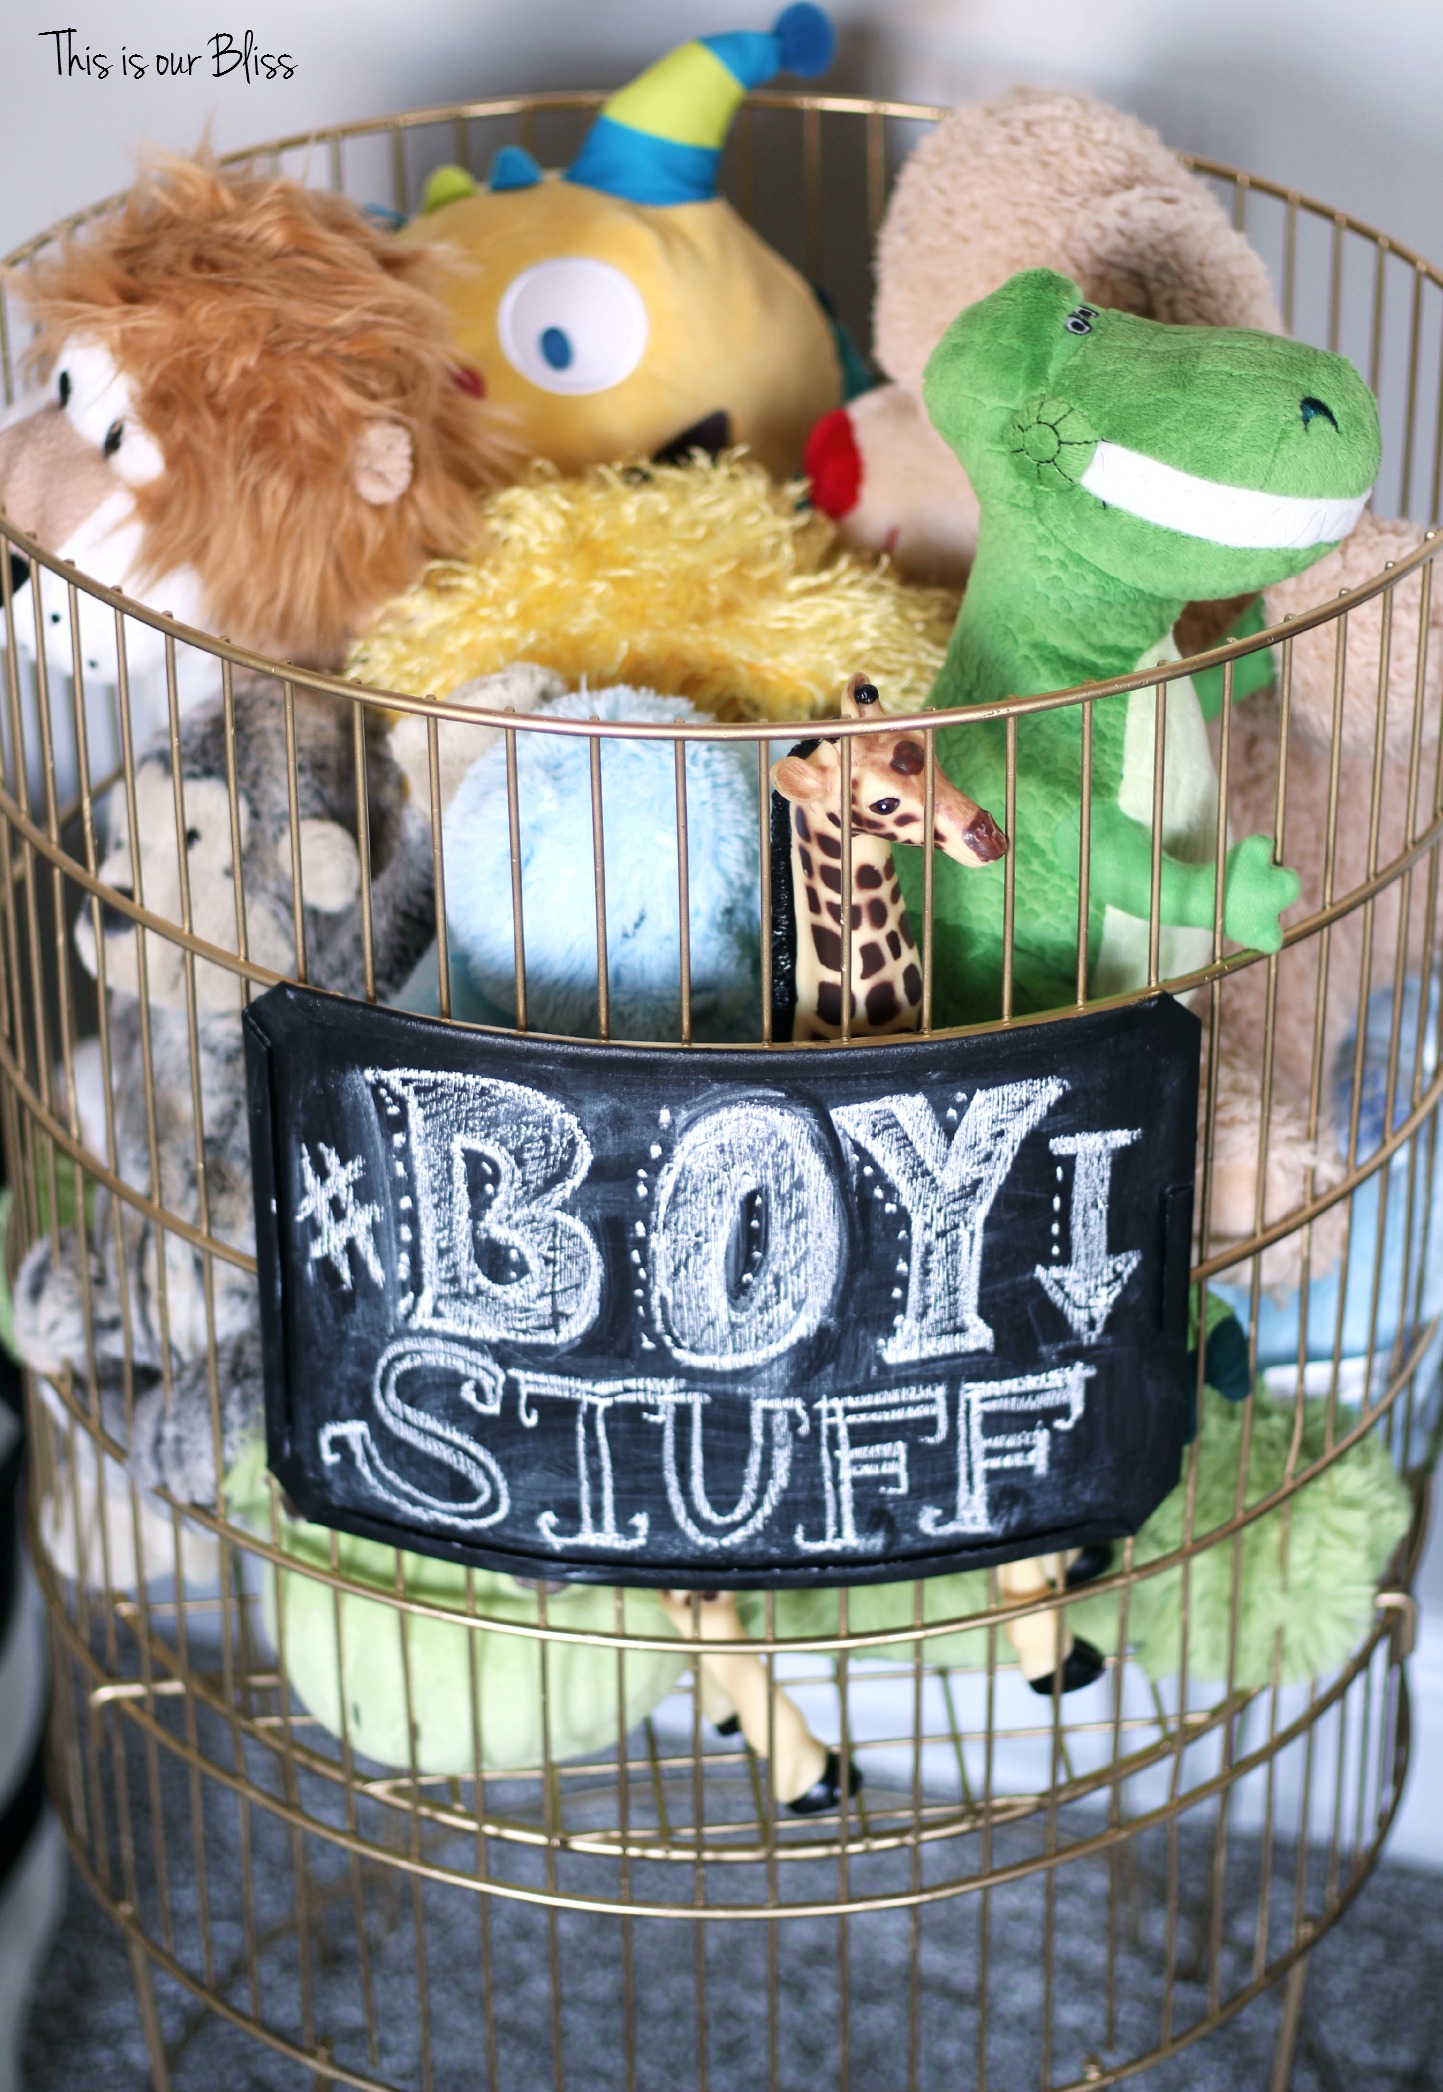
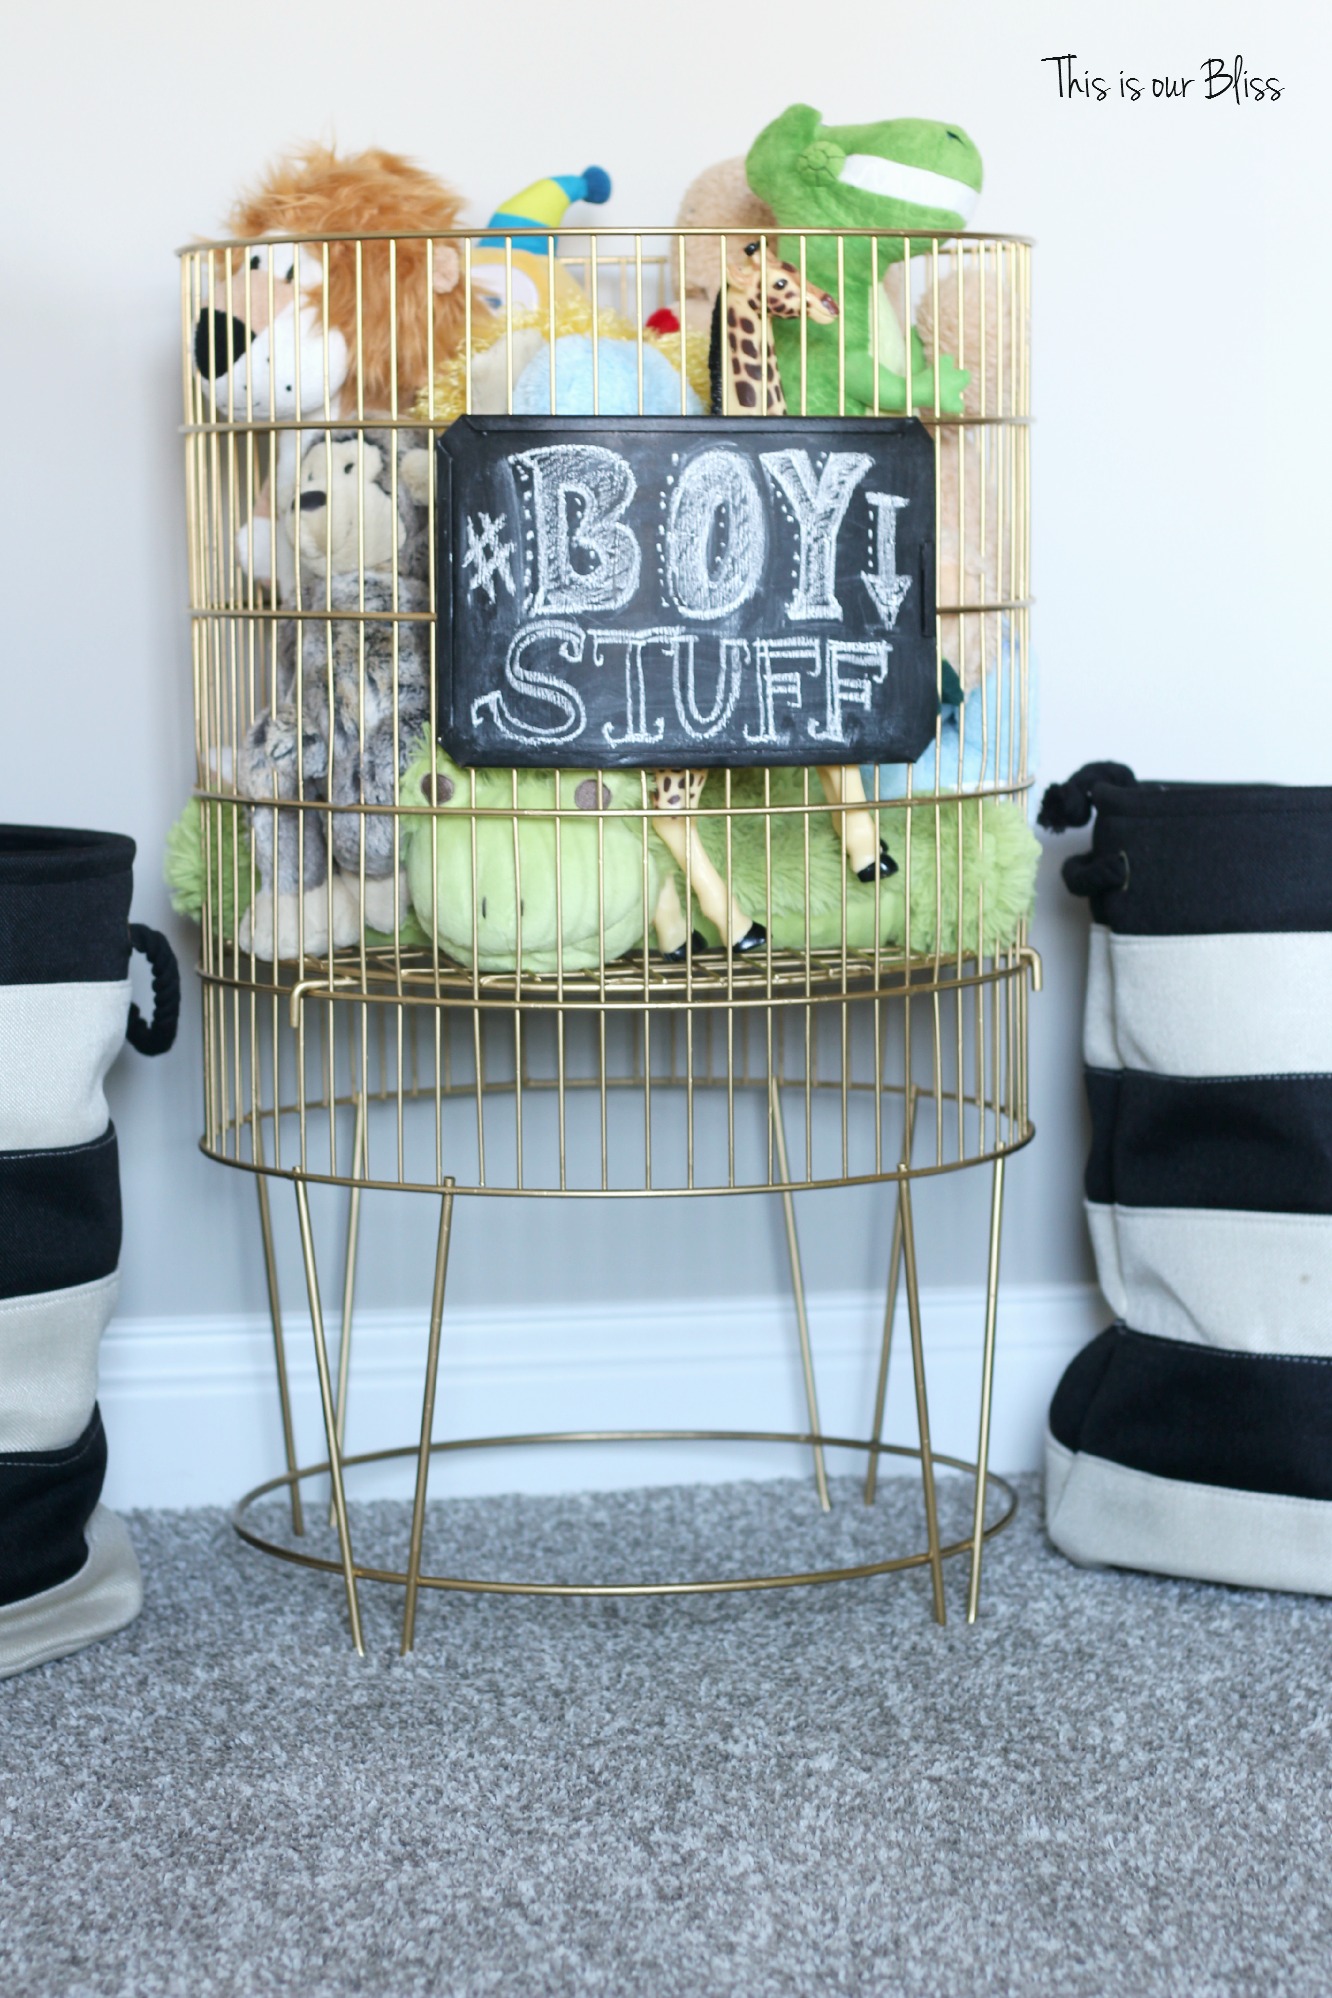
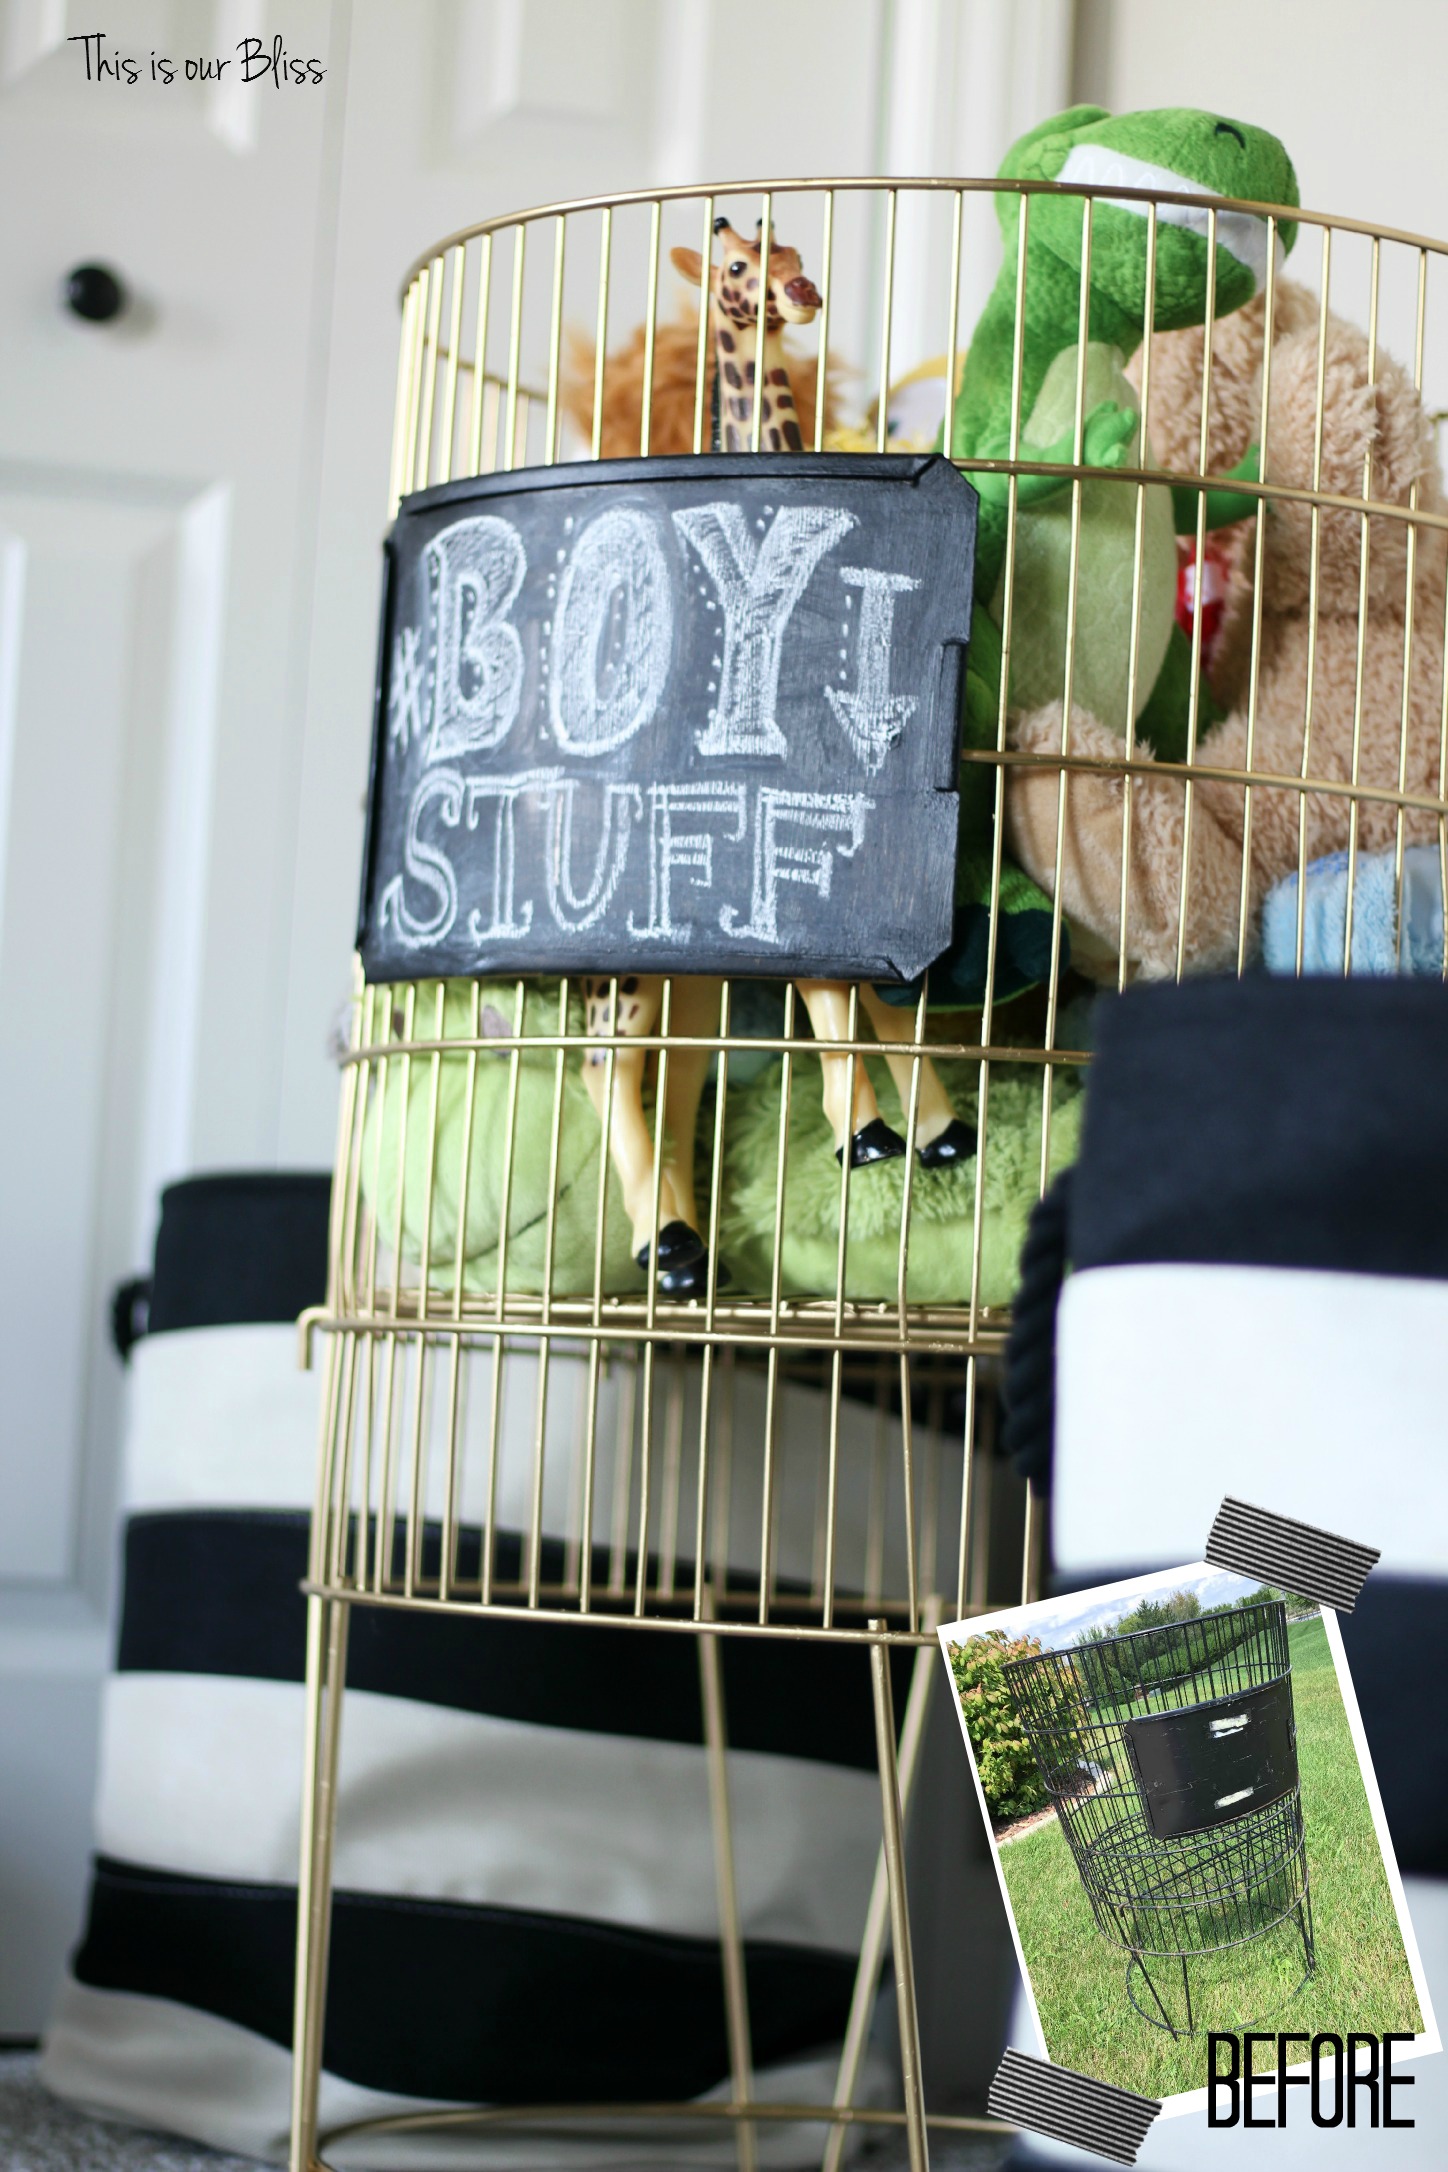
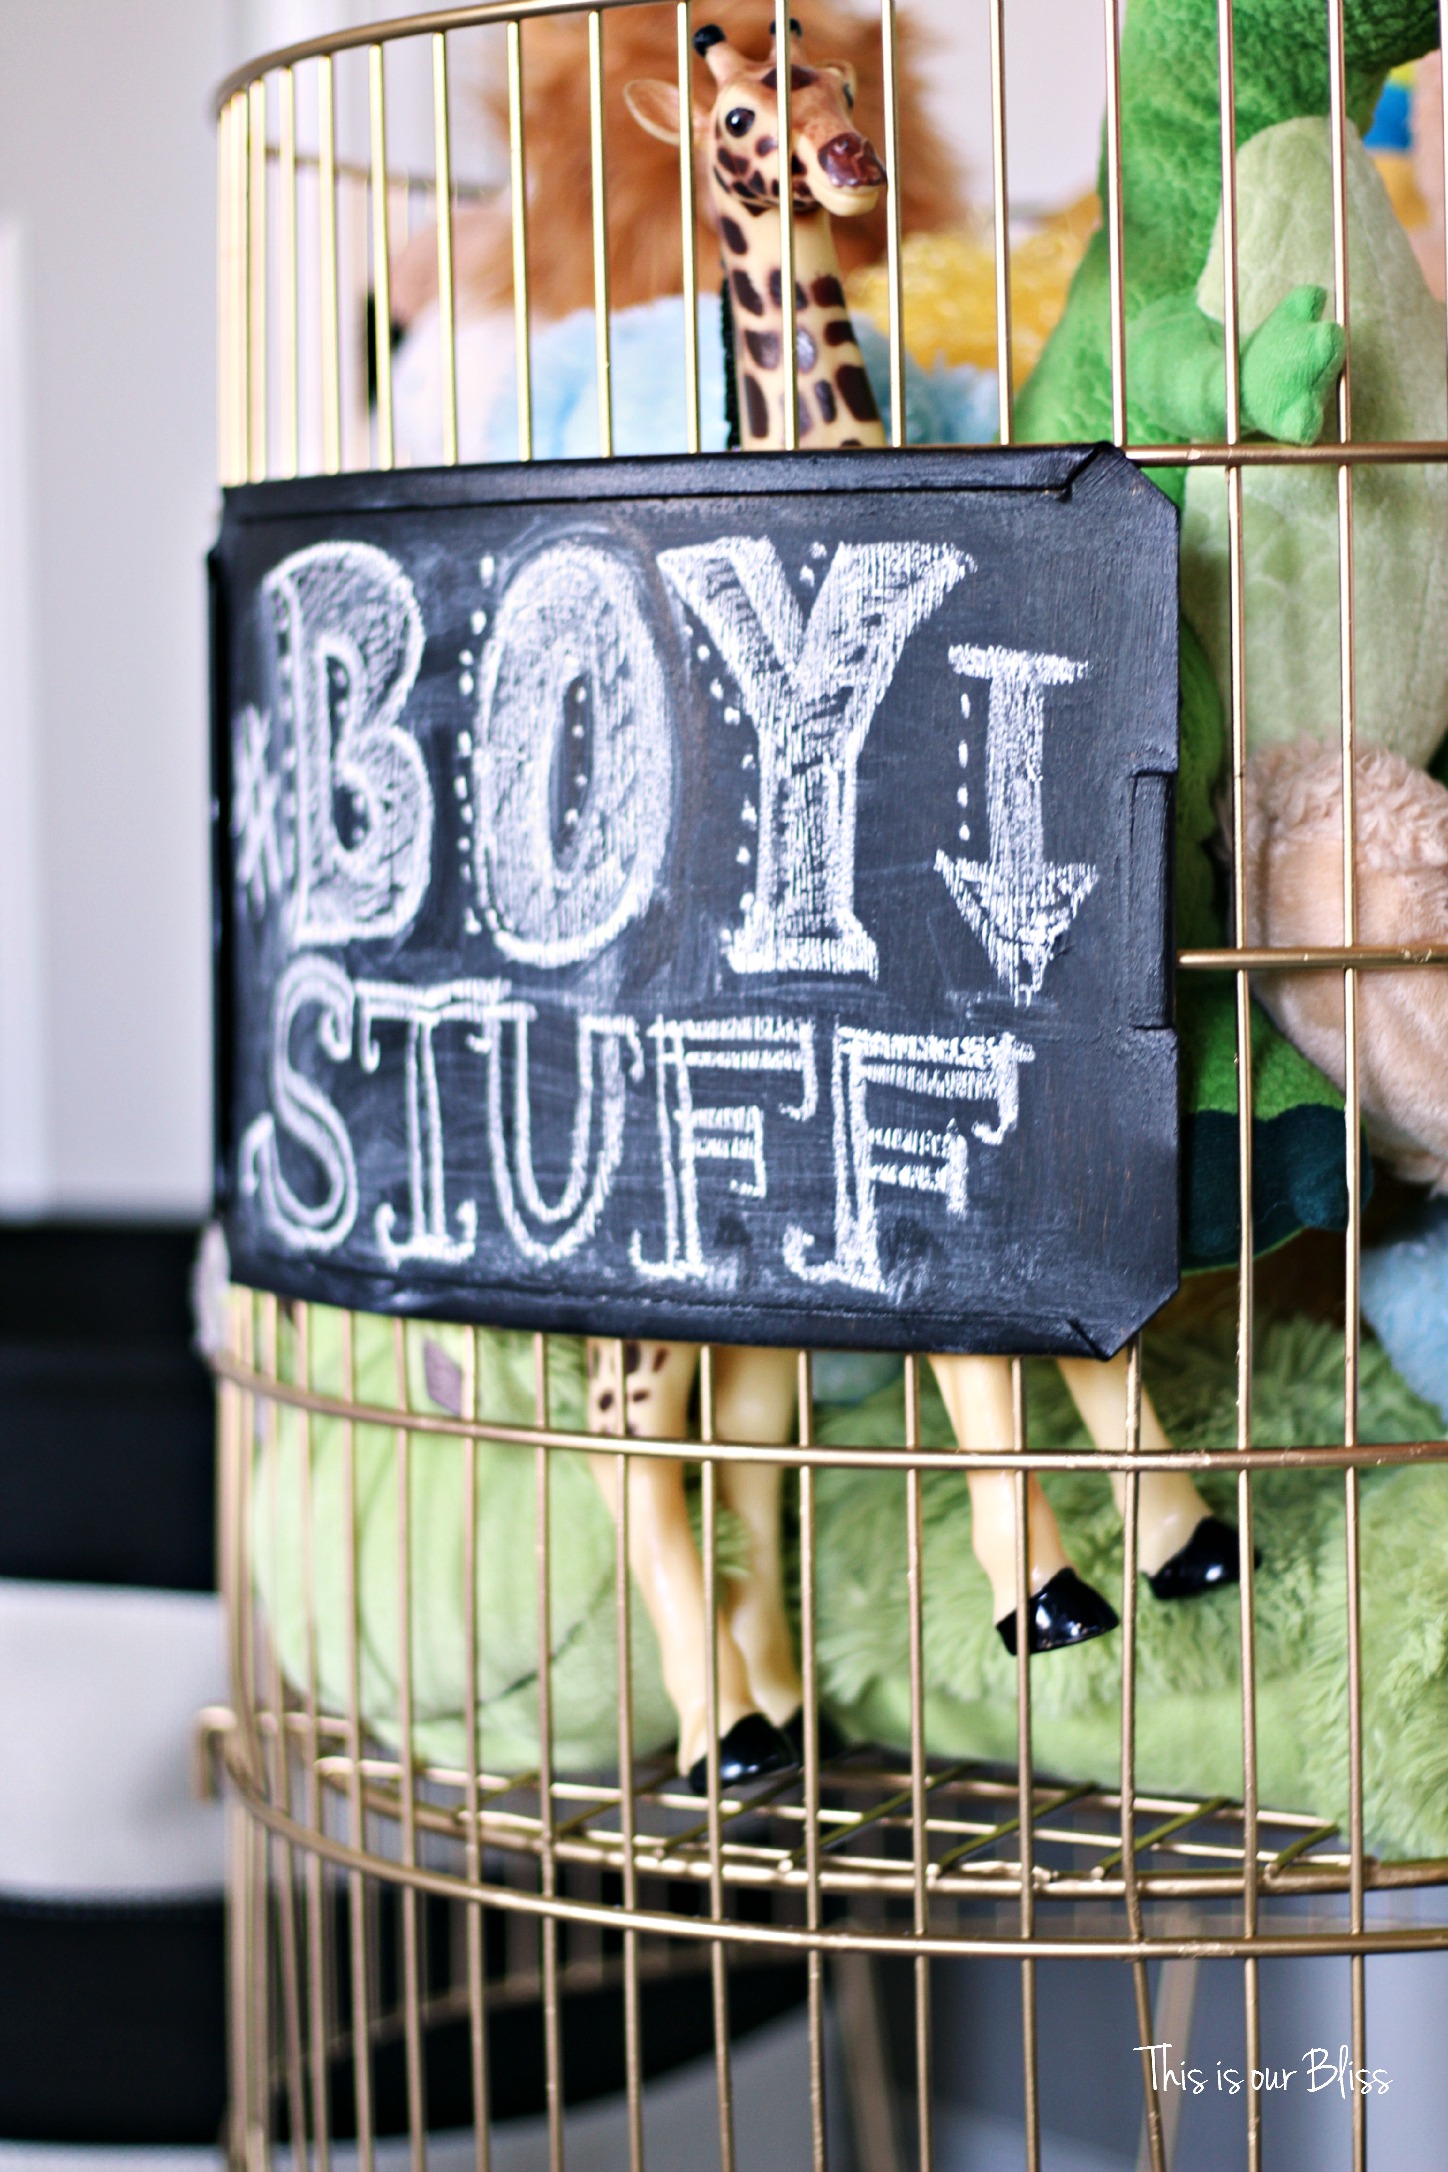 And since I forgot to take a photo before I wrote on it and filled it with “boy stuff”, here is the finished product!
 I just love the detail of the legs…definitely resembling vintage hair-pin legs…
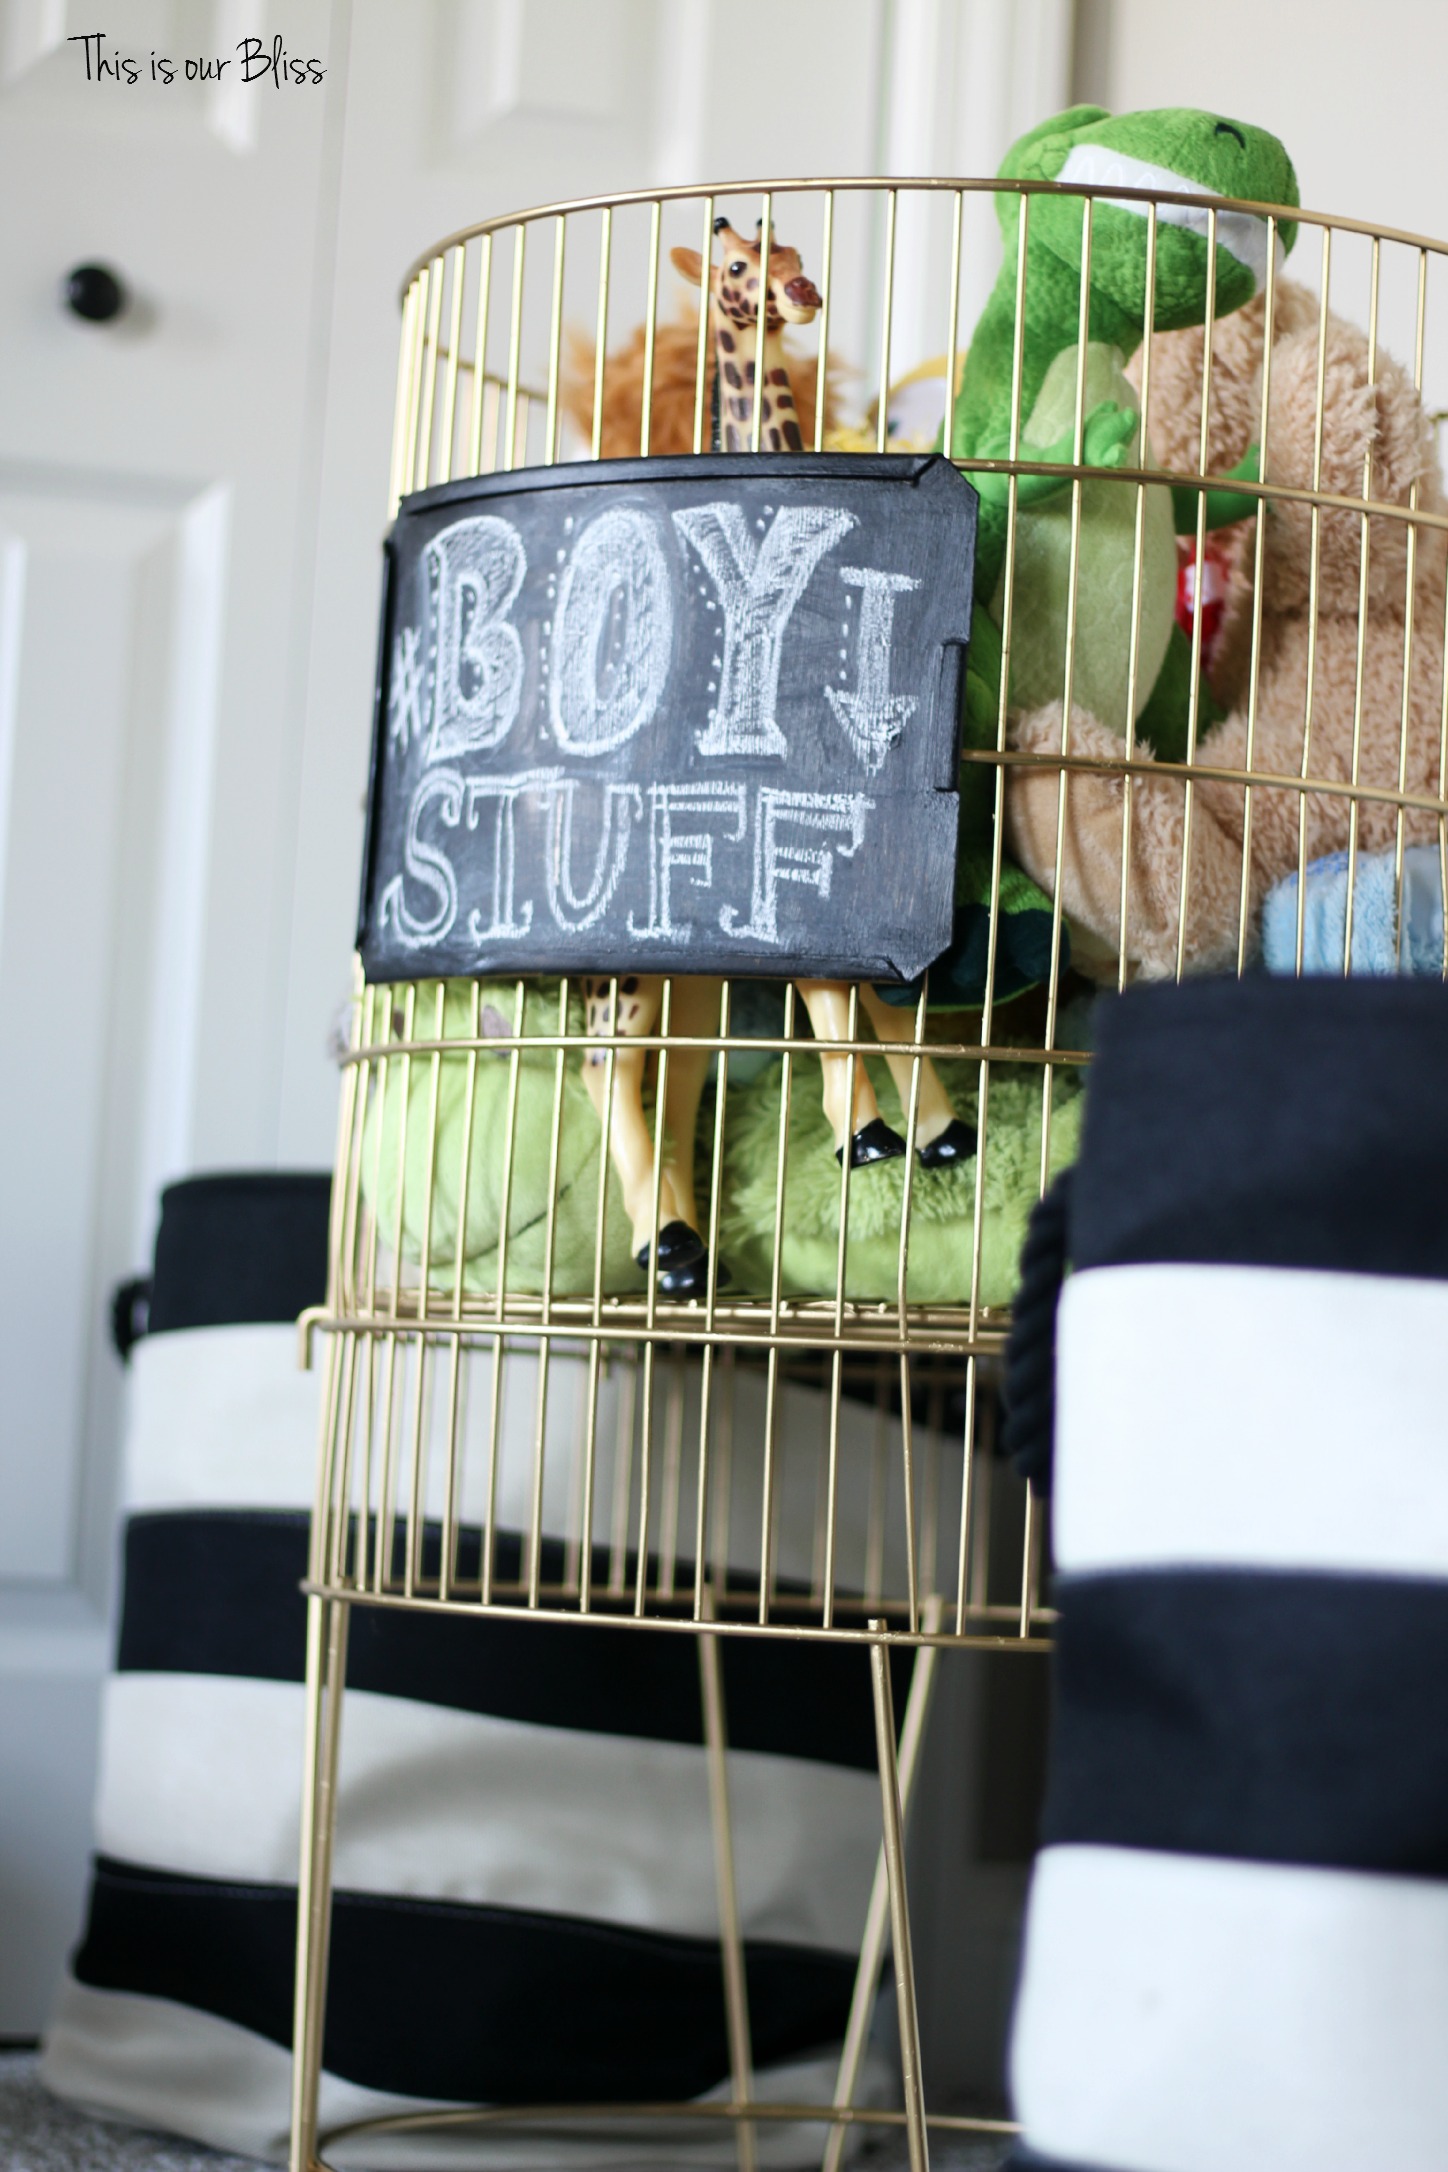
 I stumbled upon these black and white striped canvas bins in the basket section at Michaels about 3 or 4 months ago. They were 40% off and I thought they would look good in the basement play area acting as toy storage, but I think they look GREAT on either side of the gold metal bin!
If you are new over here, then you are getting your first dose of my black, white and gold obsession. #blackwhiteandgoldalways
I’ve only shared a handful of basement posts, so now that I’m refocusing my time and attention, I’ll be sharing more from this space.
 Let’s take another look at where we started and how we ended. Everyone loves a good before & after shot 😉
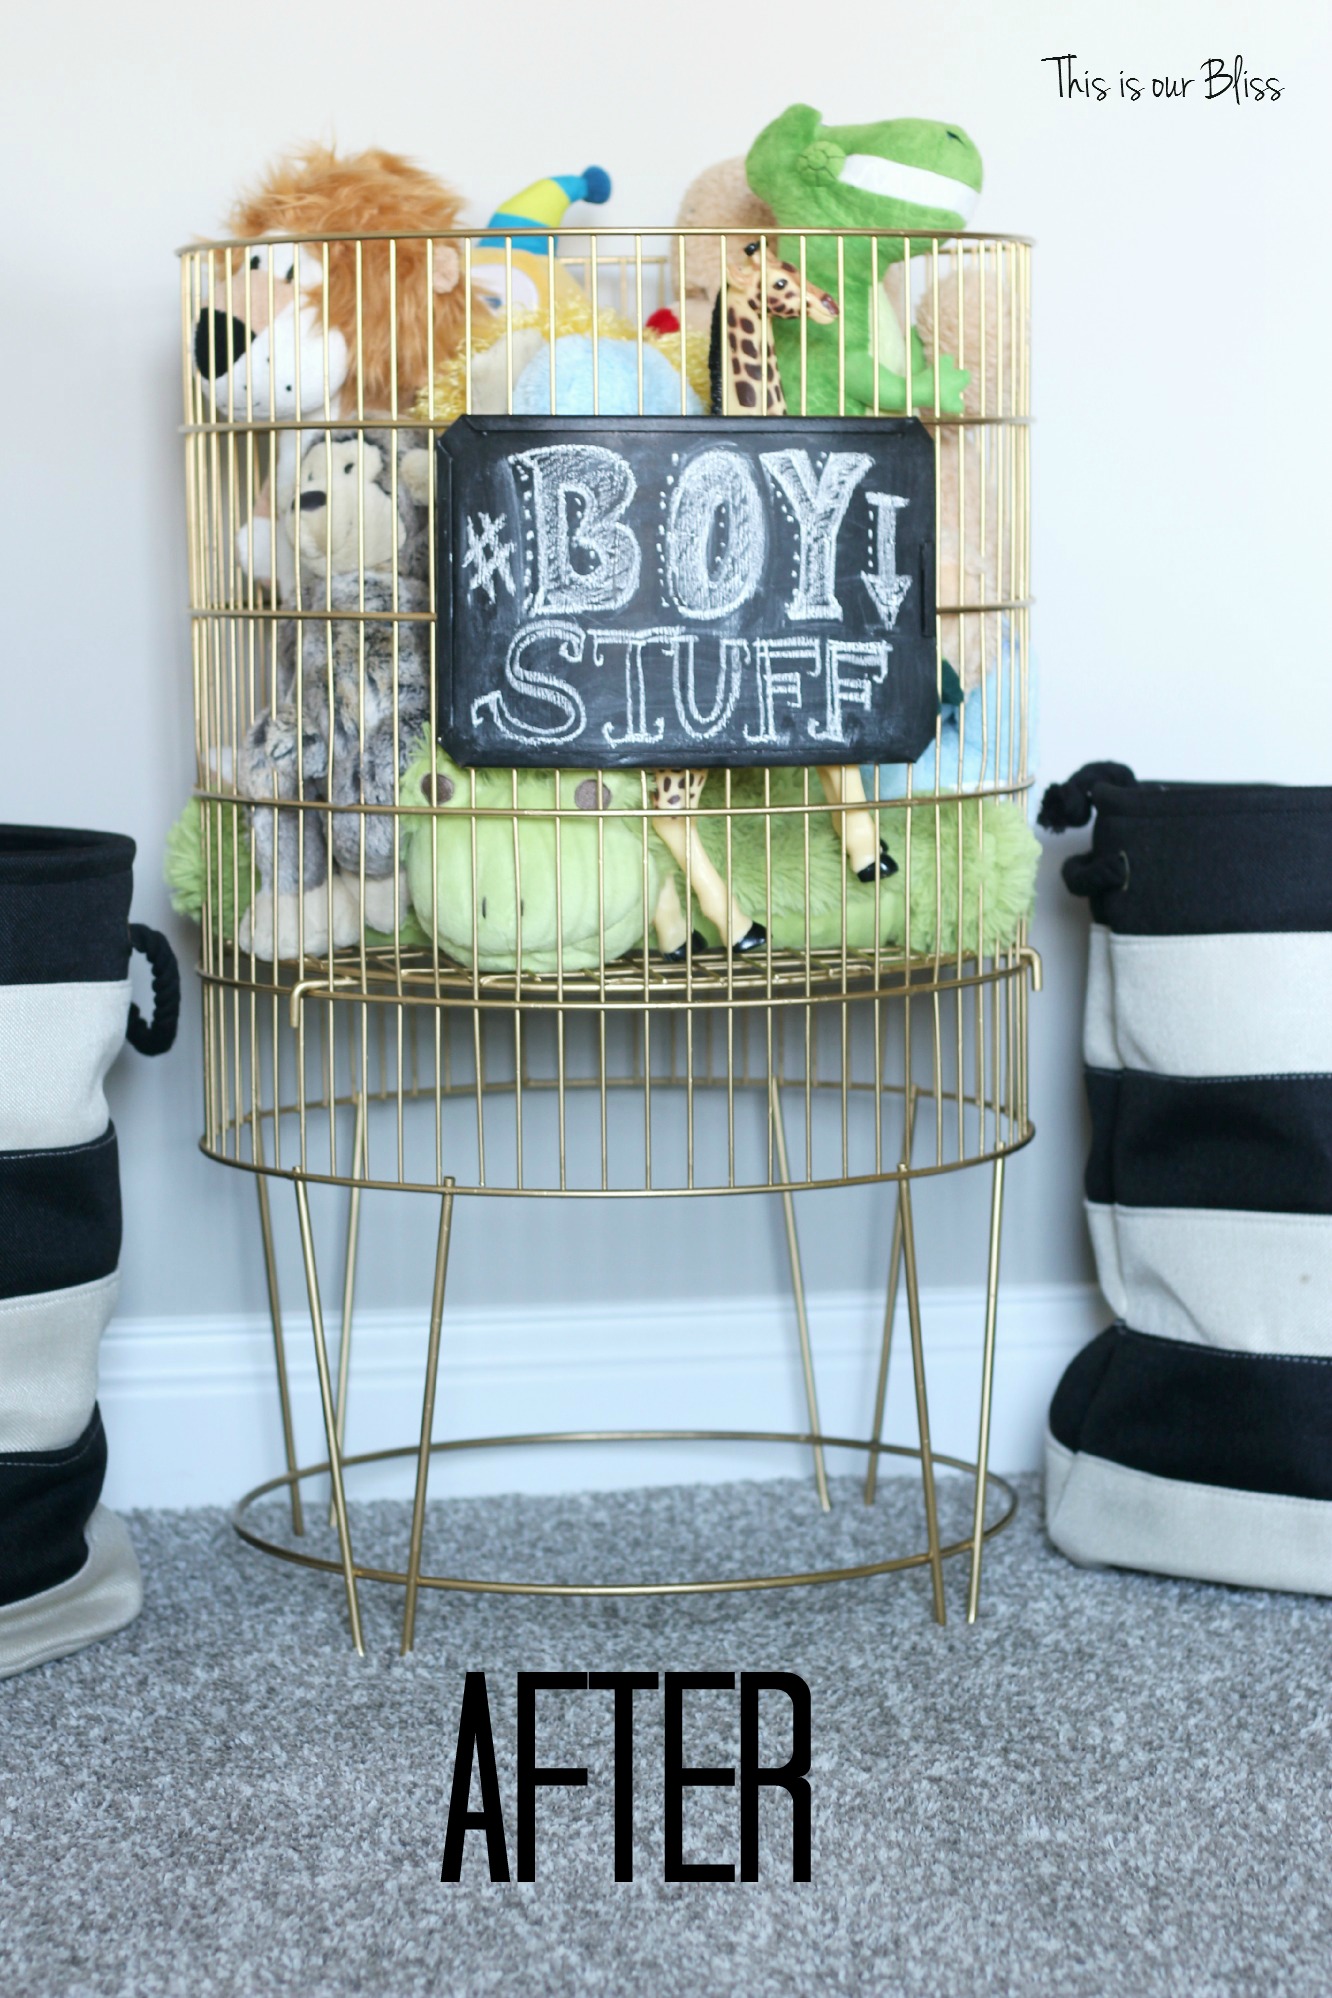 Not a single trace of dirt, rust, tape or spiders! I’m telling you…gold spray paint is like magic.
 As a rule, I do love how most of my projects turn out, but I especially love this one. I find it so gratifying to take an old piece of junk and make it over into something pretty and new again. It was an awesome $5 investment! When I take the time to fix up my thrifted finds, I end up falling more in love with the finished products versus how I feel after I stumble upon a great find at HomeGoods. There is something about a DIY project – a sense of pride and ownership… a feeling of accomplishment.
Don’t get me wrong, I will still be trekking it up and down the HG aisles in pursuit of my next great <3!
So, what do you think? Do you feel the same way after making over or creating something yourself? And I must ask, what is the last thing you used spray paint on?!
My new “about me” post will be coming up later this week, a basement progress report and a Fab Friday Finds post are still to come. Please come back again soon to see what’s going on over here!
 P.S. I do really appreciate your thoughts & comments from my last post. Sometimes we truly need to take a step back and refocus ourselves. I can tell you, my thoughts & focus were solely dedicated to my little man’s recovery after his surgery on Friday.

Your prayers and well wishes & sweet notes on social media meant the world to us – thank you! He is doing awesome and his “bump is all gone” and stitches are healing right up!
You all are the best! xo
*affiliate links were used in this post.

Basement Bar Progress | TIOB Basement Project Update IV | This is our Bliss
October 22, 2015 at 11:18 AM[…] ← Gold Metal Toy Bin + chalkboard label | Basement playroom accessories […]
September Four
October 20, 2015 at 8:52 AMThe gold makes the toys look so chic! I love a good makeover and this one is pretty fab!
Rachael @ This is our Bliss
October 26, 2015 at 4:35 PMBoys can have pretty things too, right?! 😉 thank you!