How to Make a Statement Wall With Over-sized Photos in a Hallway
Posted on February 7, 2017
Alright! You asked for it, so I’m bringing it! After posting a quick shot of a recently finished statement wall in our upstairs hallway on instagram, you guys went bananas asking for the details and sources! So today, I’m sharing all the scoop on how I created a major statement wall using over-sized photos in our hallway so you can do it too!
Do you have that one project that you just can’t seem to get around to doing? Maybe it’s not even a project, but more like a simple task you keep putting off and putting it off, until finally, one day you decide to take charge and fast-track it to the TOP of your to-do list? Trust me, I have many, but there was one in particular I had on my mind for-like-ever. GET THOSE FAMILY PHOTOS PRINTED!! I feel like you might be able to relate! Seriously, how difficult is it to get our most recent family photos developed, in a frame and on the wall somewhere. Apparently, extremely.
When my turbo-powered take-charge attitude kicked in, I mentally selected photos, browsed for frames and had a good idea of what I wanted to do, but the looming question was……..where?!!!
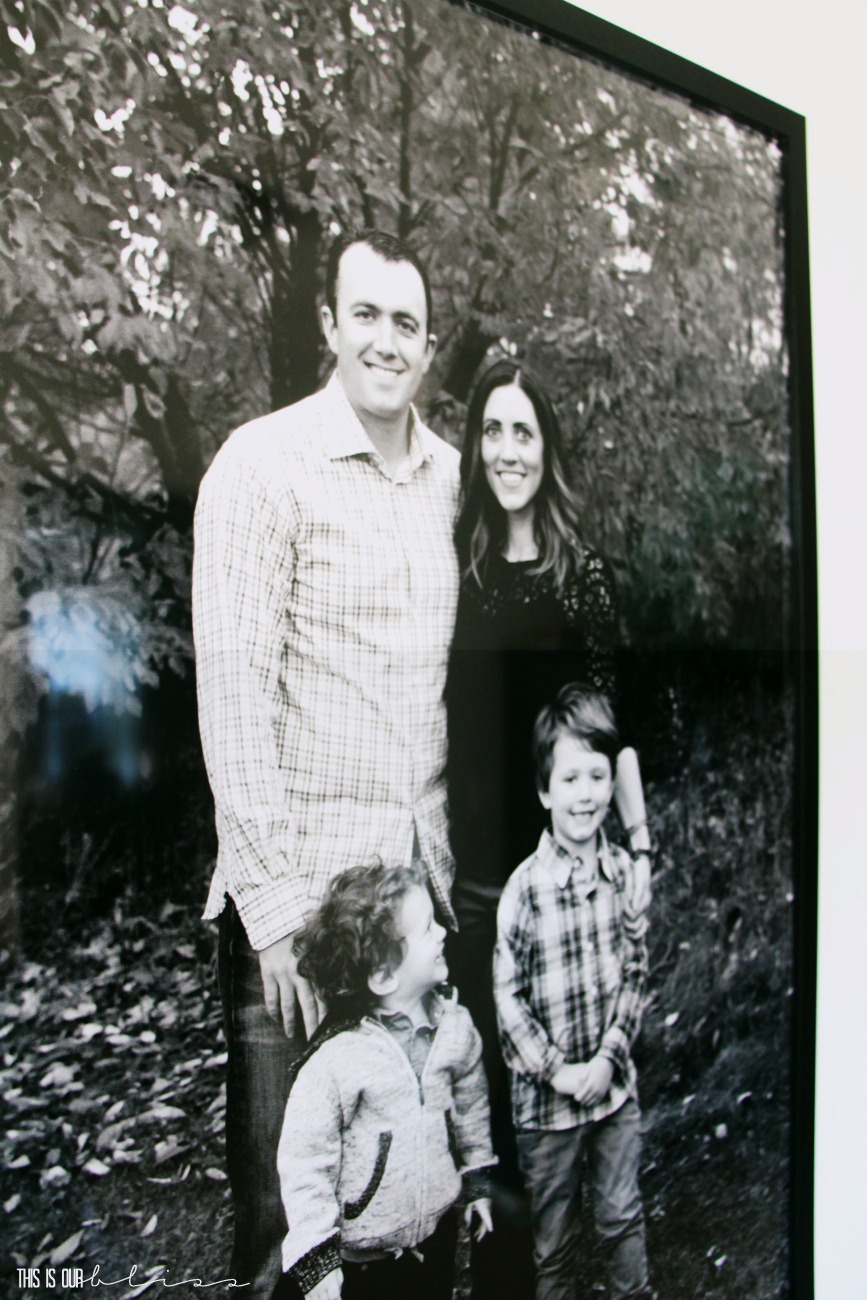
If you’ve been around here awhile, then you know I’ll throw a frame [or 100] up any ol’ place in our house. But with these photos, I wanted to be a bit more intentional with their display. In fact, I wanted them to be large and in-charge somewhere in our home. A focal point where we would be able to see them and smile.
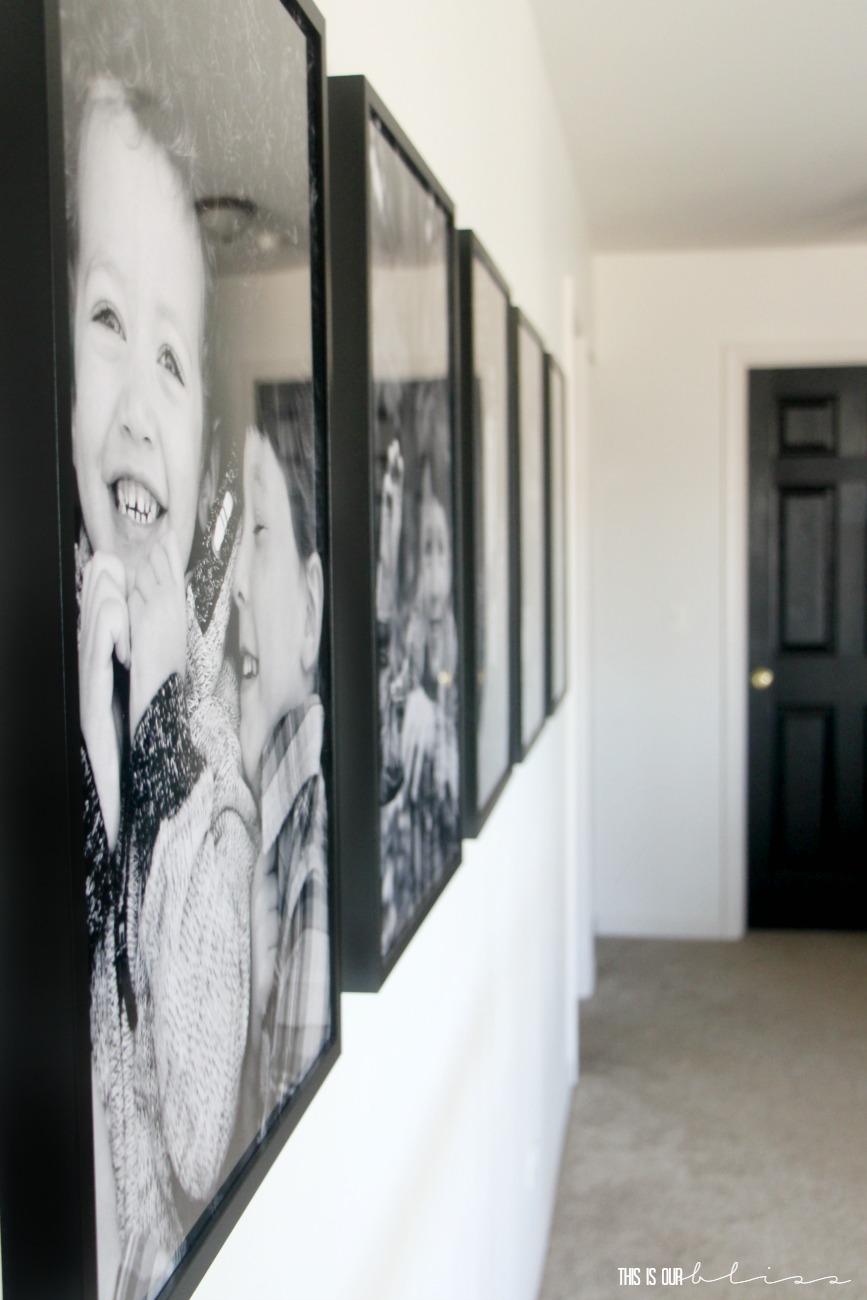
After himming and hawwing about where to put them, I decided the upstairs hallway was the perfect spot! Not only would we be able to see them when we’re passing through from bedroom to bedroom, but you can see this wall as you’re walking up the stairs from the main floor, too. You can even see it when you step inside the front door. Yes, this was the spot!
Read on to see where I printed the photos and where I found my frames!
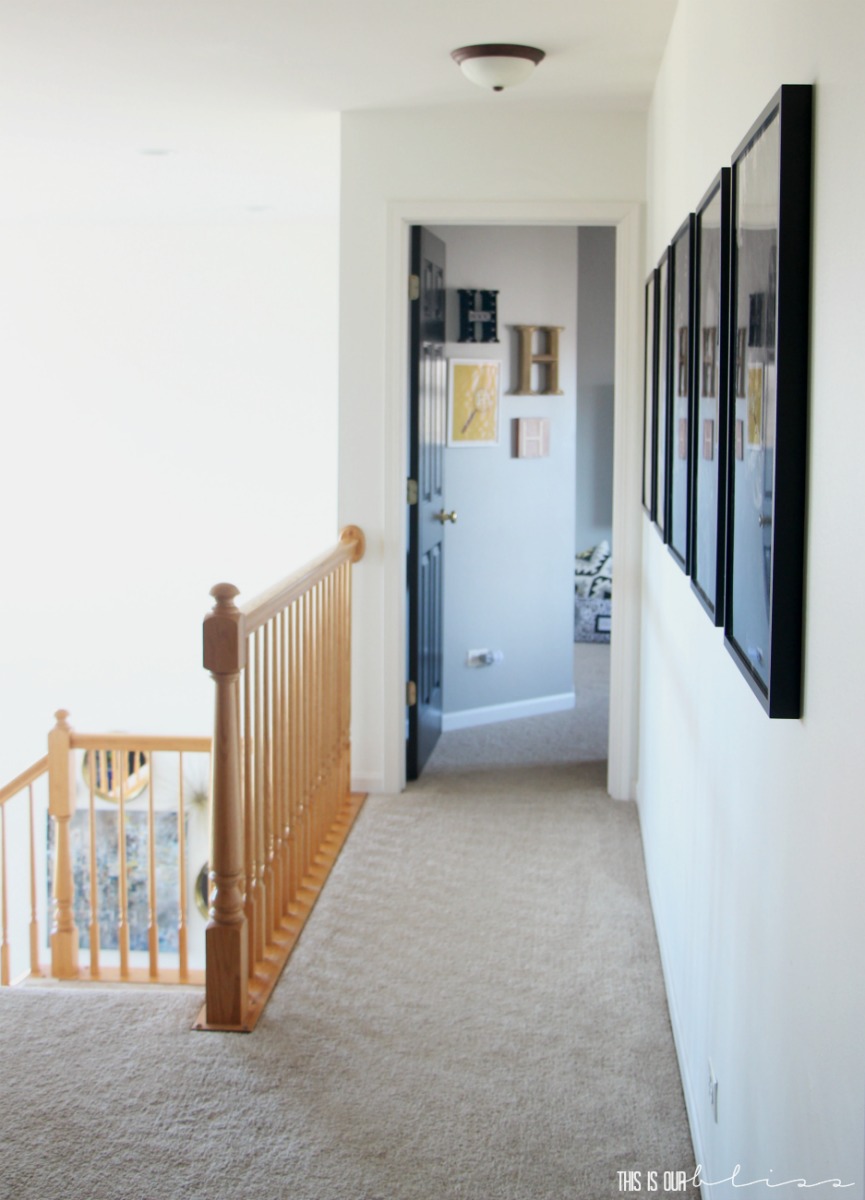
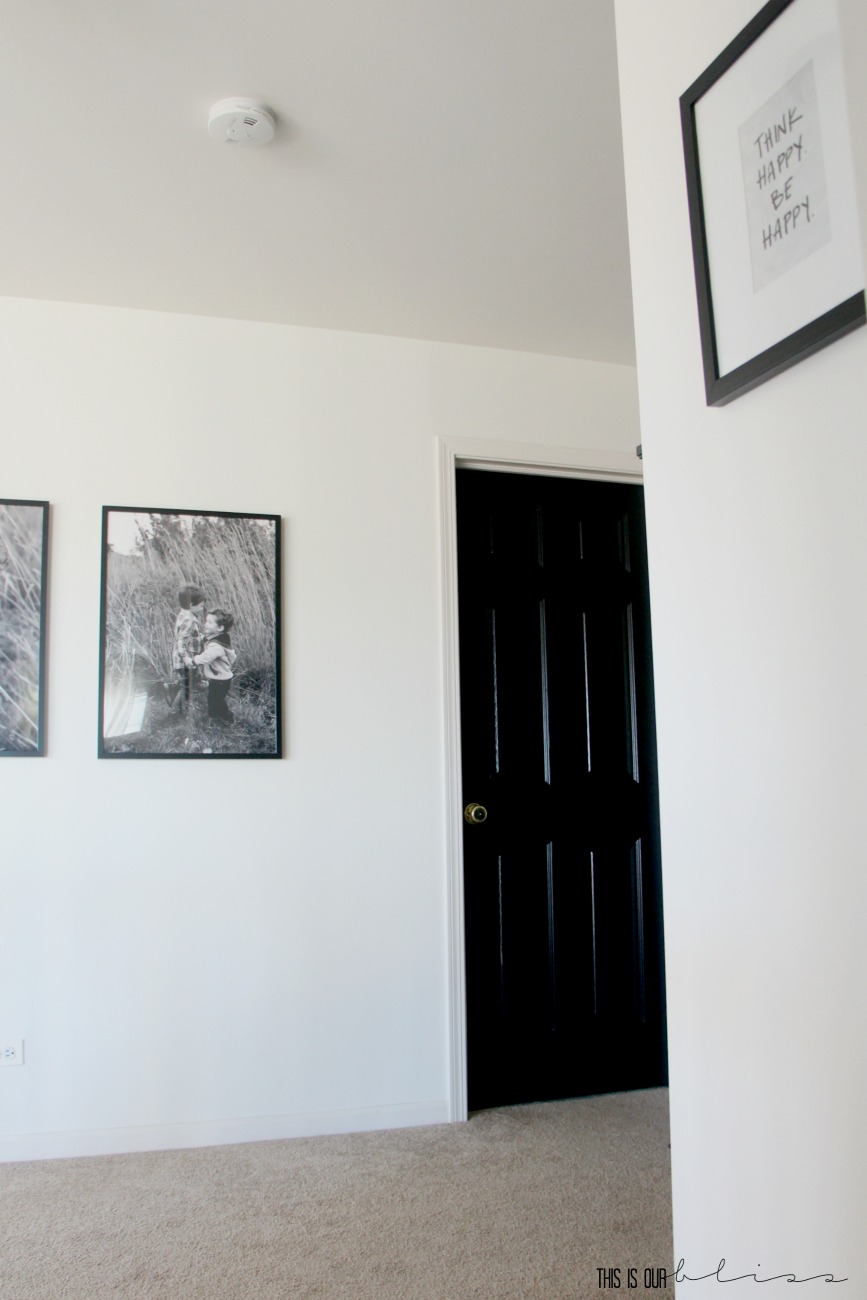
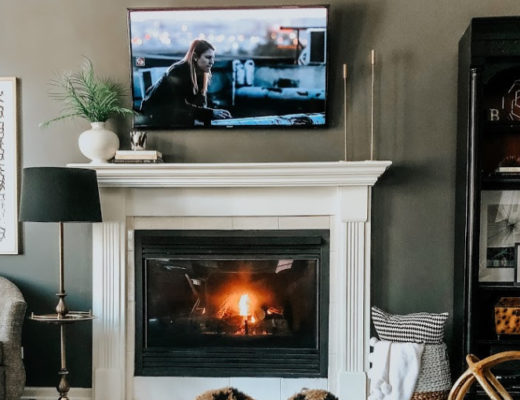
My dreams of ripping up this carpet, installing dark hardwood floors, finding a killer runner and then replacing the 3, yes 3, boob lights in this hallway are not coming true anytime soon. A lighting refresh might happen, but for now, ignore the boob light above. I’m hoping to get that outta here ASAP!
Let’s get back to the part of the hallway that I DO love! Here is what I did in preparation to hang the frames all up…
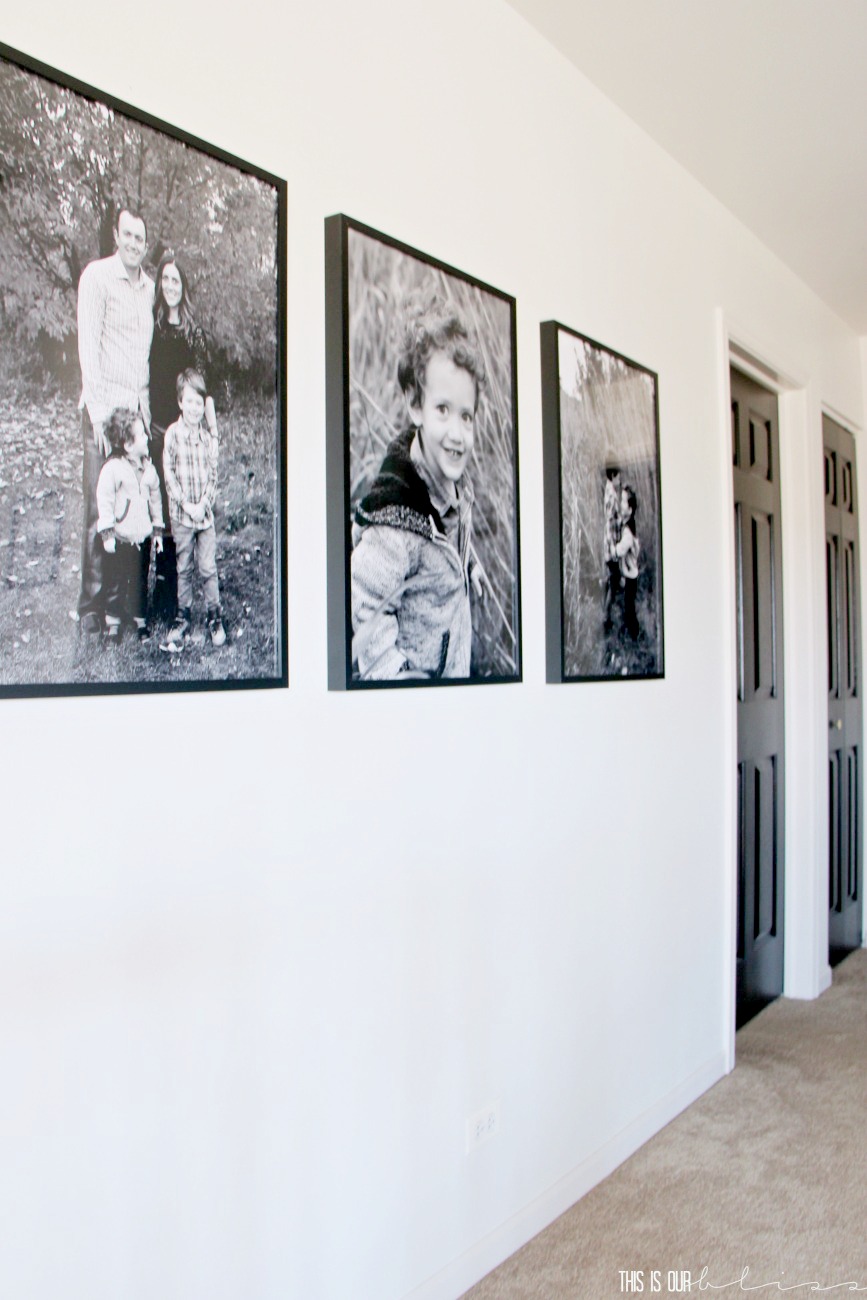
1 | Do some measuring to determine how many prints and what size frames you’ll need.
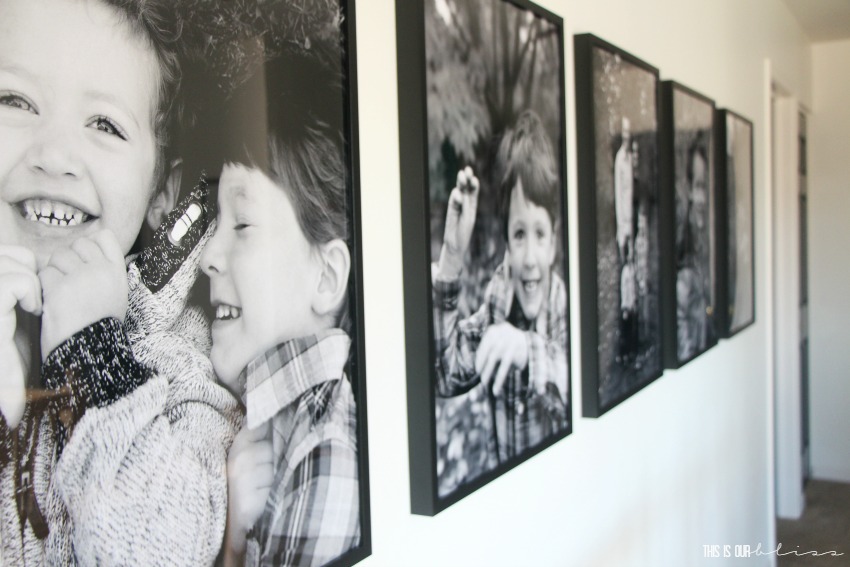
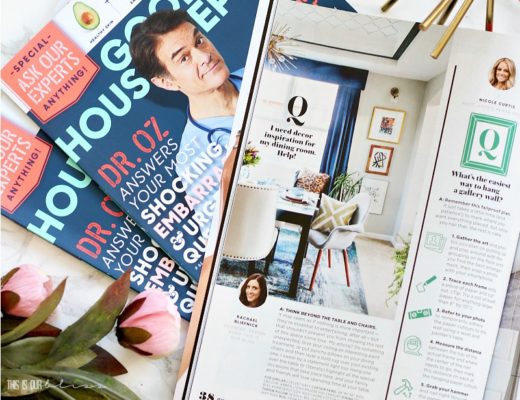
I first measured the entire width of the wall I wanted to use and determined that I would need 5 frames since I had my eyes on the 19 3/4″ x 27 1/2″ black RIBBA frames at IKEA for $14.99 each. 5 of these frames would fill the wall, but not crowd it. The grouping of five frames would be centered on the wall, leaving 12 inches on the far left side and far right side, spacing the frames 3 inches apart.
2 | Order prints and purchase frames.
A quick IKEA run [well, if you actually know how to get in and out of IKEA quickly!!!] and a super fast uploading session at Costco.com did the trick! My 5 large prints were ready in less than 3 hours.
3 | Trim your photos down to size.
Since the only print size that would work with my frames was the 20″ x 30″ print, I knew I’d have to trim the photos down. Since I was using 5 different images, the trimming would be slightly different for each one. For example, if it was a super close-up shot, I might only be able to trim an inch from the top and have to trim the remaining 1.5 inches from the bottom of the photo.
The best method I found for determining which sides to trim and how much, was to take a part the frames [Don’t forget to remove the plastic film on both sides of the plexiglass!] and use the paper from the inside as a template. I laid my print down, placed the paper on top and positioned it so that no major feature would be cut off. For example, if it was an up-close shot of the boys and their hair was close to the top of the print, then I would trim the majority of the 2.5 inches from the bottom, if not all. I would rather their shirts be trimmed off than the top of their head skimmed!
After you decide your template is in the correct spot, simply attach a couple paper clips to the side, make your cut on the opposite side and then switch. Clip the left side and trim the right. There is a very minimal amount of photo to be trimmed off of each side, where as a much larger section will be cut off from the length of the photo.
After the sides are trimmed, clip your paper to both sides of your photo and make your top and bottom cuts or just one side if you determined all of the excess should be trimmed from either the top or bottom.
4 | Place photos in frame and prepare to hang.
Next, remove the mat and place your photo face-down against the plexiglass. Lay the paper template on top of the back of the photo and then put the backing on. You’ll have to flip down all of the brad nails to secure the backing to your frame.
5 | Refer to your measurements and begin hanging the frames on the wall.
Go back to your original measurements and start from the middle and work your way out. Meaning, hang your center frame and then space out 3 inches from the right and 3 inches from the left and hang your next frames. Head over another 3 inches on either side and hang the final 2 frames. Your ceiling height might be different, but I found that hanging the frame so that the bottom edge was exactly 40″ from the top of my baseboard was the perfect height for the row of frames. Also, remember when you are making your marks, its best to use a pencil! You could make a small mark 40″ from the baseboard to indicate where the bottom of the frame should be, then 27 1/2″ up from there would be the top edge will line up and then 2 1/2″ down from the top edge is where the saw-tooth hanger is on the back of the frame.
*Be sure to confirm your own measurements as there are oftentimes inconsistencies in the dimensions of photo prints, frames, hanger placement, etc.!
Phwew! Did you get all that!
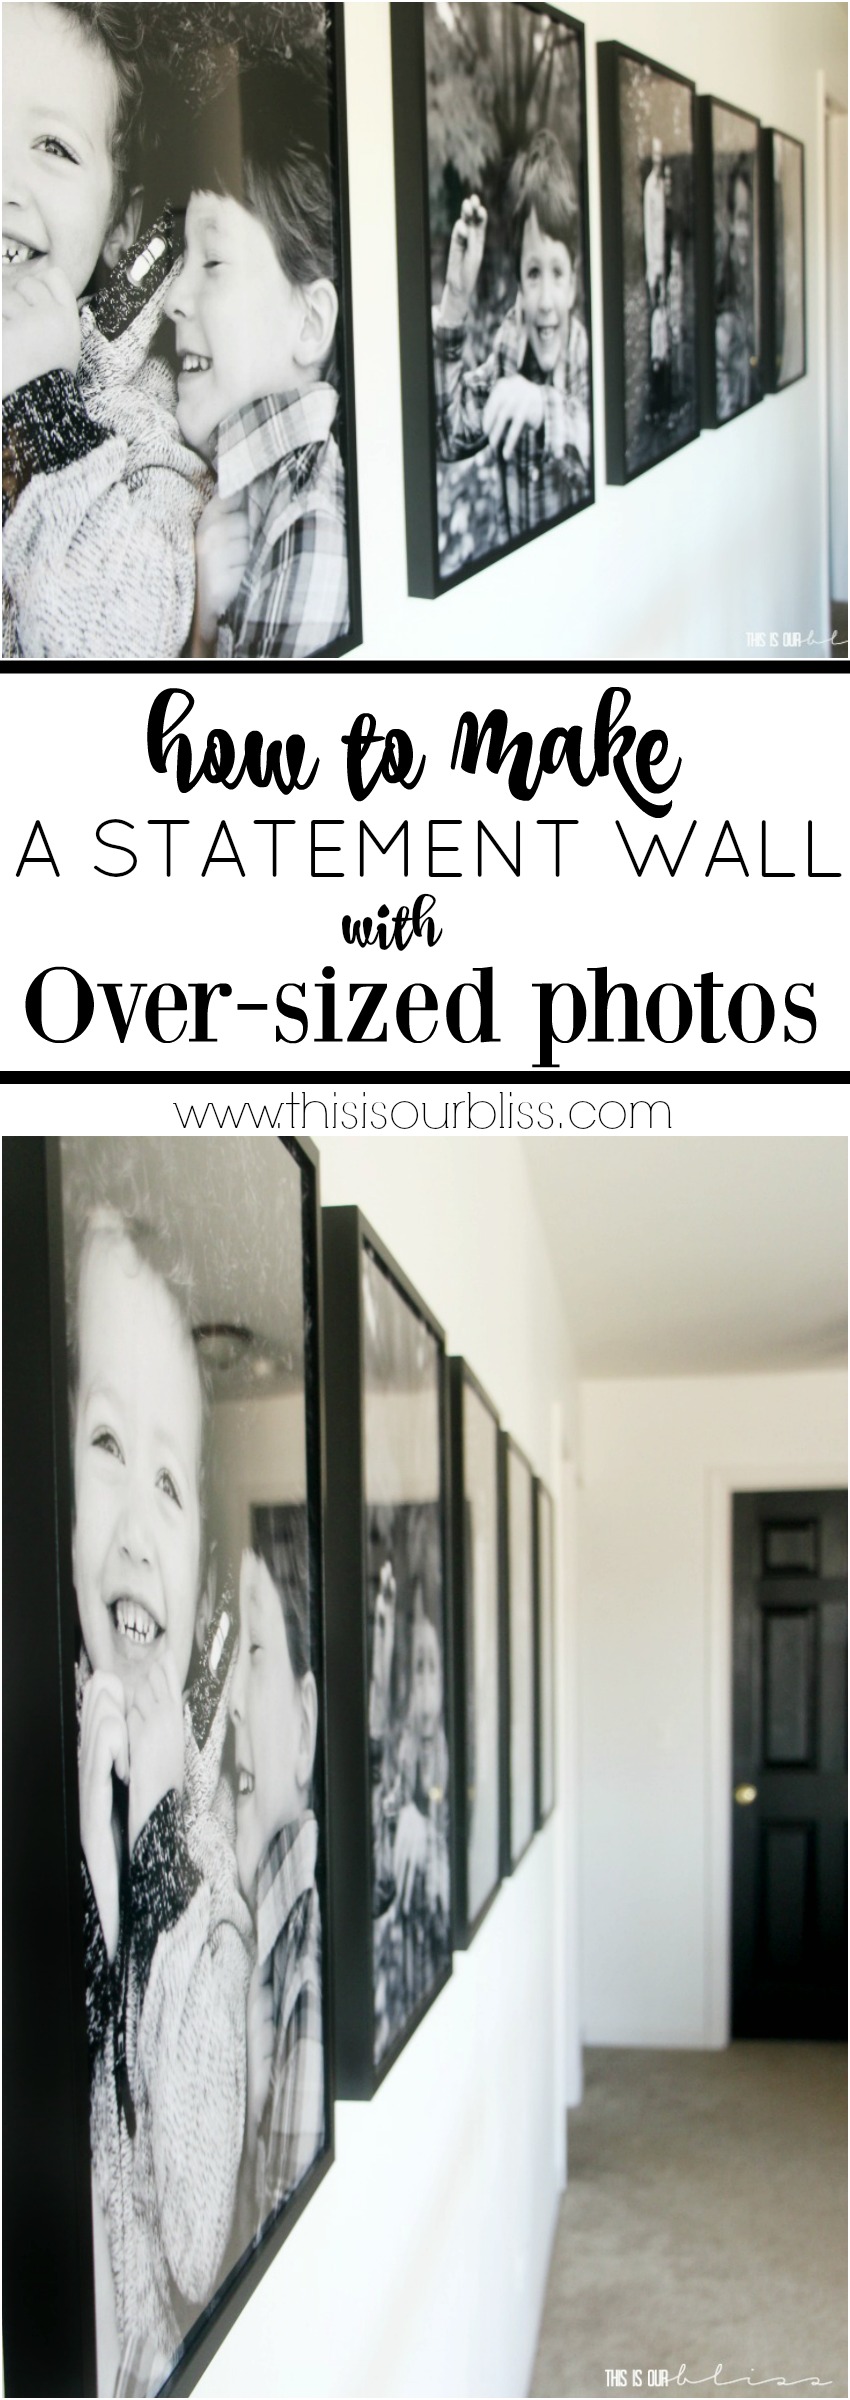
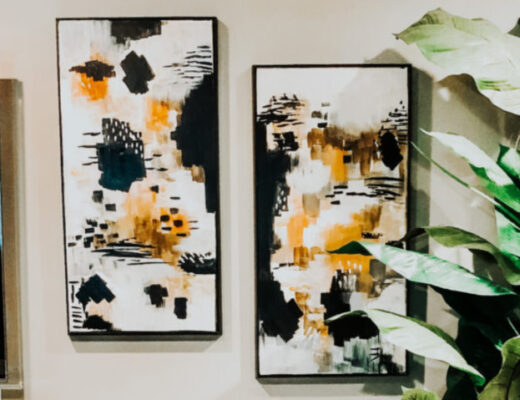
Lastly, step back and admire your beautiful hallway wall of over-sized photos. I honestly couldn’t be happier with this project. I love these 5 shots, the boys giggle at “how big they look on the wall” and I get to walk by and smile multiple times a day!
Isn’t it a fabulous statement wall?
In case you aren’t a Costco member, here are my other go-to sites for photo printing:
Are you ready to take this on?! I promise you’ll be thrilled you did it! Alright now…Happy photo printing and framing! I know you’ll have too many favorites to choose from 😉
Thanks, Steph! It was easy peasy!! Certainly could be completed during naptime (If there is such a thing for us anymore, right!?} 😉 It’s one of those walls you can’t help but fall in love with!
LOVE IT! And definitely something I have been dreaming of doing for a while but haven’t had the chance to do so yet! I think our recent Paris family photos would be perfect for something like this! Thank you for sharing Rachael!


Margo
February 14, 2017 at 7:11 AMWhat a precious and do-able idea! My favorite kind of DIY!
Rachael @ This is our Bliss
February 21, 2017 at 1:49 PMAww thank you, Margo! Once I had my idea set and my supplies bought, it was so simple!
Stephanie @ Casa Watkins Living
February 9, 2017 at 10:40 AMThese are perfect!!! I love the size of them. I have only a couple things up in my hallway but can definitely take the time for this idea. 🙂
Rachael @ This is our Bliss
February 21, 2017 at 1:43 PMThanks, Steph! It was easy peasy!! Certainly could be completed during naptime (If there is such a thing for us anymore, right!?} 😉 It’s one of those walls you can’t help but fall in love with!
Vel
February 9, 2017 at 12:54 AMLOVE IT! And definitely something I have been dreaming of doing for a while but haven’t had the chance to do so yet! I think our recent Paris family photos would be perfect for something like this! Thank you for sharing Rachael!
Rachael @ This is our Bliss
February 21, 2017 at 1:33 PMThank you, Vel! Those photos would absolutely be PERFECT!! I think you should go for it!!