Powder Room Refresh: DIY Art on the Cheap | $100 Room Challenge Week 3
Posted on September 20, 2017
Hey hey! I’m back today with a Pretty in Pink Powder Room Refresh Update! Eeek! This means I only have one week left until the reveal! I’ve gotta get my act together this weekend and get things wrapped up and photographed. I’m leaving for the Better Homes & Gardens Stylemaker Event in NYC next Wednesday, which means this room reveal has to be completed before I go. Time to get this $100 Room Challenge Makeover show on the road!! Today I’m getting things moving with some DIY Art on the Cheap!
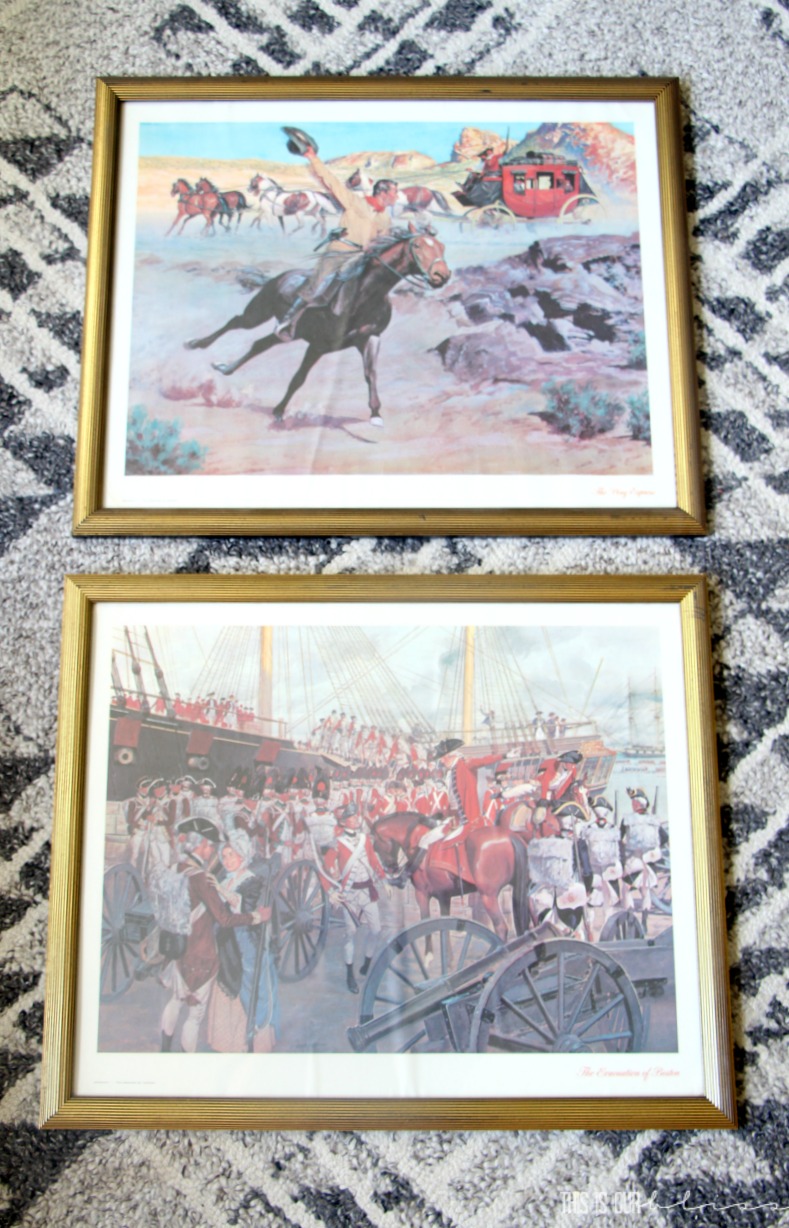
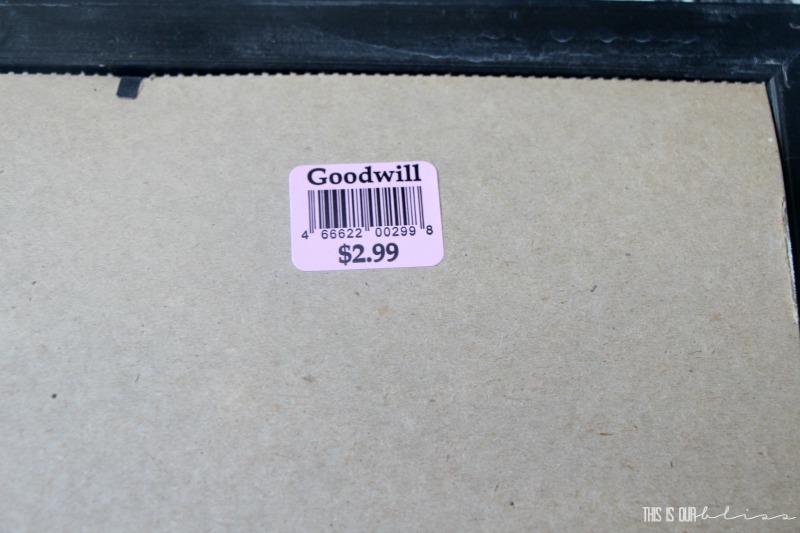
So, what does DIY Art on the Cheap actually mean? Well, I started with two large matching frames from Goodwill at $2.99 a piece [$5.98 total], poster board from the Dollar Tree [had on hand], black spray paint [already had], an Etsy downloadable digital art print [$2.50] and then finally a DIY word art piece I quickly created using PicMonkey.
After taking the frames apart, cleaning the glass with Windex and wiping the actual frame down with a damp cloth, I traced the outer edge art print that was originally inside of the frame onto my poster board and then cut it out. These served as my “mats” inside of the gold frames. I wanted to do something a bit more dramatic, so I sprayed one of the poster boards black, but I assure you, it would have been much easier and actually less time-consuming to just run out and buy a BLACK poster board. Pinch your pennies, but save yourself the hassle in the end is what I learned ha!
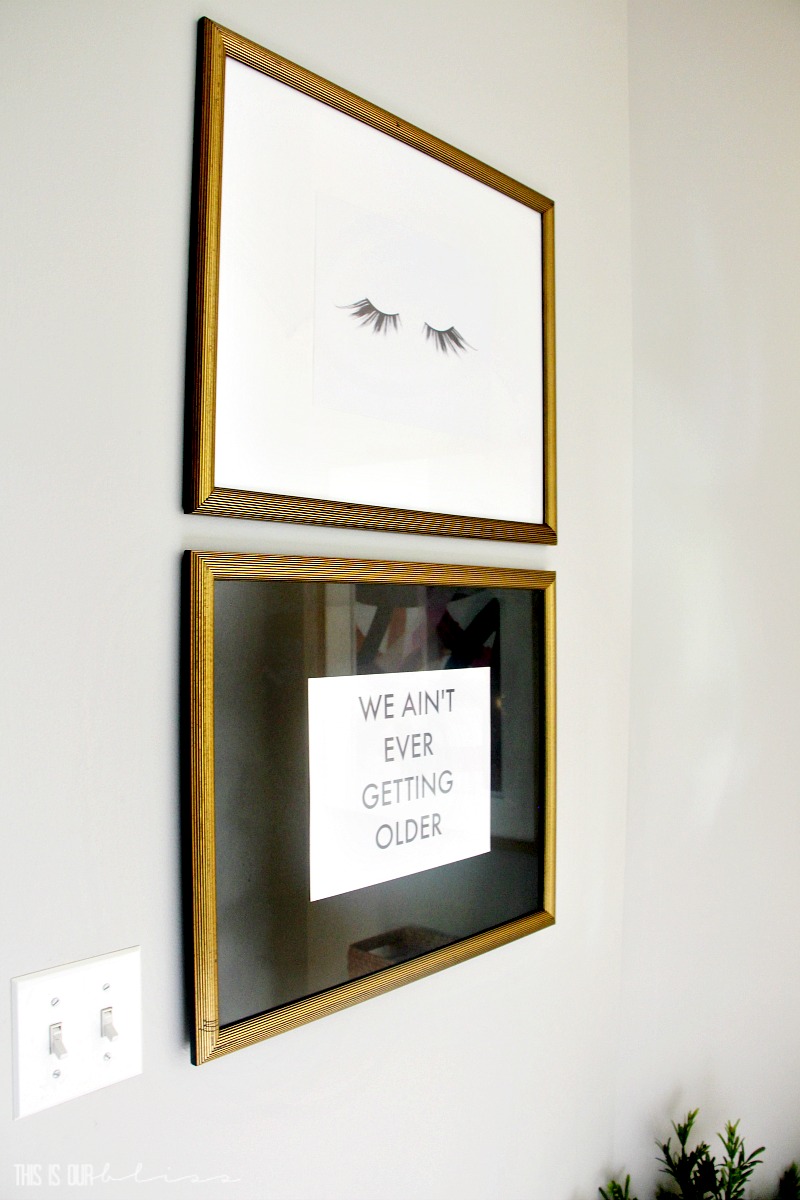
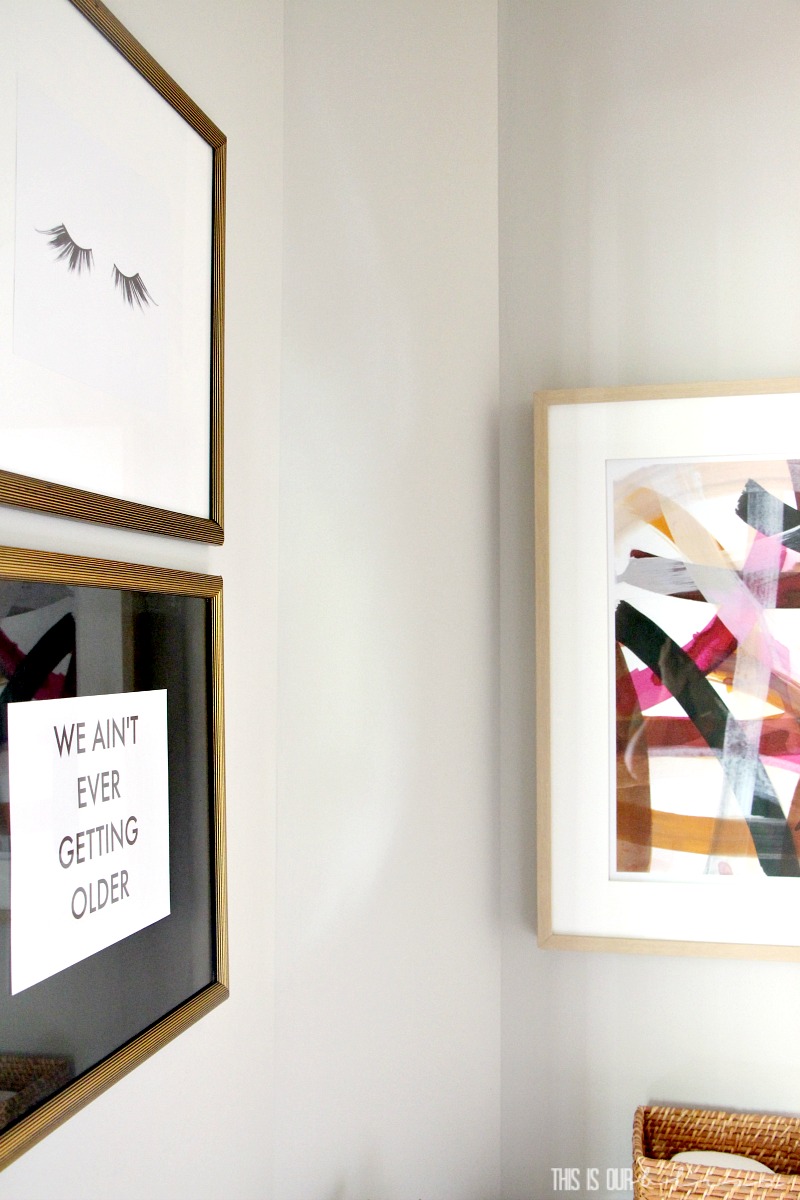
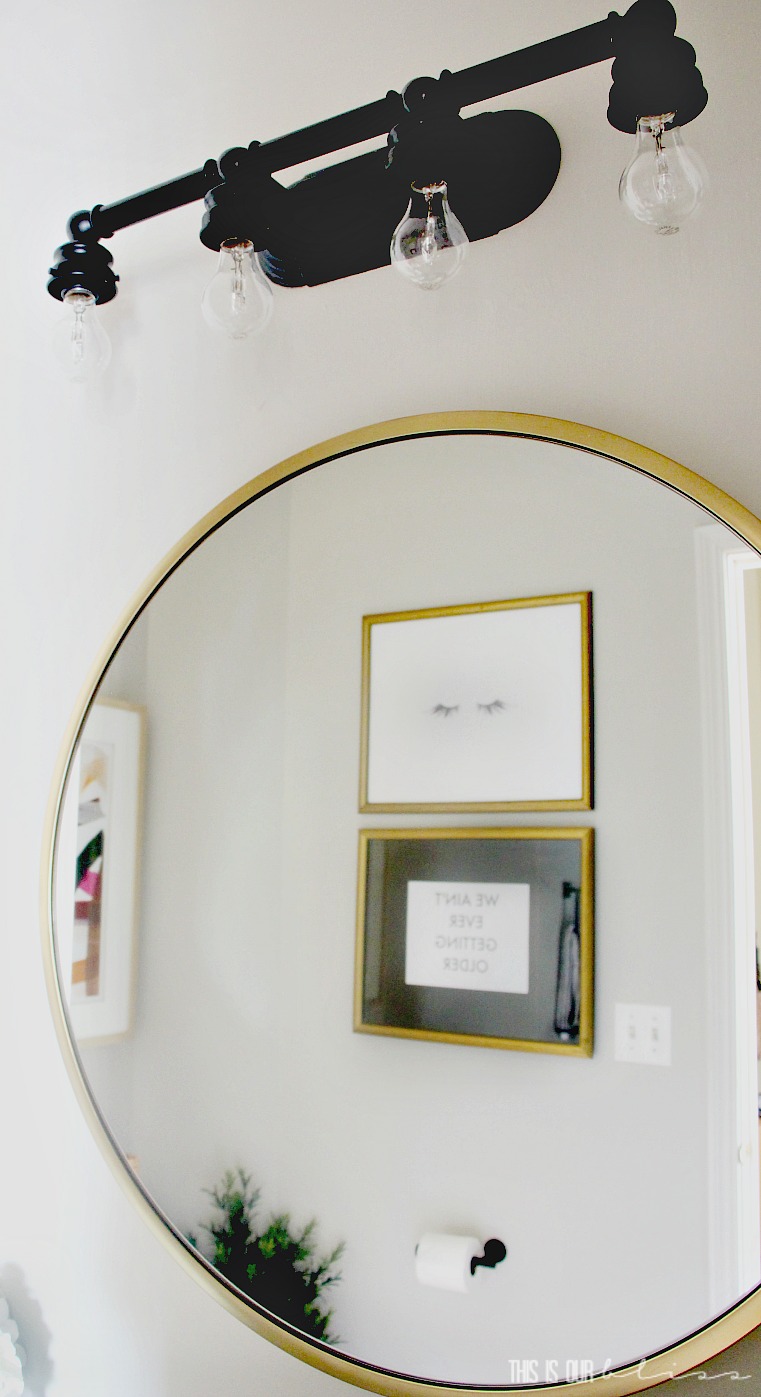
Next, I ordered that same eyelash digital download print that I shared in my original Powder Room Mood Board and plopped onto a blank canvas in PicMonkey and rotated it so it was horizontal. If I would have just printed the jpeg that I downloaded, it would have been a vertical print and I wanted to hang the frames horizontally on the wall. After adjusting the layout I printed it on white card stock paper. The other DIY art piece was simply text that I typed out on a blank canvas in PicMonkey – “WE AIN’T EVER GETTING OLDER” using the “Futura Medium” font. This quote is part of the lyrics from The Chainsmokers ft. Halsey’s song “Closer”. The biggest loves when this song comes on the radio and come on, who wouldn’t like to think we NEVER get older?! or at least physically age 😉
So, back to the art after printing these 2 images out on 8.5″ x 11″ white card stock paper, I simply taped it to the front of the mat [one white, one black] and popped the pieces into my freshly cleaned frame. I stacked them on the Powder Room wall similar to these art pieces in the Dining Room and these in our old playroom. The Target art is hung on the wall behind the toilet and I love how large these art pieces are and how they fill the walls so nicely! Now I know that my poster board isn’t an actual mat, but I can always change out the art and spring for some custom mats down the road. For now, I’m loving my two new pieces that only set me back $8.48 which isn’t too bad at all considering the frames hold a 16″ x 20″ print!
Oh and we’ll let it be our little secret that I actually tried to DIY the eyelash art…let’s just say the lashes looked more like stick people!!
One other small DIY you see above is the light fixture. We simply took it down, spray-painted it black, left the frosted glass shades off and replaced the bulbs with clear ones! $0 light fixture makeover because I used leftover spray paint and we had the clear bulbs in our lightbulb stash!
If you’re curious as to what we’ve accomplished and what we’ve spent so far, here is where we stand:
paint the walls – DONE [leftover paint – $0]
paint the vanity – DONE [$20]
update the knobs – DONE [existing knobs, plus materials on hand – $0]
swap out the mirror – DONE [from old house – $0]
switch out the artwork – DONE [pink abstract piece – $26 on clearance with 5% discount using Target Red Card, 2 DIY art pieces – $8.48]
hang new hardware [towel ring & TP holder] – DONE [$15.40 + $19.07 = $34.37]
place a new rug – DONE [$14.99 – 5% Target card discount – $14.25]
refresh the countertop – ??? [still unsure]
random decor & accessories – IN PROGRESS
Grand total spent so far = $103.10
As you can see, I am a few dollars over my $100 budget and still haven’t decided what to do with the countertops [if anything] and I am also in need of some decor and styling accessories for the space. I guess I need to continue shopping my house to see what I can come up with! Stay tuned for the reveal next week and to see what I end up doing with the countertops. I’d love it if you’d weigh in and vote! Leave them as is or go a bit over budget and spruce them up in some way!!
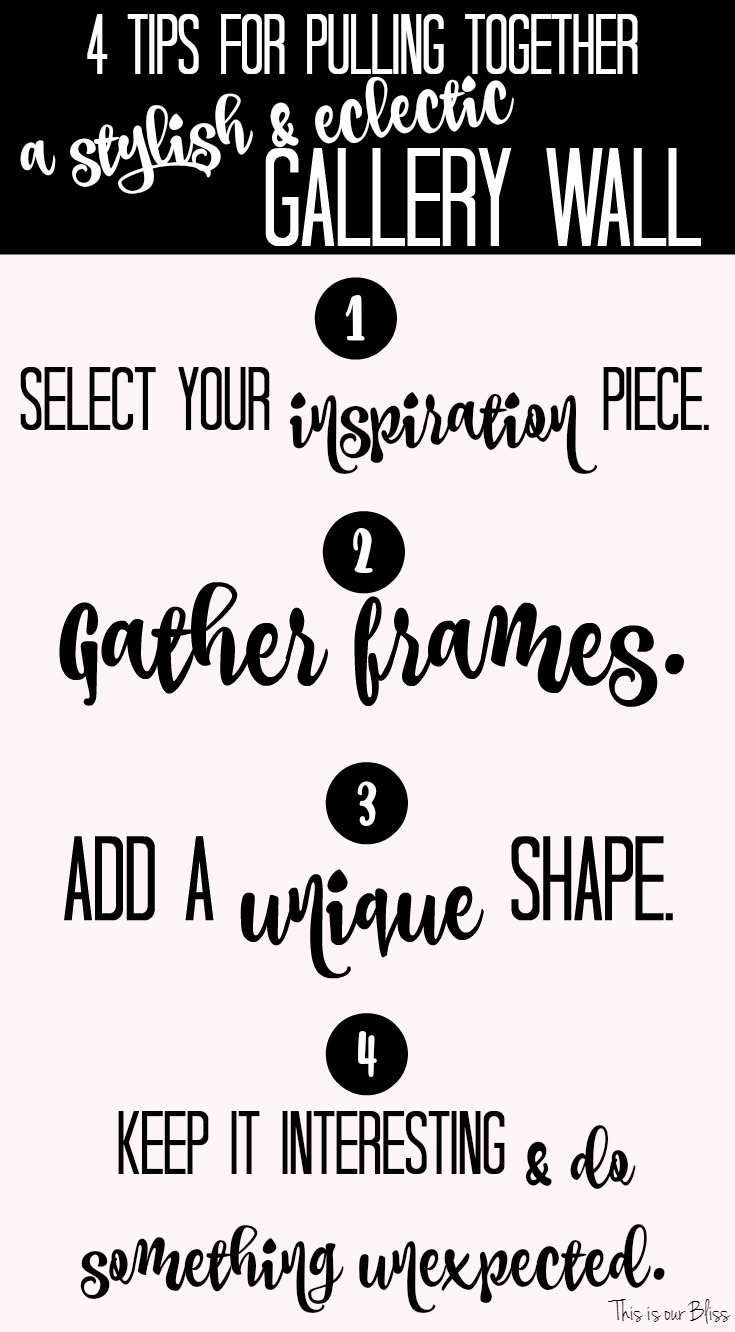
Since the majority of my post was about my thrifted frames and DIY art on the cheap, here are a few tips to help you get started if you plan on hunting down some thrifted frames on your own. Thrift stores can be overwhelming, I know!
WHAT TO LOOK FOR WHEN THRIFTING FRAMES:
Look for large, matching frames. — You can definitely purchase smaller ones to use in a gallery wall, but the larger ones get you more bang for your buck. You might pay $1-2 for an 8″ x 10″ frame, but I only paid $2.99 for a 16″ x 20″ frame.
Make sure the frame isn’t damaged. — Check that the glass isn’t cracked and that the frame itself isn’t chipped, dented or broken. Sometimes small issues can be repaired, but it’s best to know what you are dealing with before you get it home.
Don’t get hung up on the color.— The frames and the mats can be painted, so no worries if the frame doesn’t match your room decor. This can easily be fixed!
Look for frames with interesting detail or shape. —Unique frames are always a great find!
Empty frames can make an excellent statement. — Don’t overlook the frames without mats or glass. Take them home and add them to your walls by mixing the open/empty frame with other pieces. See an example in our old guest room here.
Plateholders make great frames. too. — Add in an art print or piece of fabric like I did in the littlest’s nursery on the pegboard gallery wall. Something fun and different!
This challenge is really forcing me to use the things I already have instead of just running out to buy something new. If I’m being honest, it has been tough! There are pretty things floating around the aisles in every store I step foot in and online shopping is no stranger to me, but I’ve fought the urges! It is truly amazing the things you can pull out from the nooks and crannies of your home when you actually set out to find them! Hopefully I’ve inspired you to take a look through your own things and find a new home for them. Take a look around and see…I bet you’ll be surprised all of the old things you can make new again!
Don’t forget to check out what progress the other participants made this week below:
Great tips! I always forget to check Goodwill for frames… as in, I should have done that for our wall art this week. I might have saved a few dollars. Super cute wall decor. Can’t wait for next week’s reveal!
You really did a great job with the DIY art and the frames look perfect! Love your song quote too – my kids love that one and so do I! Your room is looking so polished and put together already – the light fixture made a huge difference too! I’m excited to see it all together!
Thanks, Melissa! Now I want to hang up lyrics to all of our other favorite songs throughout the house! It’s sort of a fun nod to our day-to-day car rides and family room dance parties 😉
Thanks, Liz! I thought the lashes were sort of fun and feminine!
SH
September 21, 2017 at 12:15 PM
Very creative with the thrifted frames and art. Since you are already over budget, I vote that you stay true to the spirit of this challenge and leave counters as is. But then after you return from your trip…


Natalie @nelidesign
September 26, 2017 at 6:44 AMNice tips! Can’t wait to see the finish room!
Rachael @ This is our Bliss
October 17, 2017 at 1:17 PMThanks, Natalie! I’m strolling that frame aisle each and every trip I make!
Deneen
September 25, 2017 at 8:22 PMThe eyelashes are super cute. Have fun in NYC!
Rachael @ This is our Bliss
October 17, 2017 at 1:16 PMThank you, Deneen!!
Erin @ Lemons, Lavender, & Laundry
September 25, 2017 at 8:47 AMGreat tips! I always forget to check Goodwill for frames… as in, I should have done that for our wall art this week. I might have saved a few dollars. Super cute wall decor. Can’t wait for next week’s reveal!
Rachael @ This is our Bliss
October 17, 2017 at 1:16 PMThanks, Erin! As my husband would say, “She probably has enough frames to fill 5 homes!” I could definitely have let you borrow some ha!
Wendy
September 25, 2017 at 8:20 AMThey look great! I am so impressed.
Rachael @ This is our Bliss
October 17, 2017 at 1:15 PMThank you, Wendy!! I kind of am, too!
Melissa
September 24, 2017 at 8:21 PMYou really did a great job with the DIY art and the frames look perfect! Love your song quote too – my kids love that one and so do I! Your room is looking so polished and put together already – the light fixture made a huge difference too! I’m excited to see it all together!
Rachael @ This is our Bliss
October 17, 2017 at 1:15 PMThanks, Melissa! Now I want to hang up lyrics to all of our other favorite songs throughout the house! It’s sort of a fun nod to our day-to-day car rides and family room dance parties 😉
Lindsay
September 23, 2017 at 9:39 PMThe artwork looks fantastic and I can’t believe the difference in the light! Great job!
Rachael @ This is our Bliss
October 17, 2017 at 1:13 PMThank you, Lindsay!! Who knew old spray paint and new bulbs could make such a difference?!
Meredith @ The Palette Muse
September 21, 2017 at 11:24 PMI love how these prints turned out! ( And I cracked up at your eyelash stick people.) This room is looking great!
Rachael @ This is our Bliss
October 17, 2017 at 1:11 PMha they were quite a sight! Thanks, Meredith! This room was so much fun to work on!
fourseasonliz
September 21, 2017 at 5:53 PMI love the lashes! It looks fantastic!
Rachael @ This is our Bliss
October 17, 2017 at 1:11 PMThanks, Liz! I thought the lashes were sort of fun and feminine!
SH
September 21, 2017 at 12:15 PMVery creative with the thrifted frames and art. Since you are already over budget, I vote that you stay true to the spirit of this challenge and leave counters as is. But then after you return from your trip…
Rachael @ This is our Bliss
October 17, 2017 at 1:10 PMThank you! I like how you think…these countertops might need some love someday, but for now…they’re here to stay!
Emy
September 21, 2017 at 11:58 AMLove the light fixture! Paint is so great! The art is so fun!
Rachael @ This is our Bliss
October 17, 2017 at 1:09 PMThanks, Emy! This challenge was so fun being able to update and DIY so many little details!!
charlestoncrafted
September 21, 2017 at 9:30 AMLOVE this art it looks like it would have cost $40 at HomeGoods… get it girl!
Rachael @ This is our Bliss
October 17, 2017 at 1:09 PMThanks!! I always stroll the HG aisle and think, “I could totally attempt that!” ha
Gabby McGraw
September 20, 2017 at 7:44 PMIt looks great! I love those prints. Super fun. Gold is a fun accent frame! Can’t wait to see what else you do before the reveal. T
Rachael @ This is our Bliss
October 17, 2017 at 1:08 PMThanks, Gabby! I can’t get enough gold, so the frames were the perfect spot to use some since I wasn’t going to get my gold faucet!!