It’s been a busy couple days around here! Doctor’s appointment, snow, errands, snow, Henry’s swim class, snow, friends visiting from out of town and did I mention it snowed? All of the white junk outside had started to melt on Monday and then what happened Tuesday night and Wednesday morning? Freezing rain, wind and another 5+ inches of snow. What the heck is going on here?! Today is supposed to reach 50 degrees, so we’ll see if that takes care of clearing out this white winter not-so-much-wonderland. Enough complaining for today, as I am feeling optimistic and excited about getting outside!
I finished up the curtains for the baby’s room on Wednesday, so after I get them hung up and take a few pictures, I will post the sewing tutorial. I am so, so happy with how they turned out! I can’t wait to show you 🙂
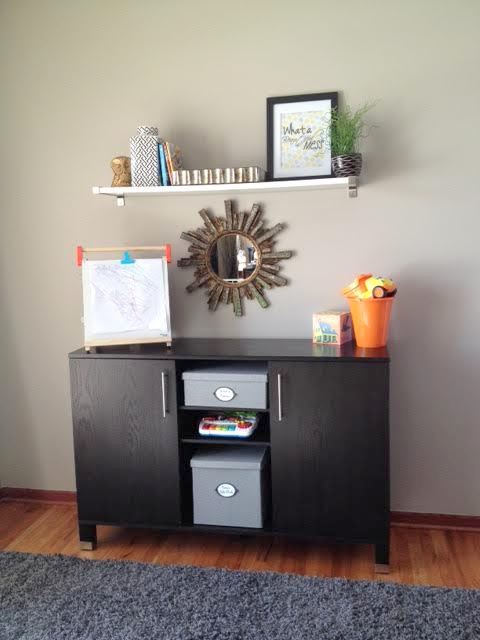
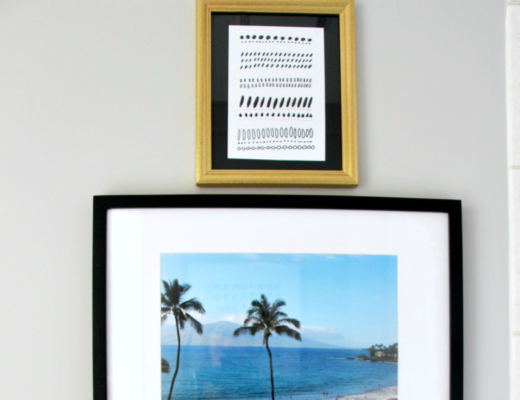
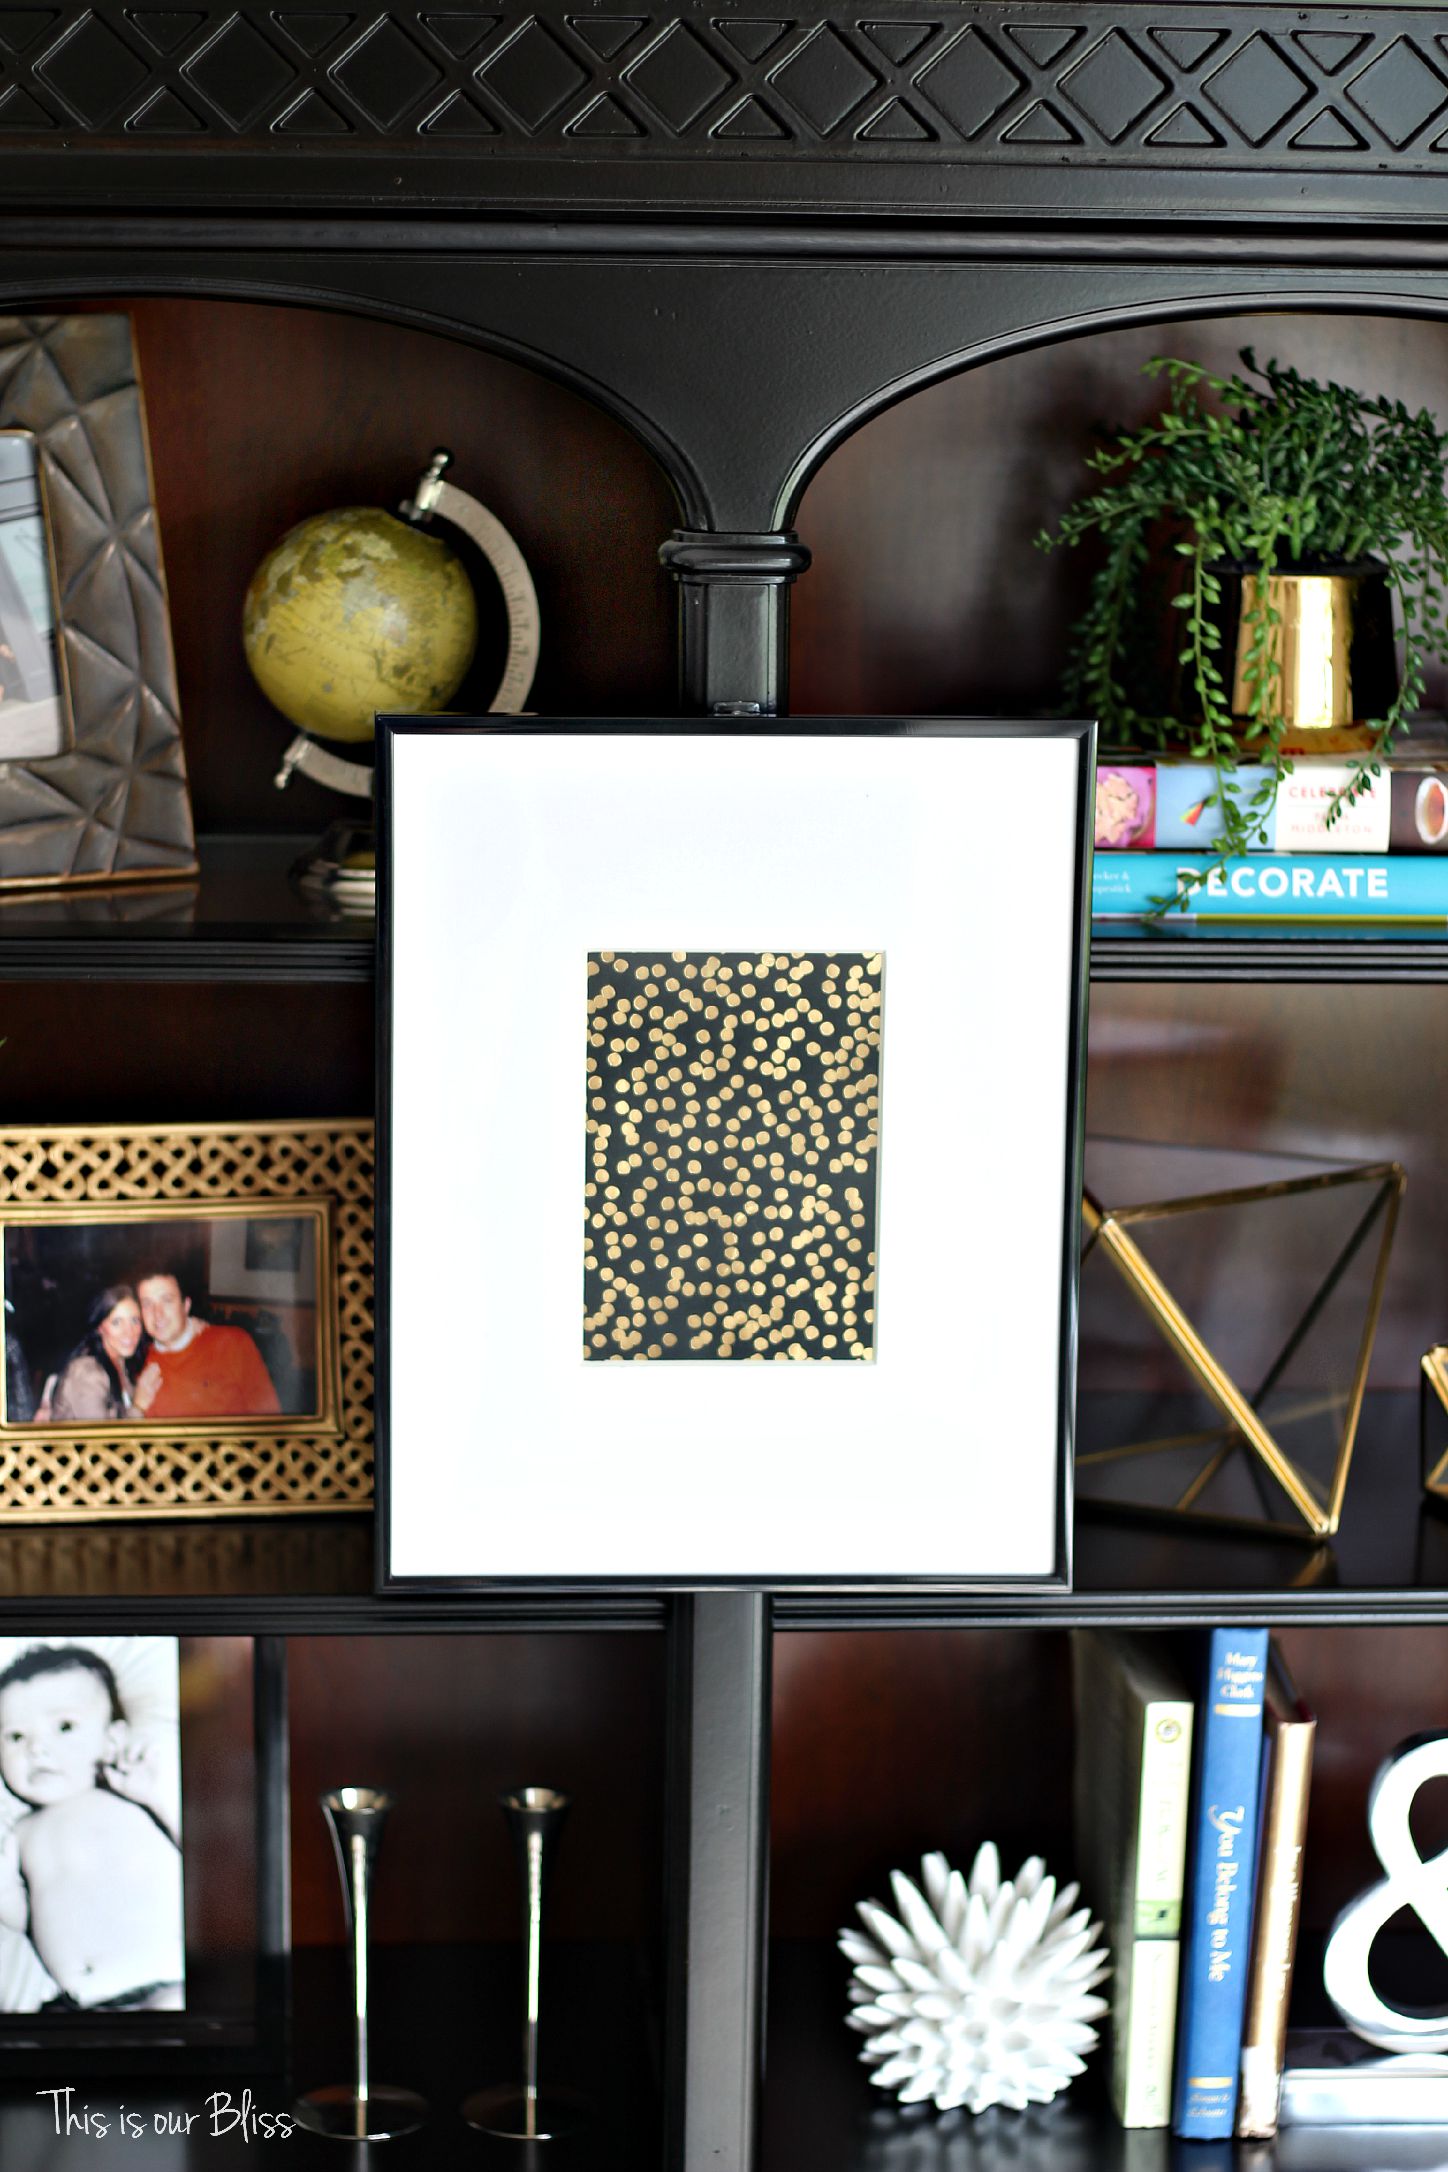
For today, I am sharing a quick and easy DIY word art piece I made the other night. We recently turned our formal dining room into a playroom in order to give Henry some more room to roam about and store his toys. It sits right off of the family room and I can still view part of the room from the kitchen. It was one of the best decisions we have made to make the switch. We occasionally host dinner parties, but for as little as that particular room was used, it made so much more sense to utilize it for play space. The kid plays with toys and reads books far often than our friends and family dined in that room! We have a decent size kitchen table we are still able to use when guests come over, so it was a win-win for all. Now back to my project… We painted the room and hung a floating shelf, but am still determining what photos and wall art pieces I want to hang. I purchased materials to create floating bookshelves for a reading nook, but haven’t quite gotten to that project yet. My spray painting days are over for a little while longer until the baby comes and the playroom hasn’t been priority amongst the things we need to do in other areas of the house. Ok, again, back to this project… I wanted to create something to lean on the floating shelf, but not just a photograph. I thought about framing some scrapbook paper or fabric or buying a piece of art, but then decided I would whip something up on my own using fabric or patterned paper. I am a sucker for word art/typography pieces to decorate, so decided on a cute saying, printed it out in a fun font and framed it. Easy enough, right? The only twist on this piece is that I used clear transparency paper to print the words on instead of regular paper.
How to: DIY Playroom Word Art
Here is my supply list:
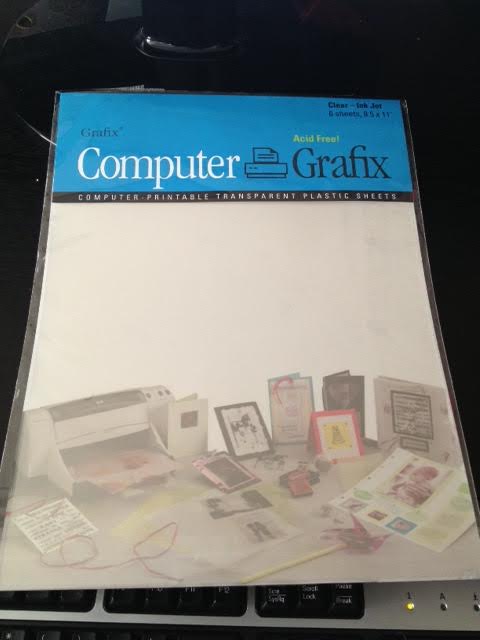
- pack of computer-printable transparent plastic sheets (6 pack found here)
- sheet of scrapbook paper
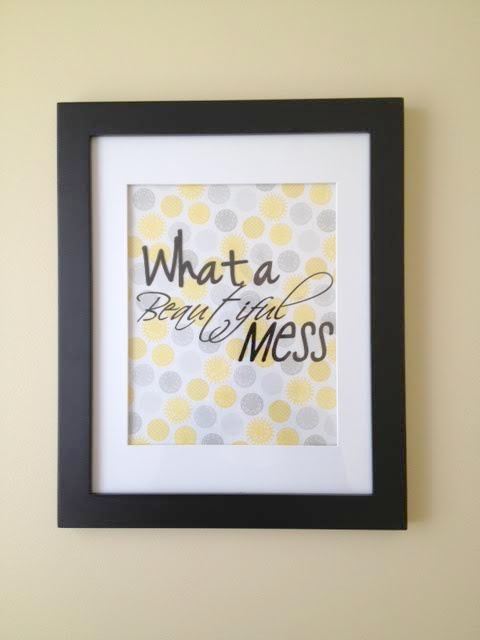
- frame (I used 11″x14″ matted to fit an 8’x10″ picture, purchased at Michaels)
- scissors
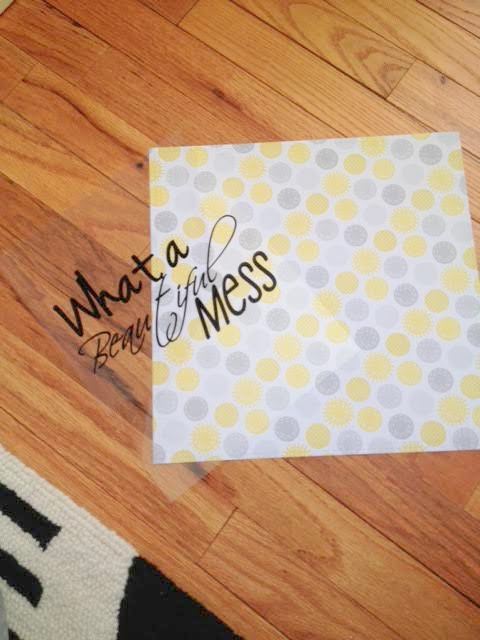
1 – I simply designed my word art in MS Word and chose the saying, “What a Beautiful Mess”. I selected a different font for each of the 3 lines of words and put each line in a separate text box so I could easily move the words around until they were placed / spaced just right.
2 – Insert clear paper into printer and click print. I printed a test page on regular printer paper to make sure I liked how it looked.
3 – Trim the scrapbook paper to fit in frame.
4 – Allow clear sheet an hour or so to dry. Place in frame with scrapbook paper behind it. Voila. That is it!
My original plan was to use fabric behind the transparency, but changed my mind and switched to scrapbook paper. If you opt for patterned paper, you could print directly on it and skip the transparency paper. If you want more specific instructions on creating the Word doc (fonts, etc.) just leave me a comment and I will do my best to explain!

Have a great day and thanks again for stopping by!
~Rachael


Other Rooms I’m Tackling | This is our Bliss
April 2, 2014 at 6:43 PM[…] See DIY Playroom Art post here […]