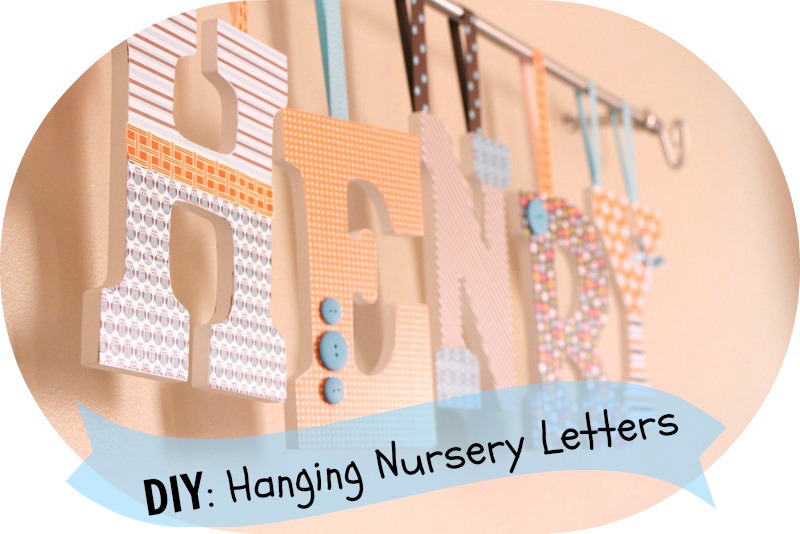
Today, I thought I would share step-by-step instructions for the hanging letters I made for Henry’s nursery {seen here in previous post}. They were fairly simple and can be done over time. It definitely wasn’t one of those projects I cranked out in one sitting. I think I did a couple letters at a time over the course of a week and then several weeks later (ahem), we hung them up on the wall above his crib.
Here is how to get started…
Materials:
scrapbook paper (1 sheet per letter)
white wooden MDF letters (any size)
Mod Podge (I used Gloss)
small foam paint brush
craft knife / X-acto knife
craft cutting mat
scissors
pencil
coordinating ribbon
hot glue gun
buttons (optional)
curtain rod (to hang letters from)
Directions:
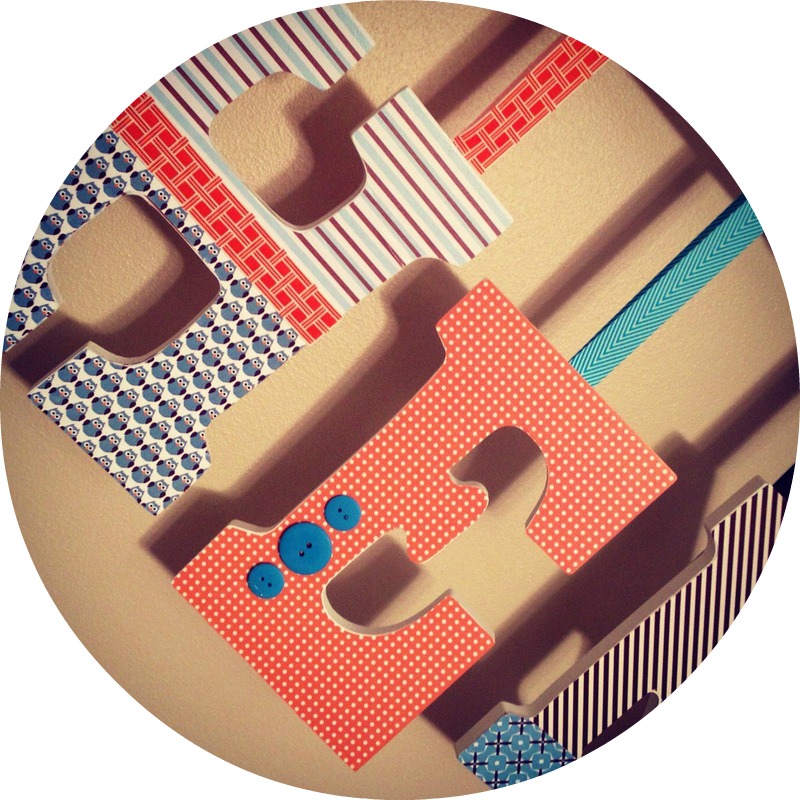
1 – Place scrapbook paper face-down on cutting mat & then place wooden letter flipped over face-down on backside of paper.
2 – Using your pencil, trace around the outside of the letter.
3 – Cut out paper letter using scissors or leave it on craft mat and use craft knife to get a more precise cut (you will have to use the craft knife to cut out the inner part of any letters, however).
4 – Once paper letter is completely cut out, set it aside & put a medium, consistent layer of Mod Podge on the front side of the letter using foam brush.
5 – Carefully line up the paper onto the letter & gently/slowly rub the rest of the letter down. I recommend starting at top & slowly work my way down the letter to prevent air bubbles or folds in the paper.
6 – Allow 30 – 60 minutes to dry.
7 – Repeat with remaining letters.
8 – Now, you are going to apply more Mod Podge. First check the edges of each letter to make sure the paper isn’t coming up off of the letter. If so, dab a small amount of Mod Podge underneath and press down for a minute. Next, spread a thin layer of Mod Podge on top of each letter. It will appear white at first & then dry clear. This layer will add a protective coating & a little sheen to the front of the letter. Allow 1 hour to dry.
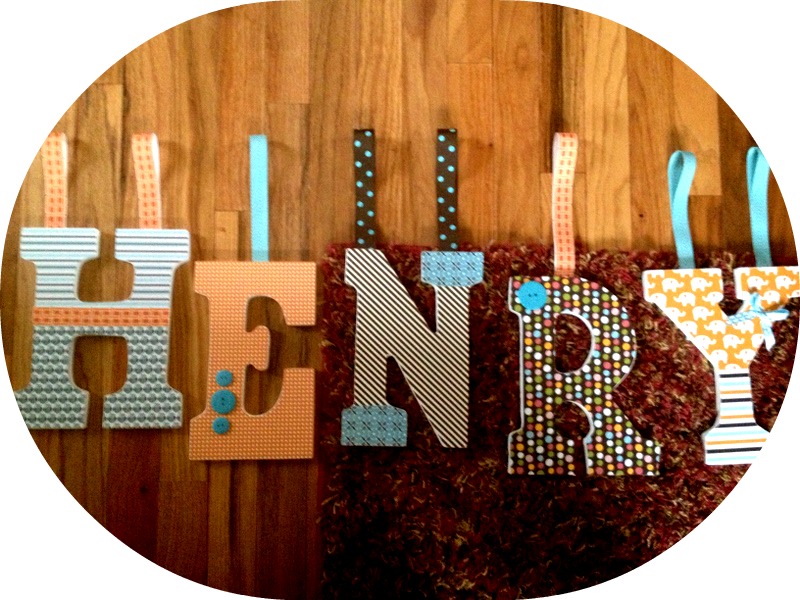
9 – Cut your ribbon to desired length for hanging purposes. I laid my letters out on the floor in a staggered pattern and then measured to see how long each piece should be. I did 2 ribbon strands on the letters that did not have a “center” at the top to be hung from (H, N & Y) & 1 ribbon strand on the others (E & R)
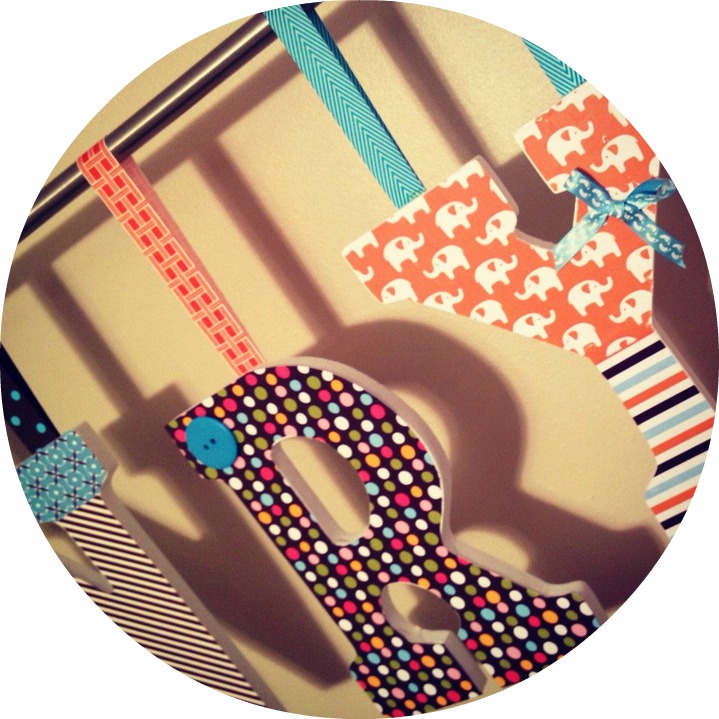
10 – Loop your ribbon in half and hot glue ends to the back of the wooden letter. Allow to dry for at least 1 hour before attempting to hang (I would wait 24 hours or 2 months, whichever you prefer :)).
11 – Optional: I embellished a few of the letters with more ribbon & buttons using hot glue to add a little flare.
12 – Hang curtain rod / brackets in desired area and then string the ribbon of your letters on curtain rod. You did it!
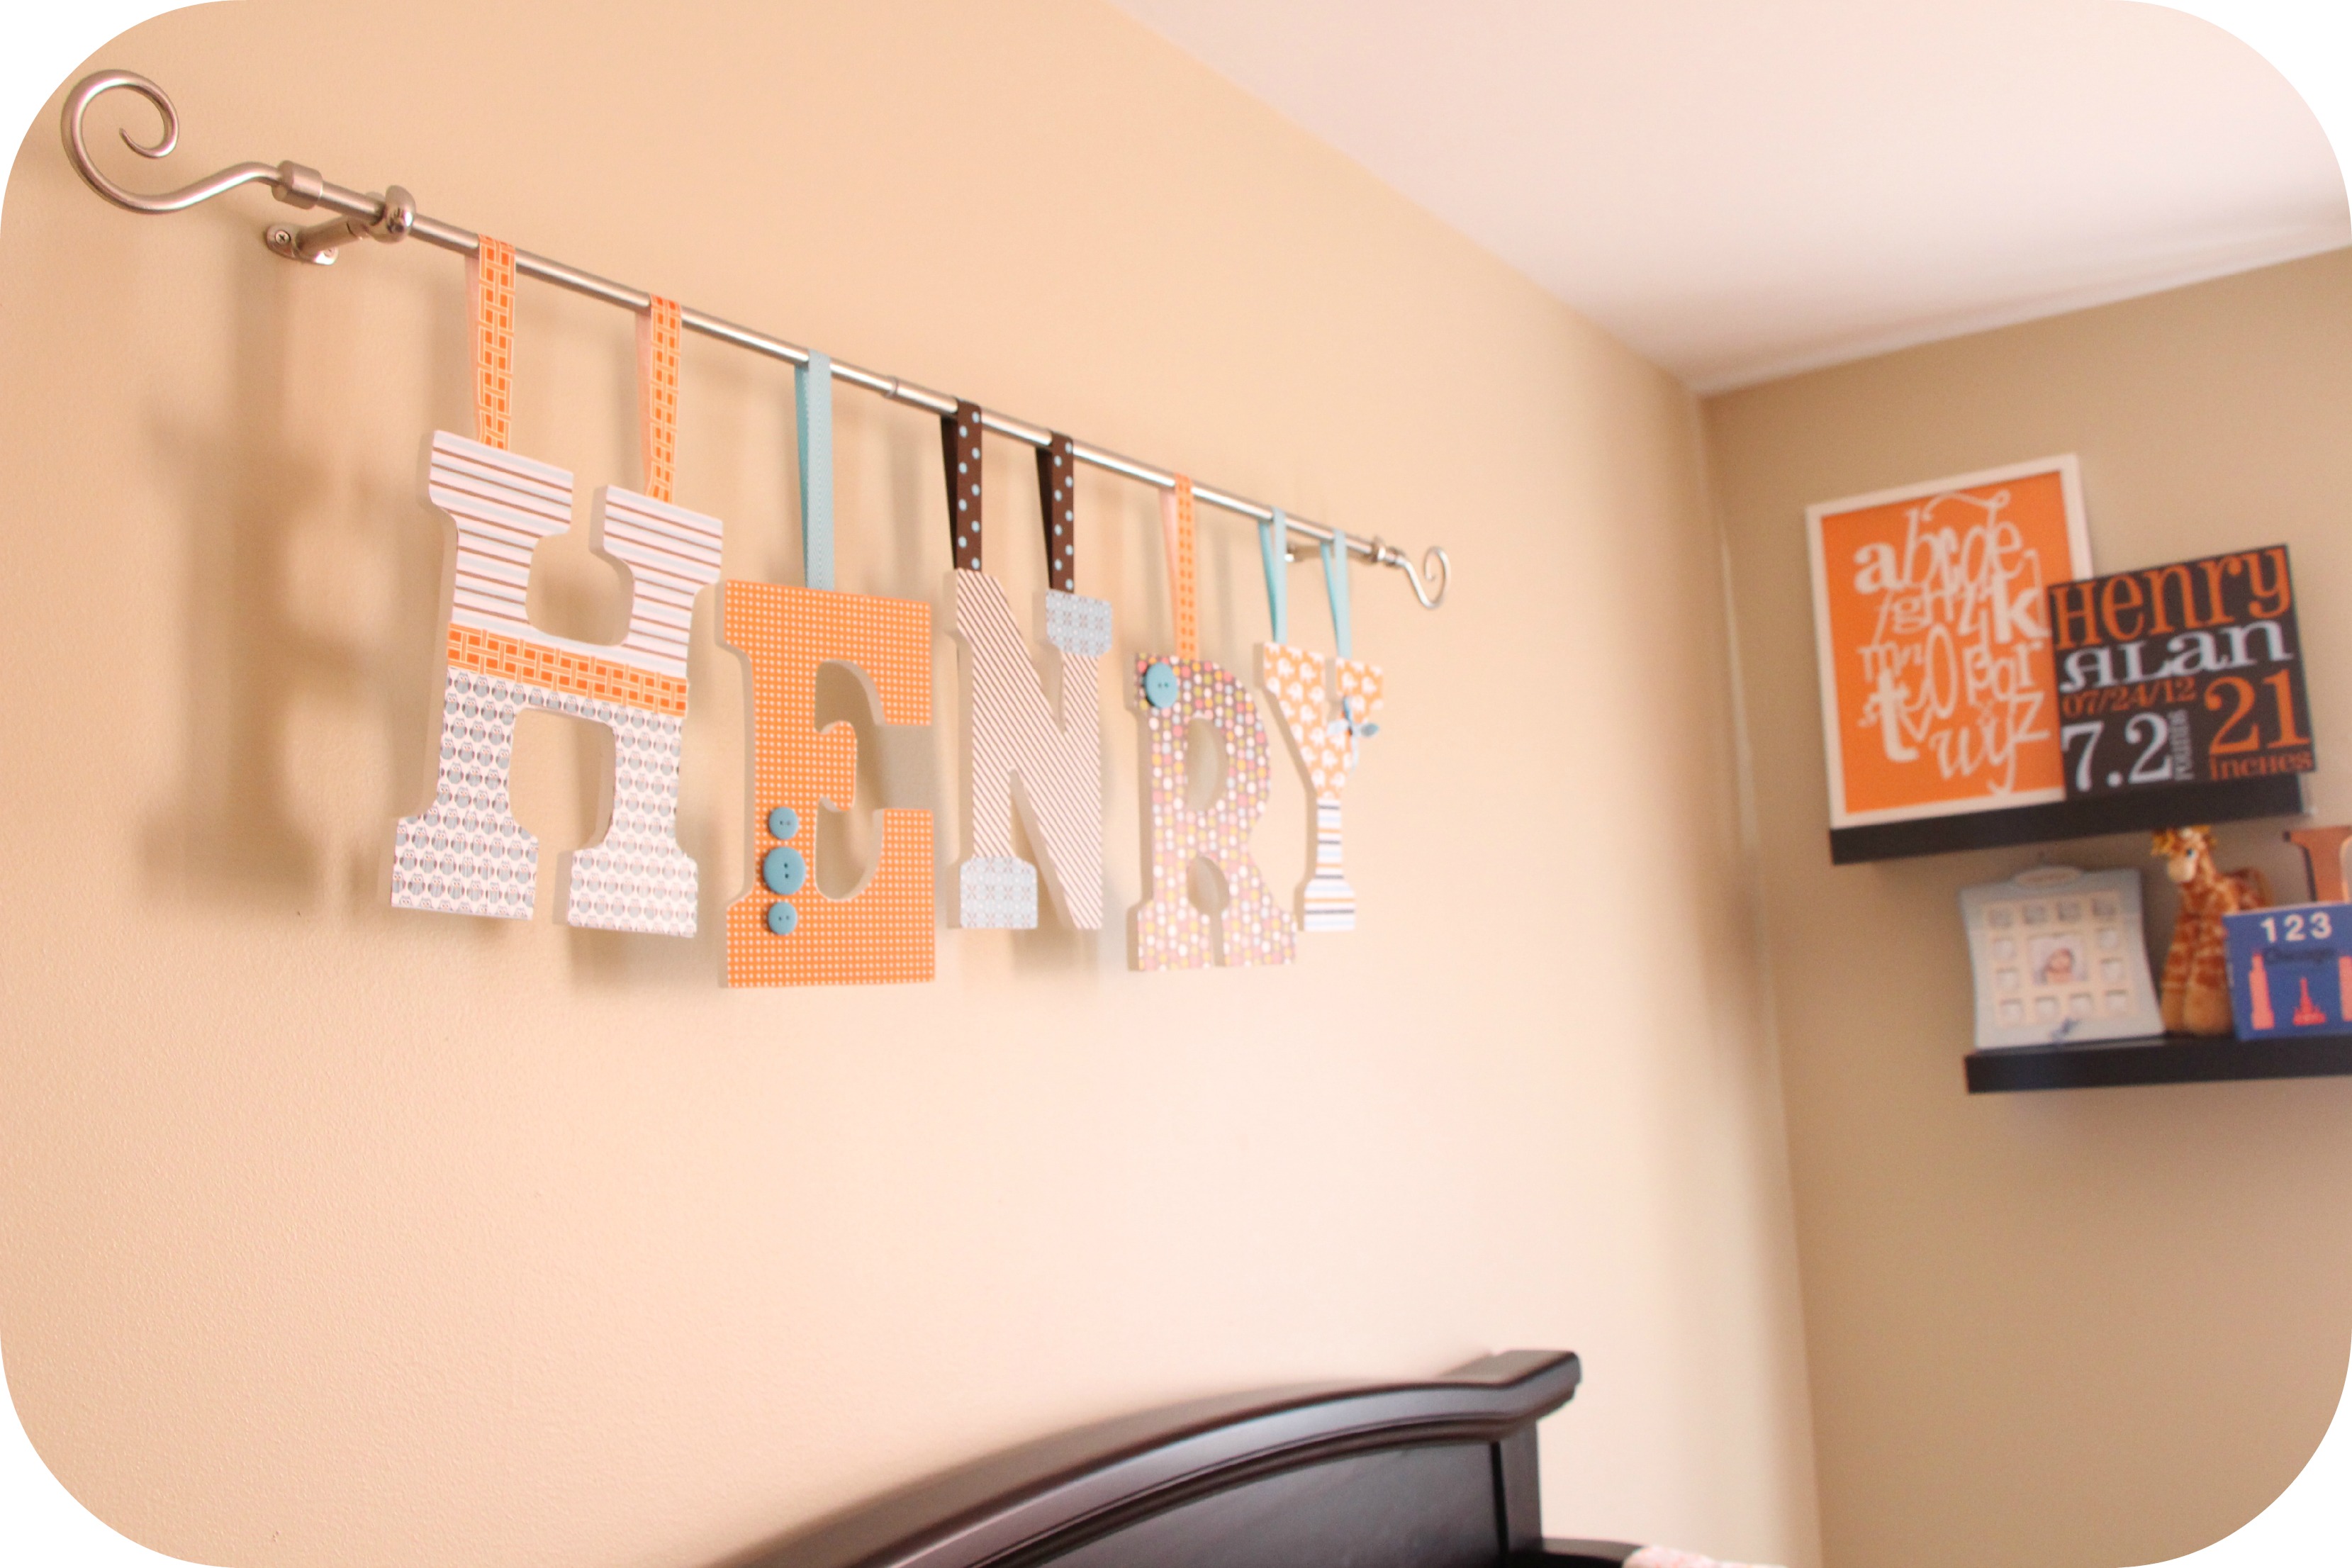
I love this little project so much! It is the focal point of the wall over his crib and now when he’s playing in bed, standing at the rail or running laps (literally), we can hear him yelling out “H-E-N-R-YYYYYYYYYY!” The kid is obsessed with letters & numbers and I love hearing him read the letters of his name 🙂
More projects to follow… Are you working on any DIY projects for a nursery or other rooms in your home?


Diy Wood Letters For Nursery – Luna S Ramsey
June 25, 2016 at 9:16 AM[…] Creative diy nursery decor diy nursery wall letters. Paint wooden letters with wall paint that. How to diy hanging {nursery} letters this is. White wooden mdf letters (any size) are you working on any diy projects for a nursery or other […]
2014 Highlights | This is our Bliss
January 9, 2015 at 4:01 PM[…] to: DIY Ribbon Back-tab Curtains from Bed Sheets |2| DIY Nursery Project: Pegboard Gallery Wall |3| How to: DIY Hanging {Nursery} Letters |4| DIY Nursery Mobile |5| DIY Wood shelves & Gold […]
The 1st Time Around {A peak into Henry’s Nursery} | This is our Bliss
April 1, 2014 at 2:38 PM[…] letters {DIY project} – I still love these little guys… they make me happy when I see them hanging over his […]