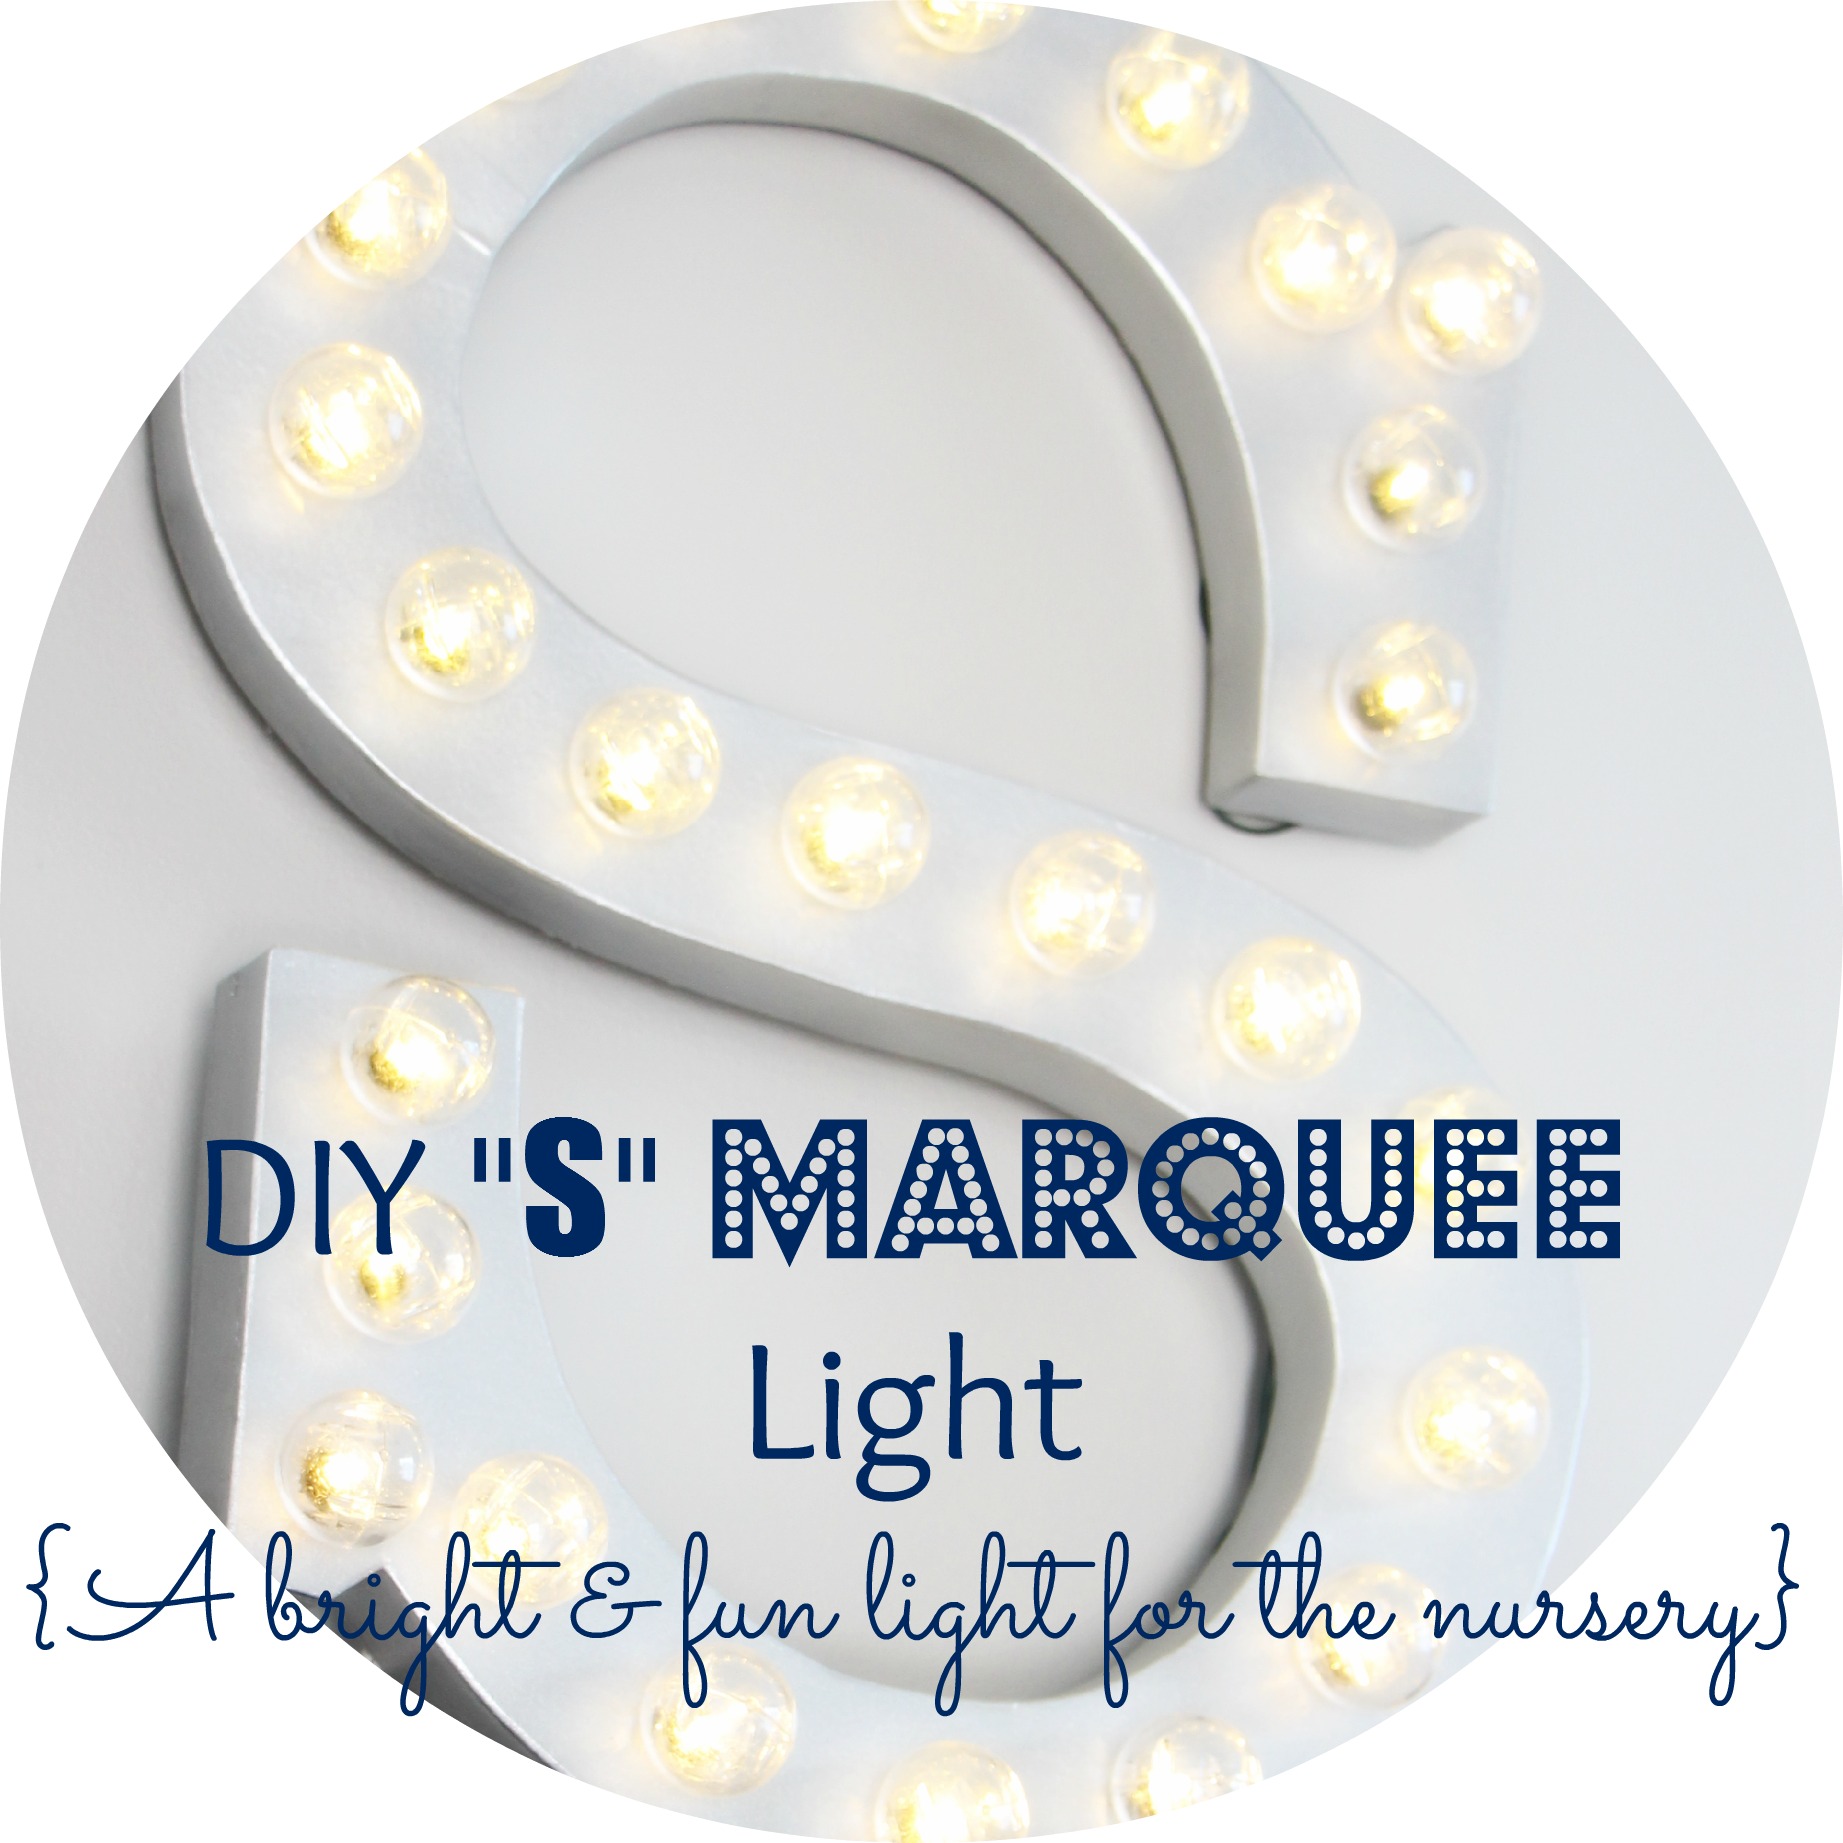
A big thank you to everyone who took the time to read and especially to those who took the time to comment on Simon’s Nursery Reveal post. The response was huge for me and my little ol’ blog! I am having such a great time working on our home and now being able to share it with and hopefully inspire others, has made what I do even sweeter. My next few posts will feature some of the DIY nursery projects that were not posted prior to the reveal. Today I am going to share the grand “S” Marquee light project. It was something I saw on Pinterest months ago and just knew I had to have a bright & shining S hanging in the nursery.
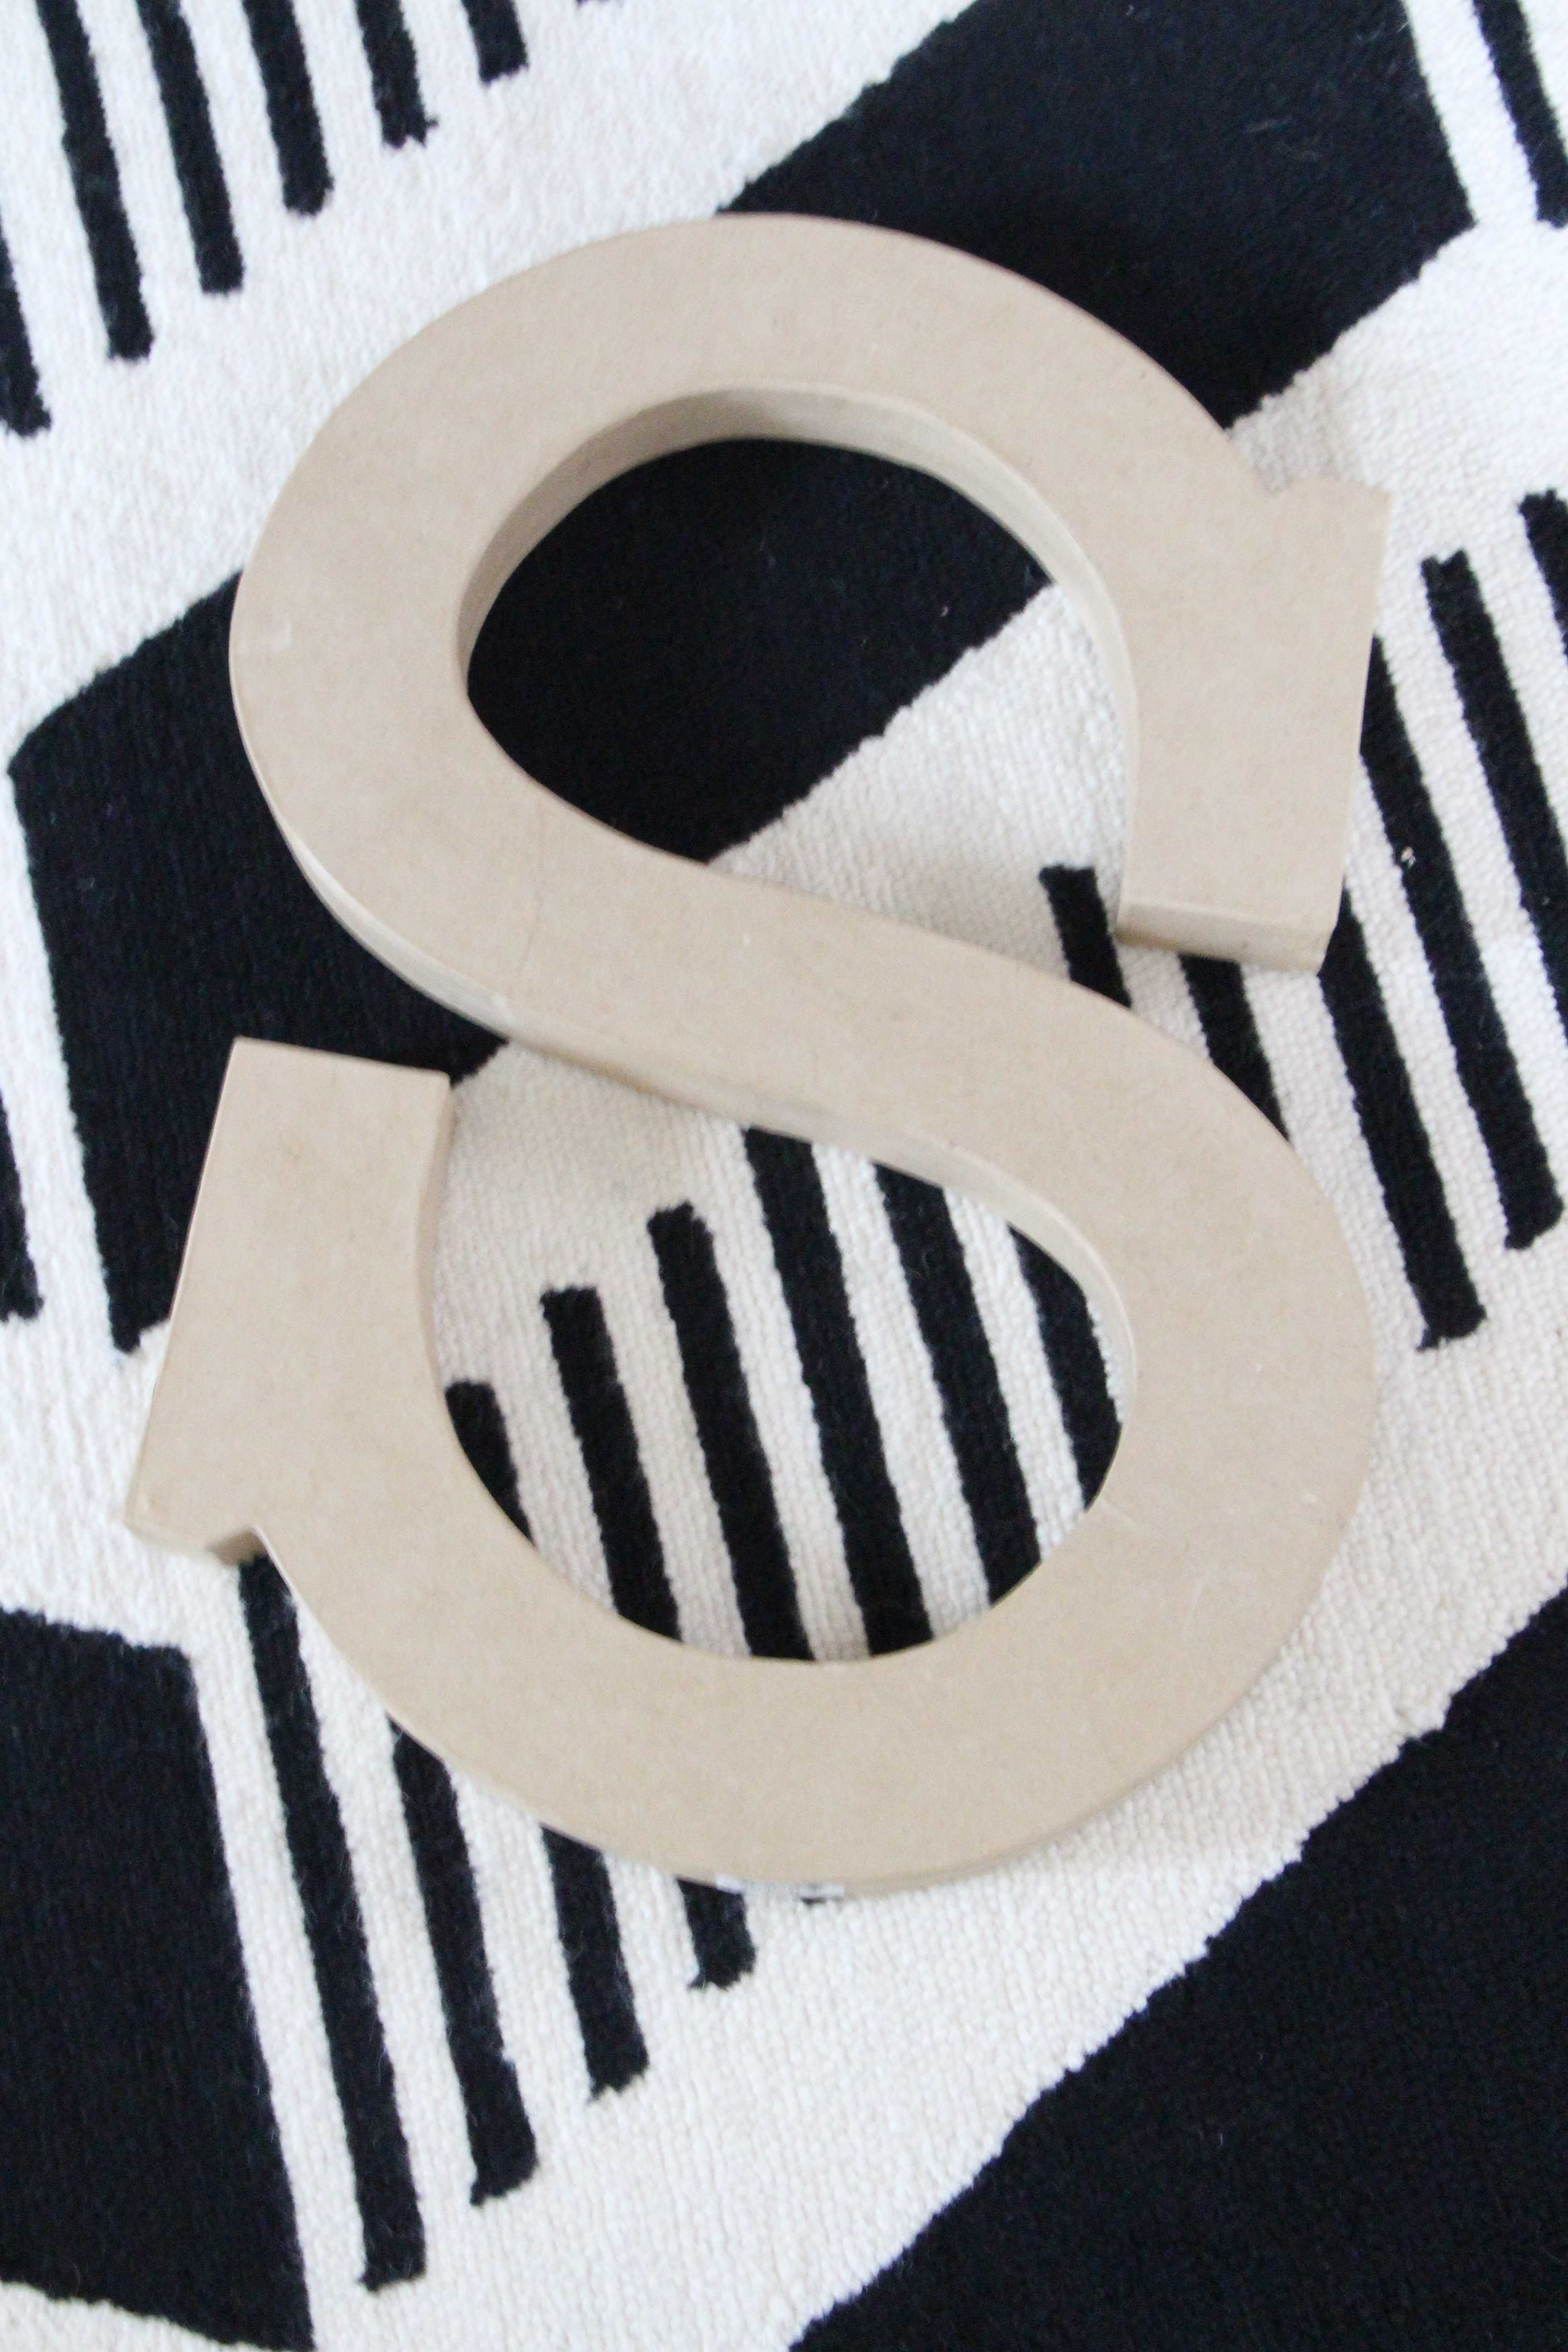
Here is what we started with:
22.5 inch Paper Mache Letter “S” – Hobby Lobby
Set of Globe Lights (25 count) – Target
Can of metallic silver spray paint
6 ft. indoor extension cord – Target
Here is what we did:
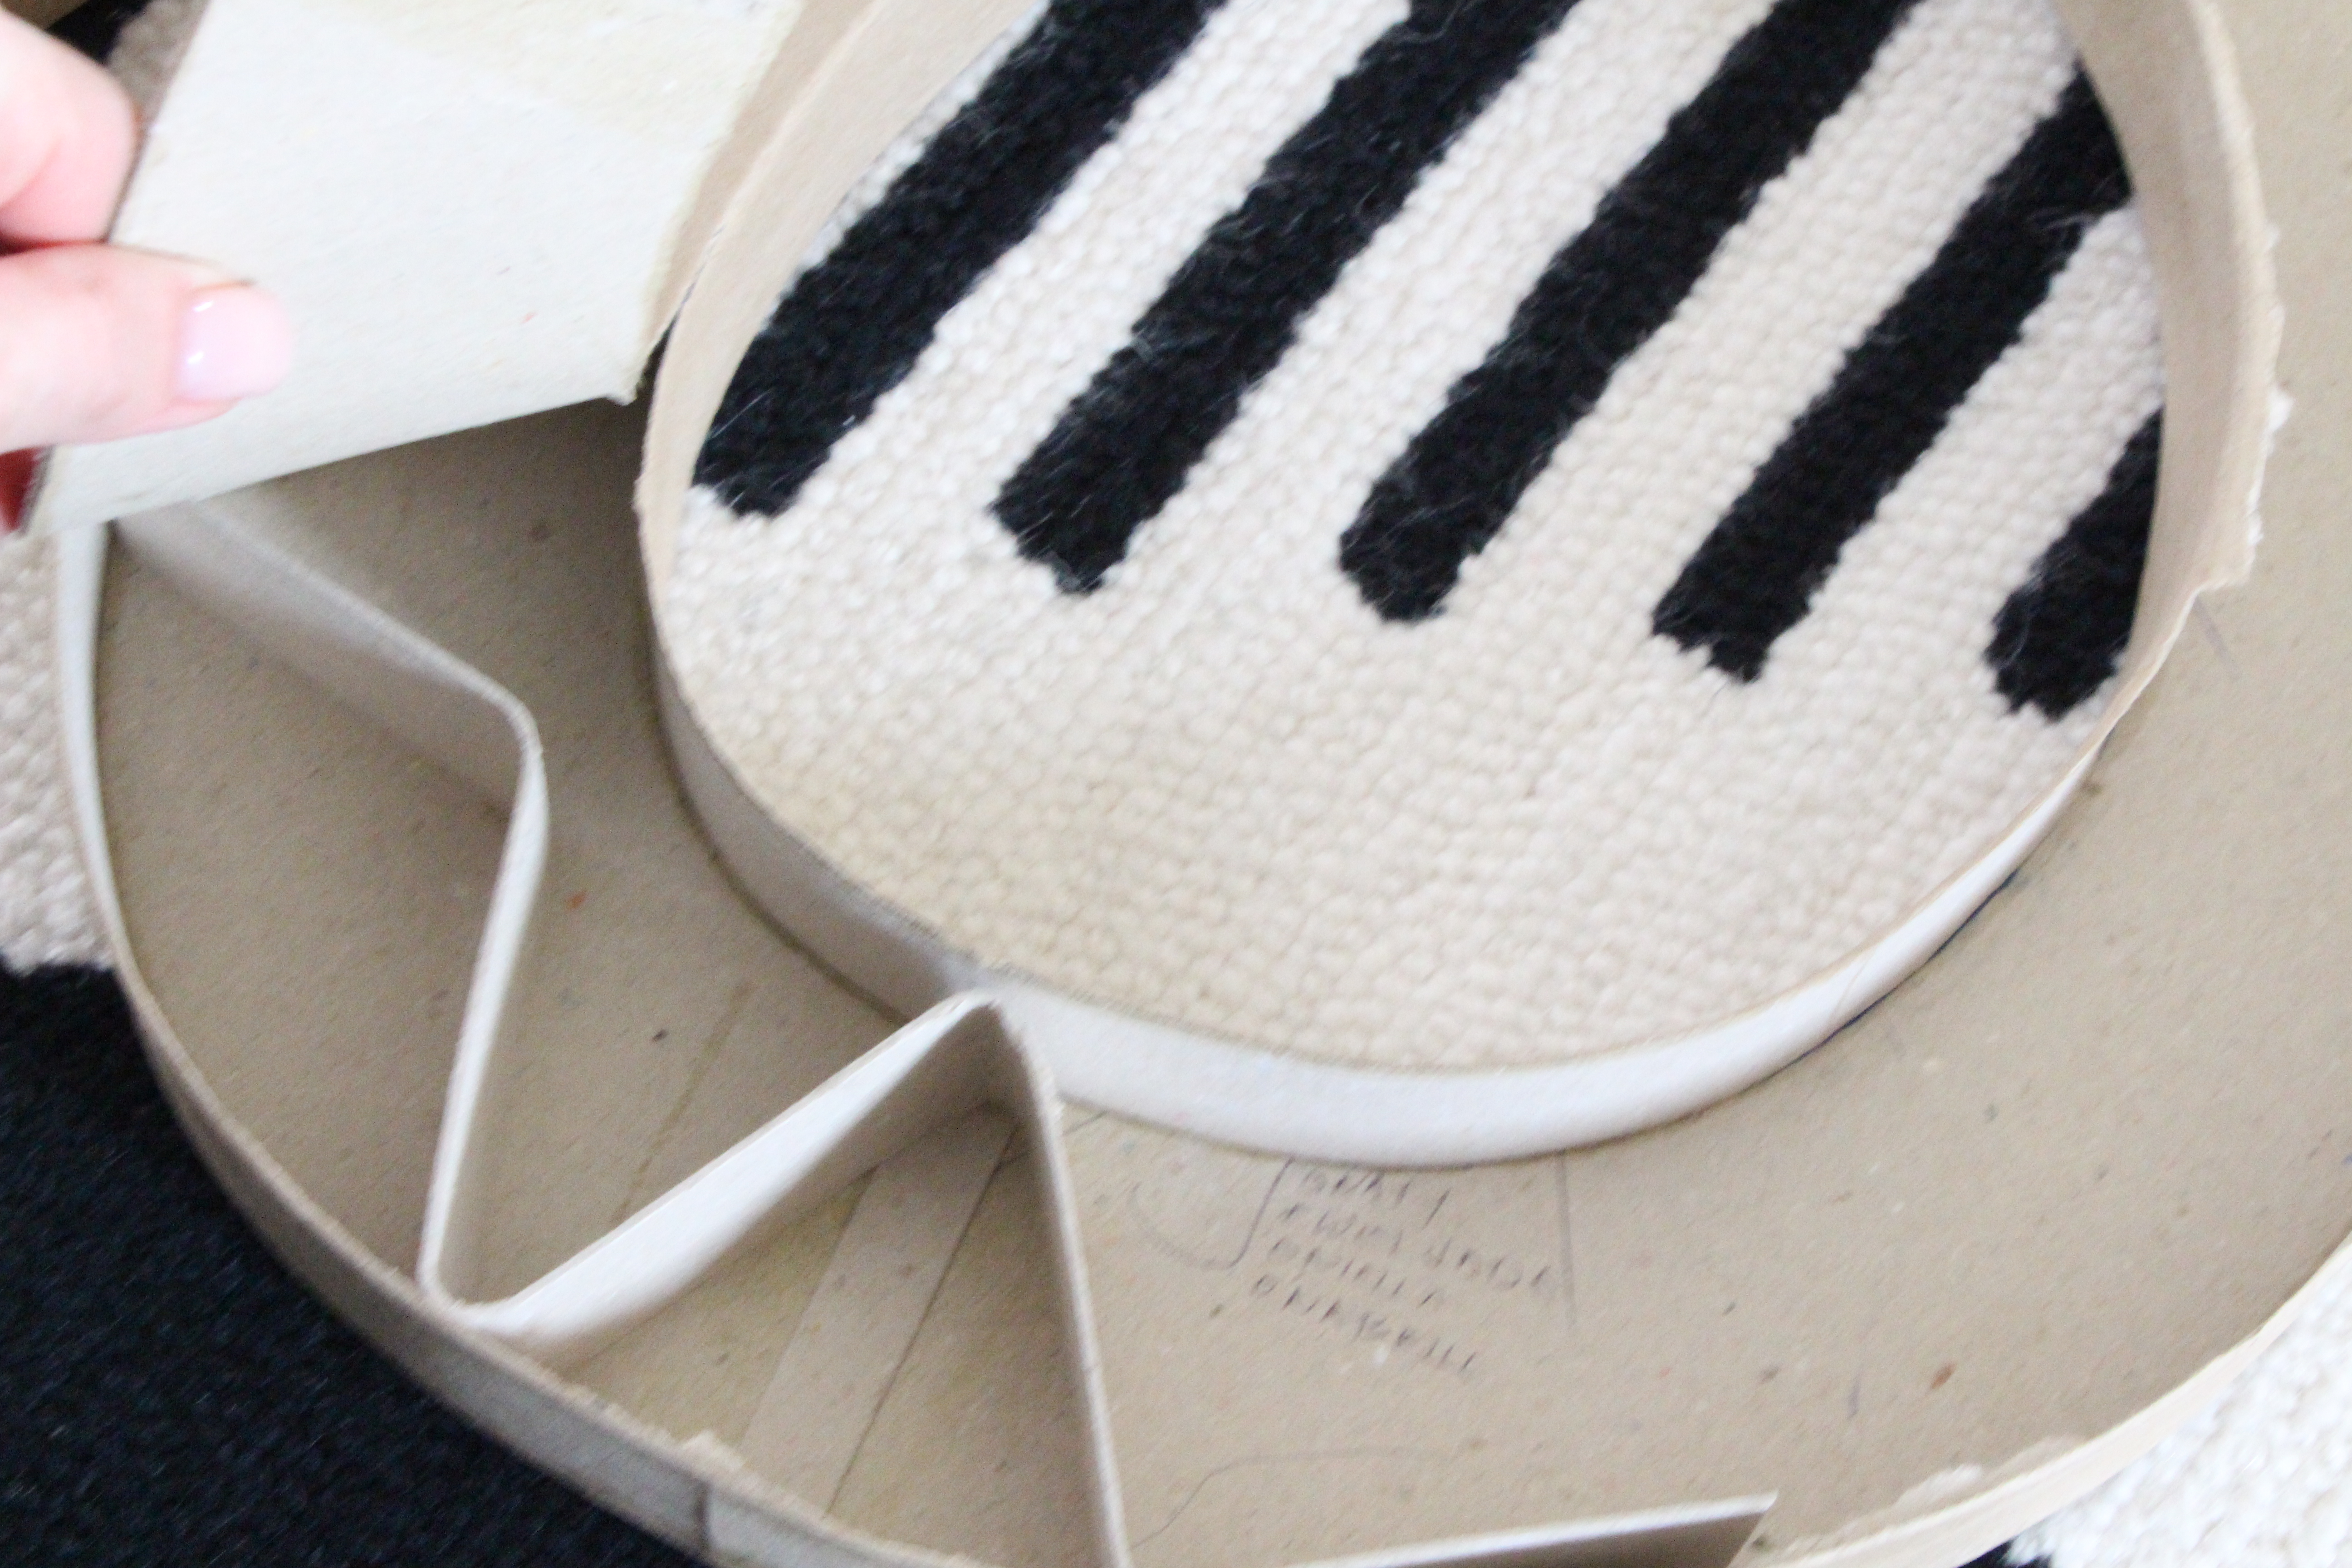
Removed backing…it just peeled/ripped off at the creases
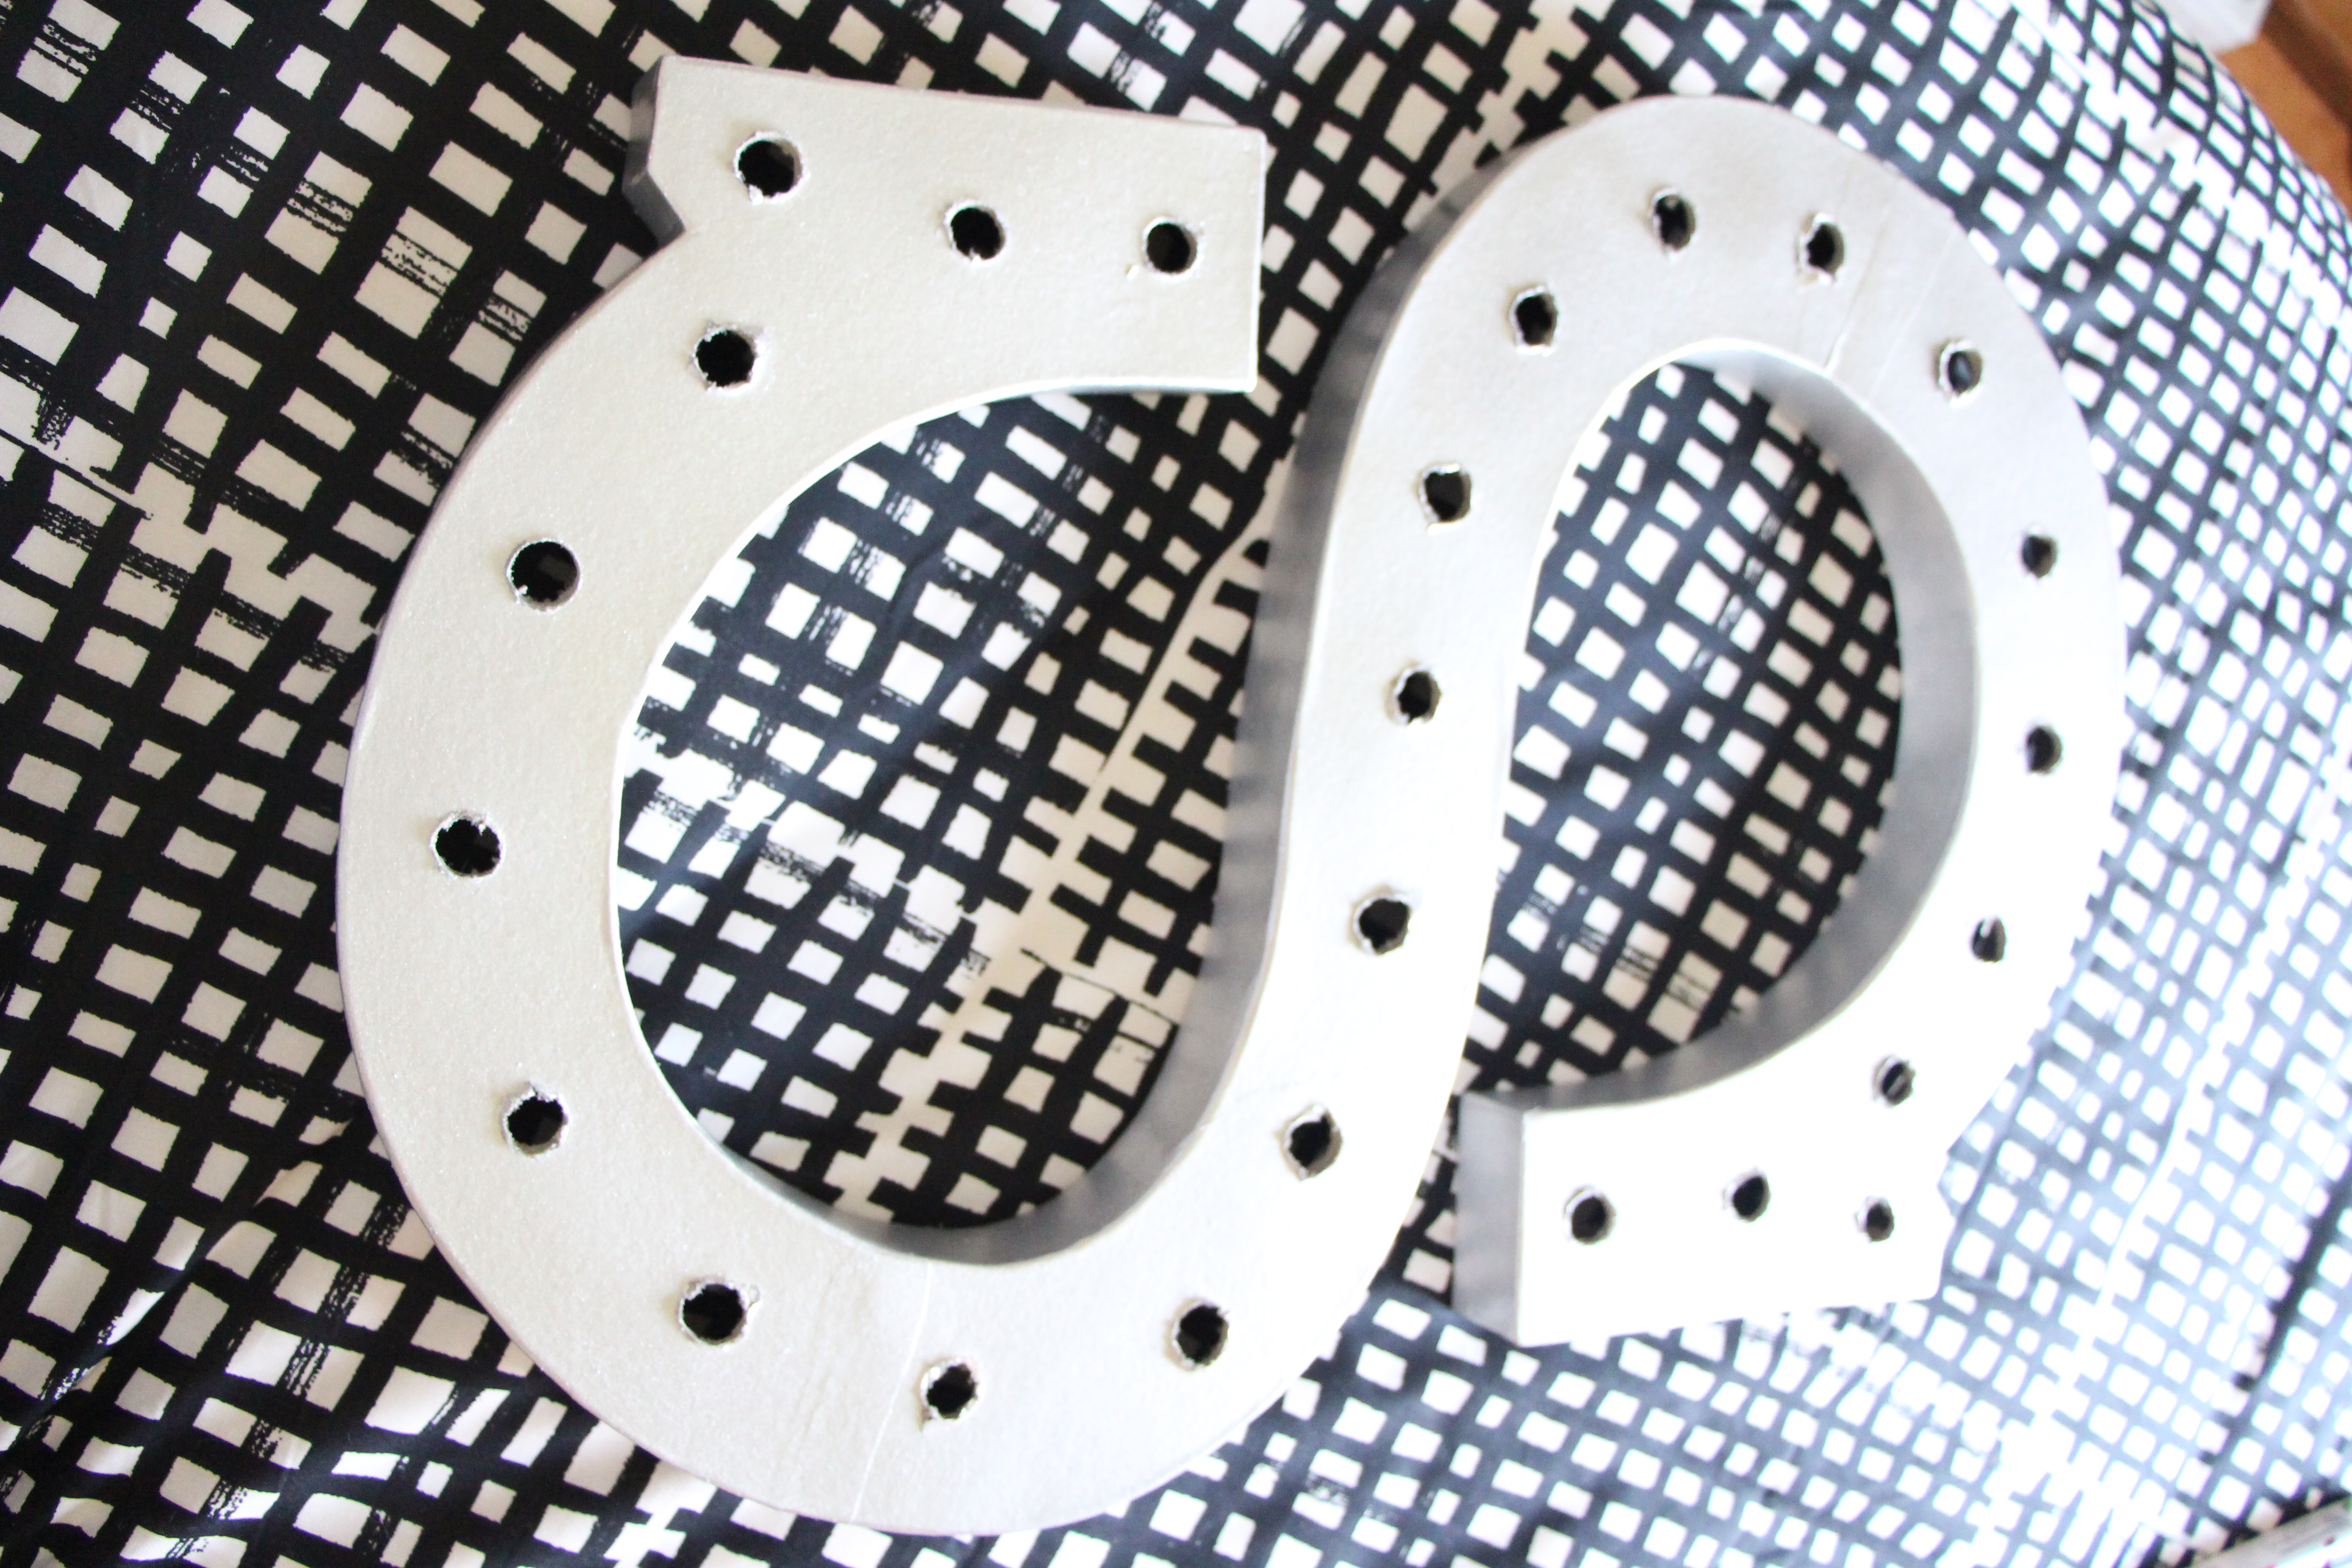
I measured the inside of the “S” and divided the measurement by 25 to determine the placement of each of the 25 bulbs. It was approximately 1.25 inches, so I marked a small circle every 1.25 inches along the inside of the “S” to indicate to my husband where to drill out a circle to fit each bulb. The drilling part was definitely trial & error. He had to go back and increase the circle size on a few holes to fit the light. There was no science to this part whatsoever!
Next, I gave the “S” several coats of metallic silver spray paint. It instantly transformed the cardboard / paper mache look to a metal look. The metallic sheen helped to hide some of the imperfections from the drilling.
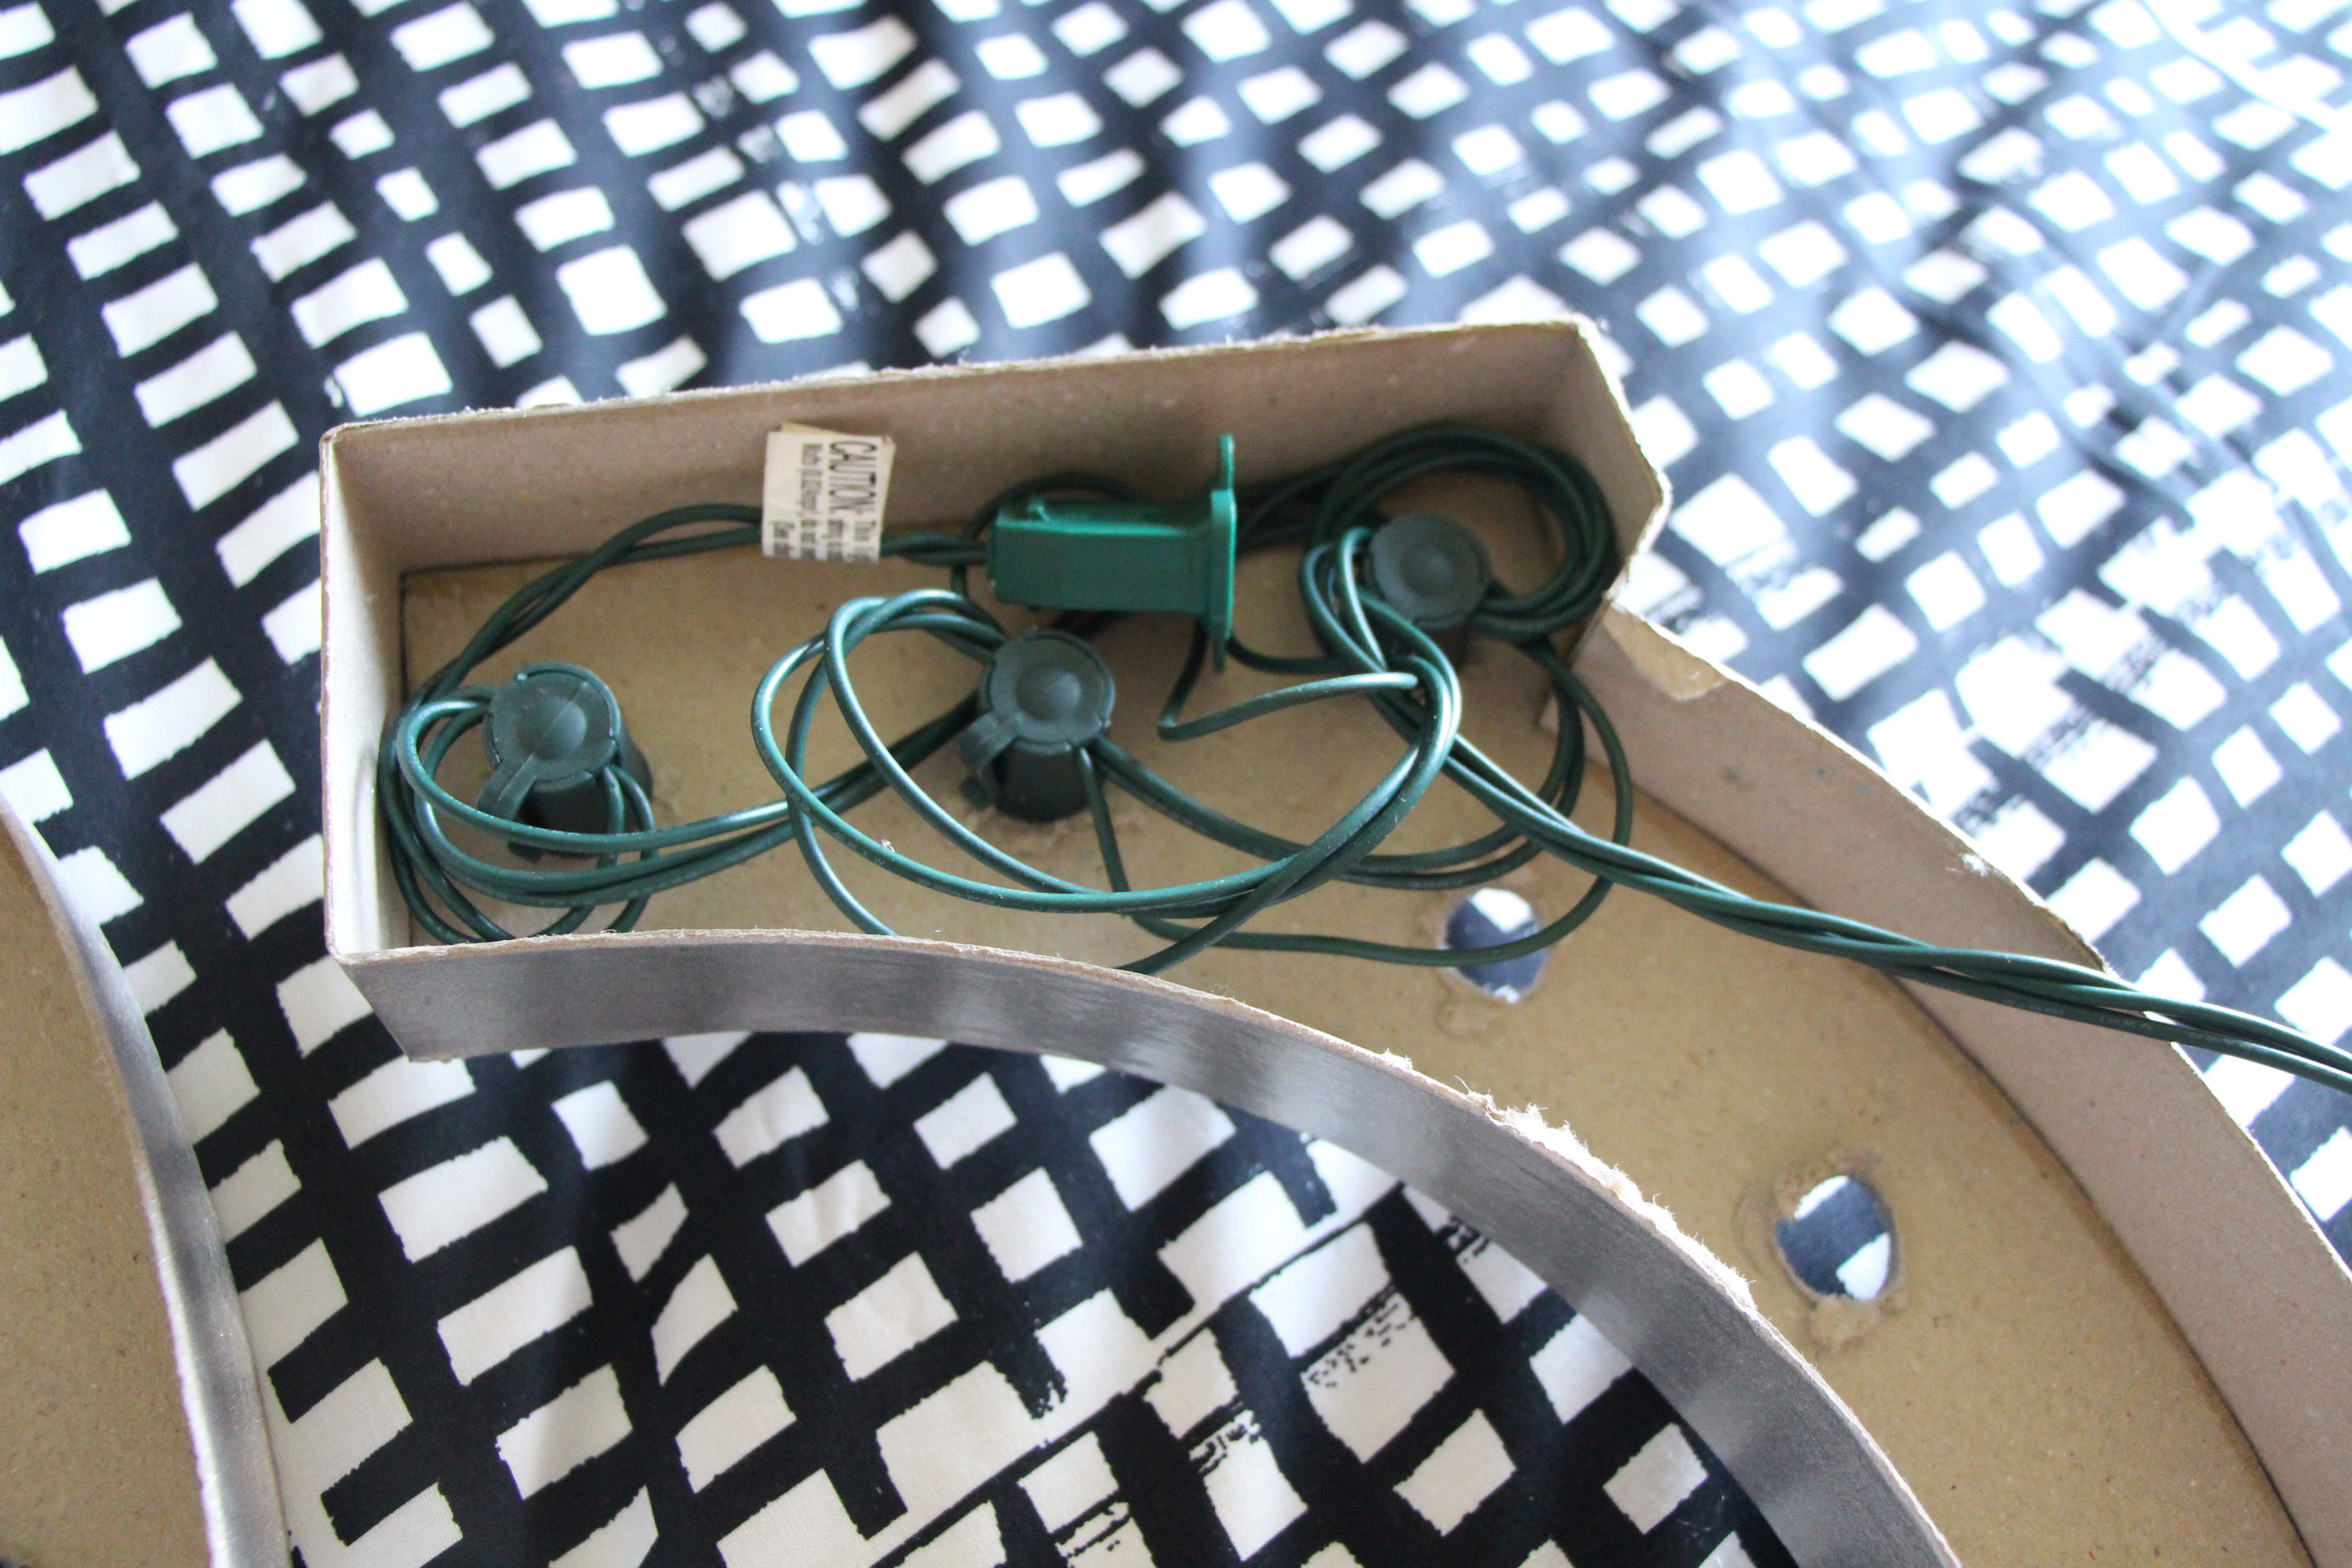
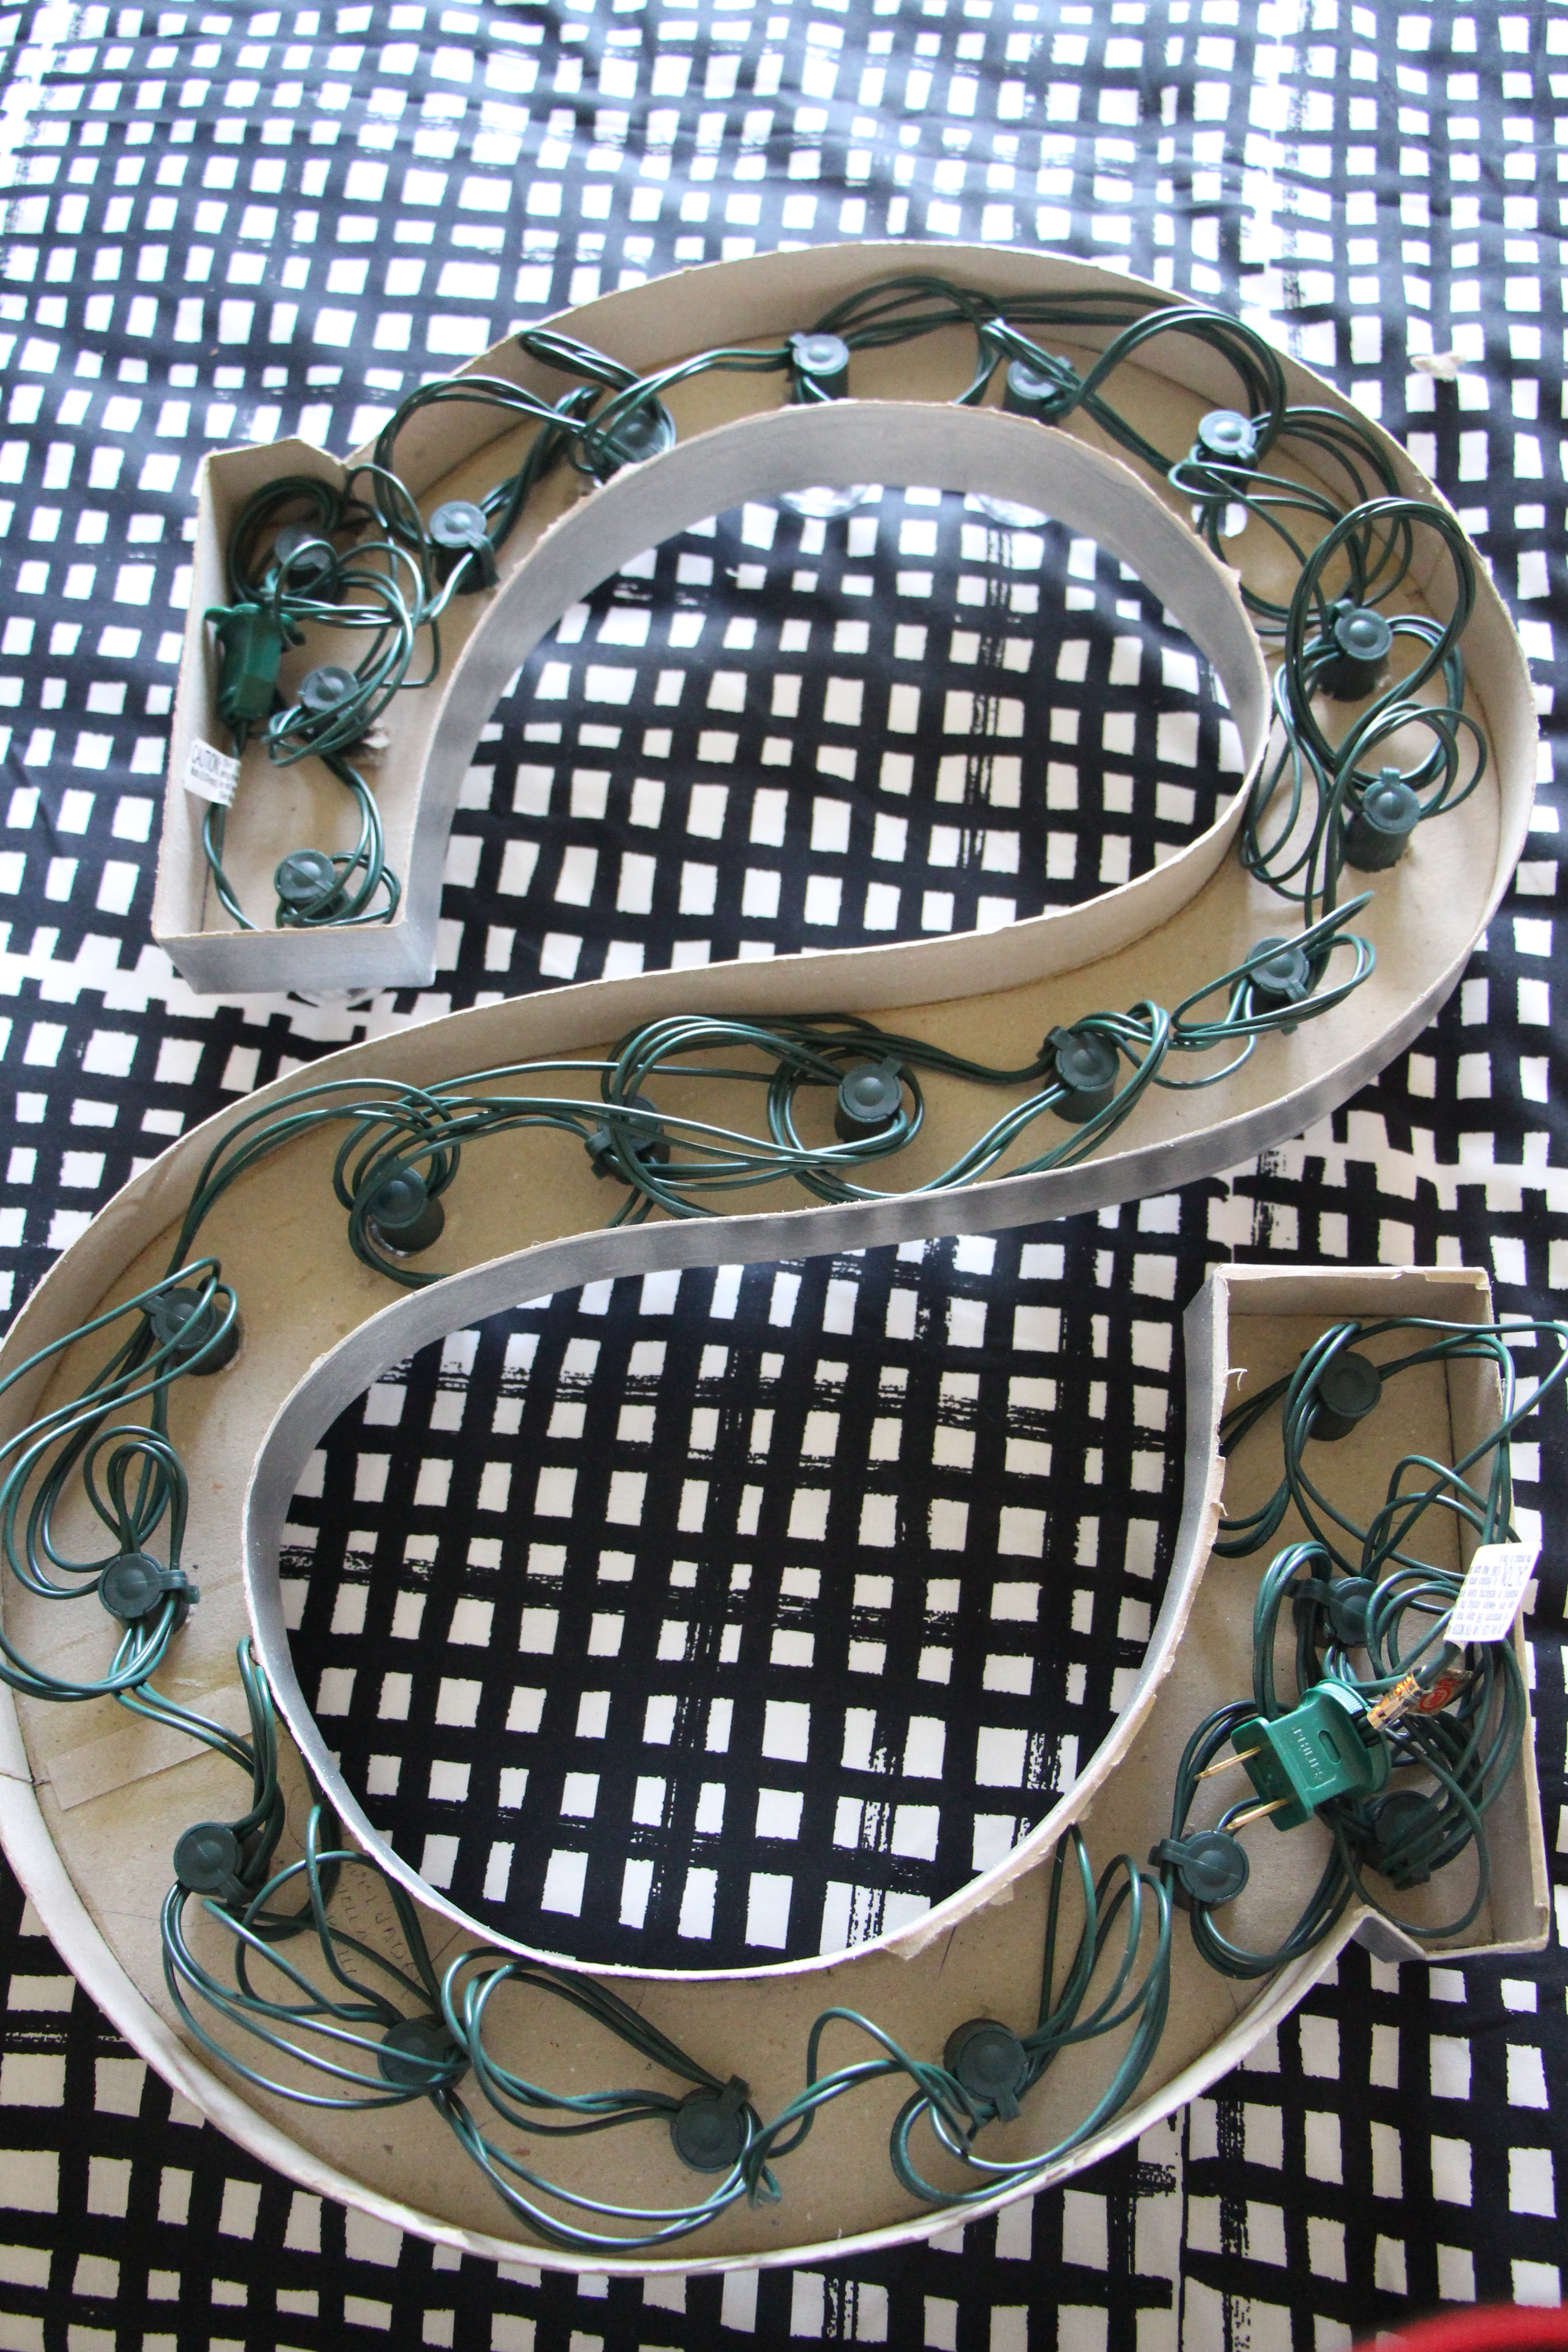
Then, I removed the globe off of the light bulb & poked it through the “S” from the back. After it was pushed through, I screwed the globe back on to secure it to the “S”. I wove the light string throughout the inside of the letter, by using the clips on the back of each bulb to hold the string in place. Again, there was no science to this part. I basically just tried to keep the strand concealed and tight within the “S”.
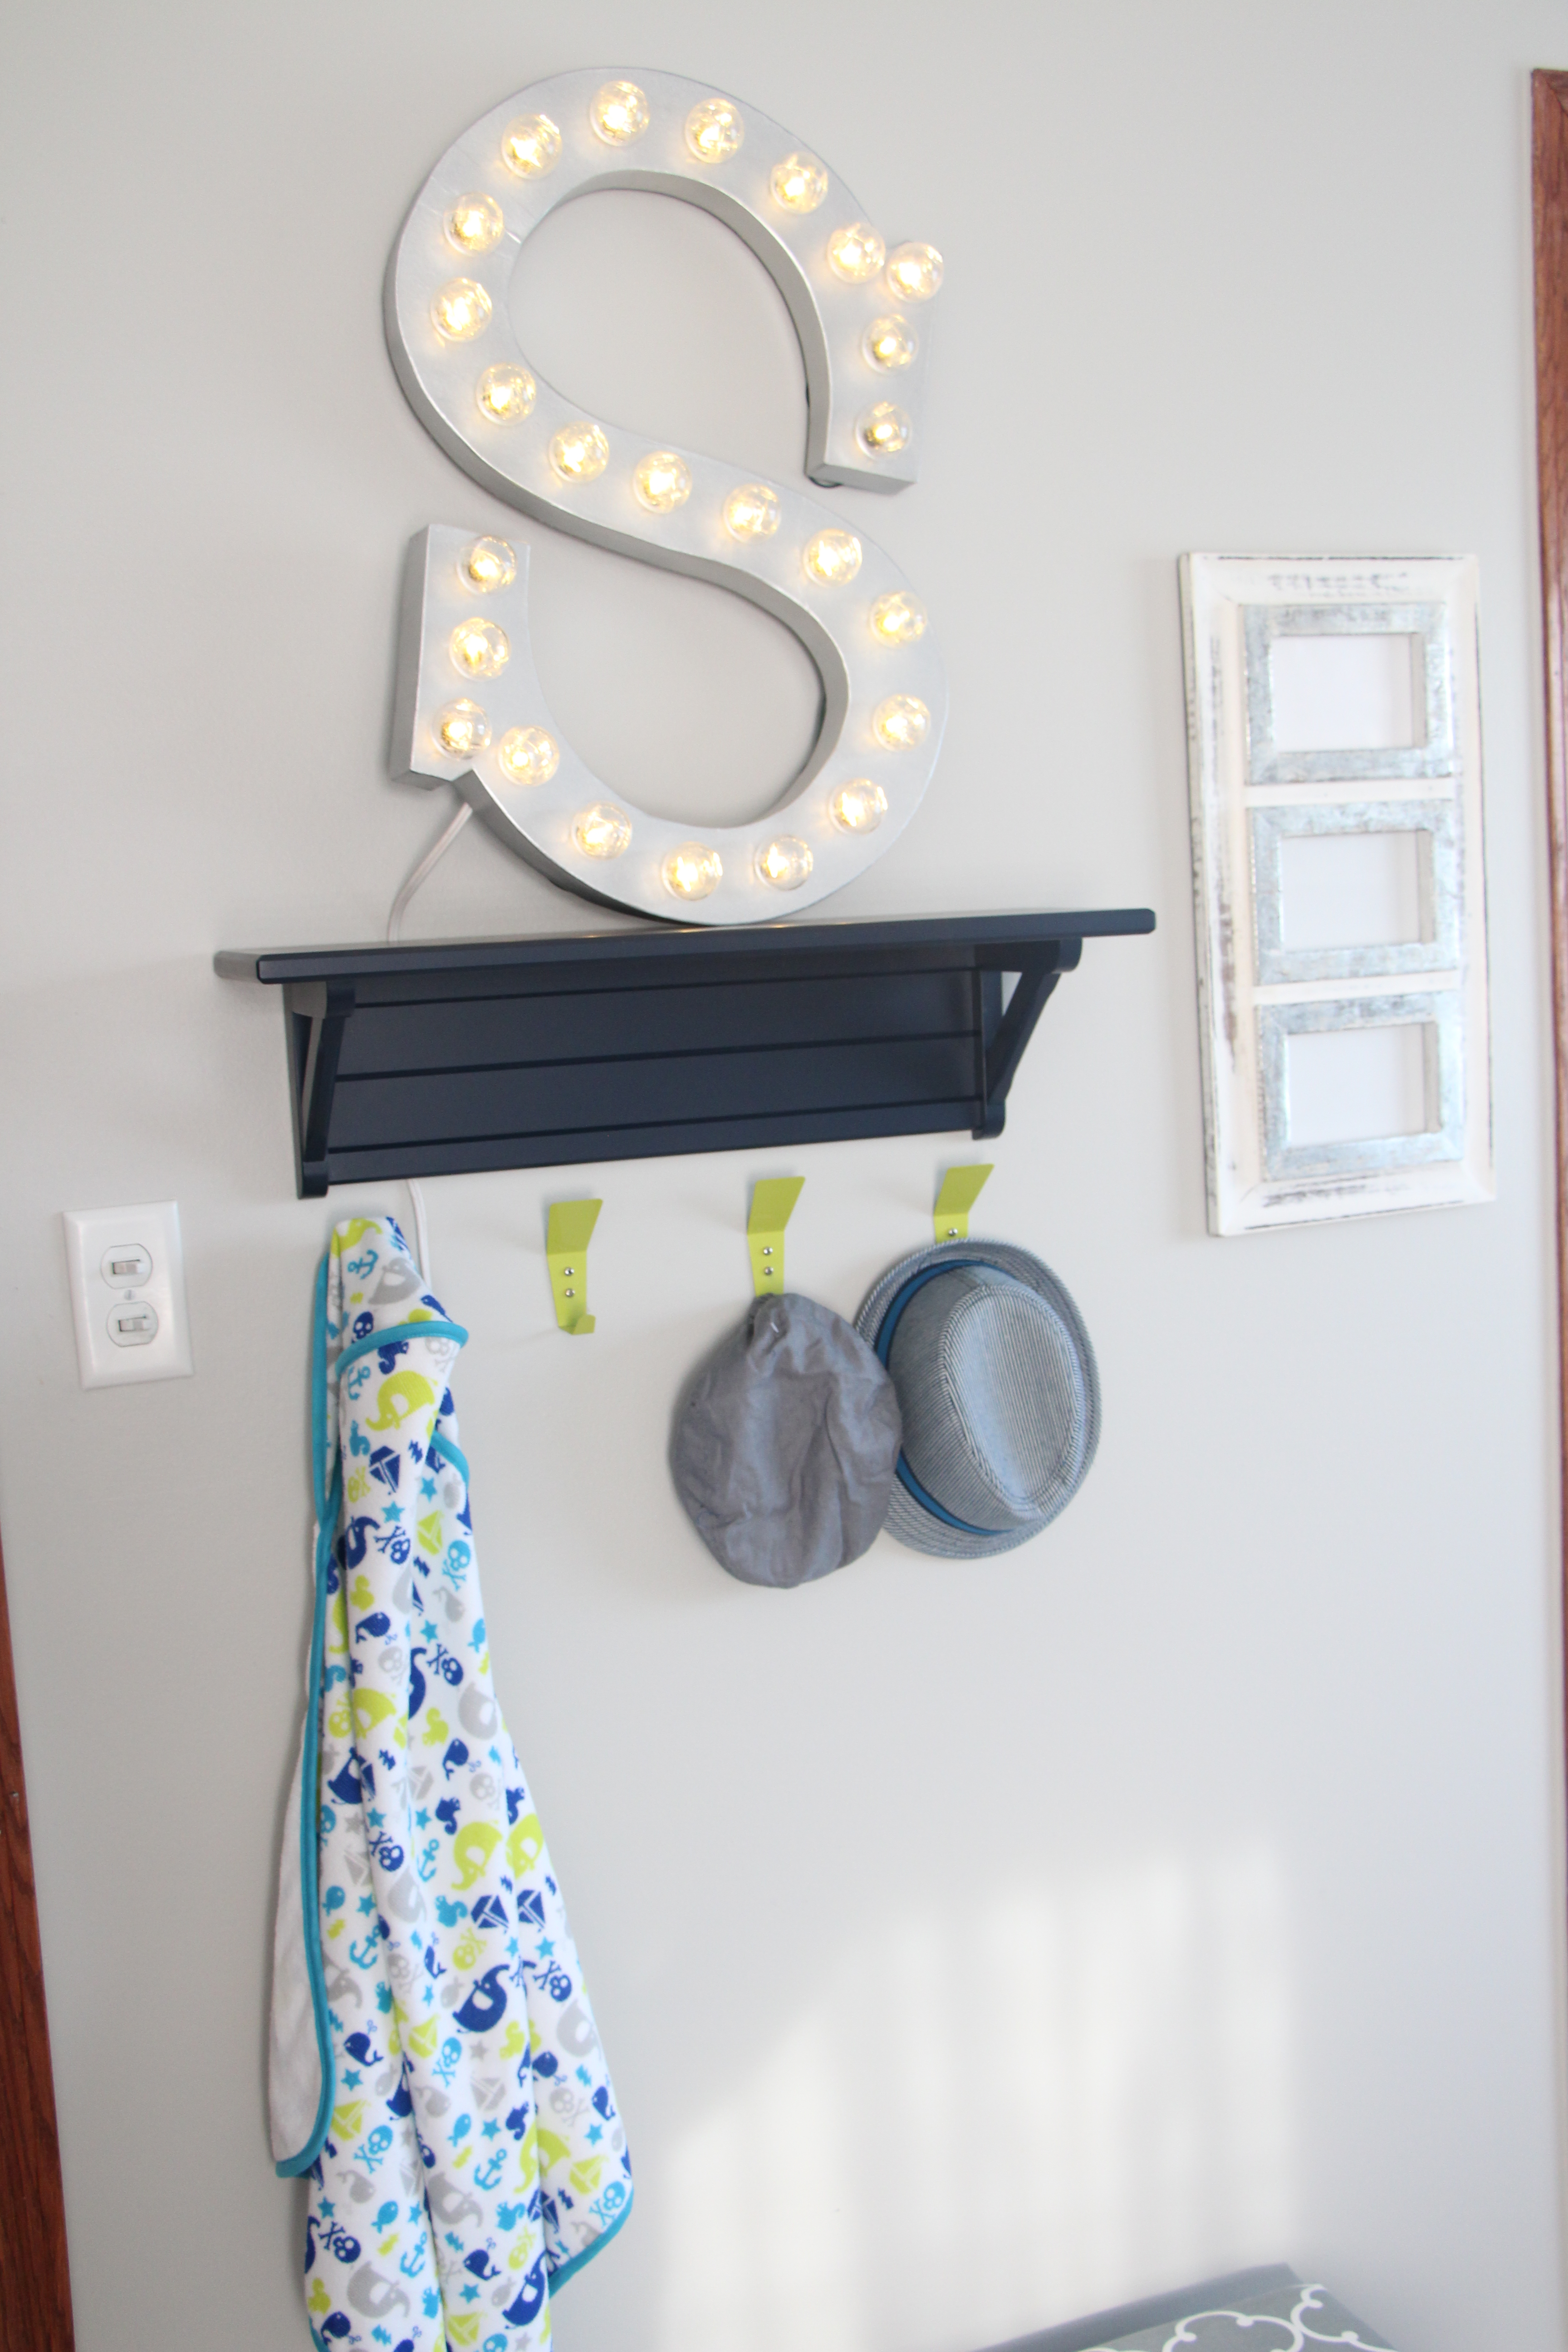
Lastly, we connected a white extension cord to the end of the light strand and plugged it into the wall to test out. Each bulb was working properly, so we held it up on the wall where we wanted it placed and then attached the blue shelf to the wall with the white cord running down the wall behind it.
We tacked 1 nail at the top of the “S” and 1 nail in the middle to secure it to the wall a bit better.
And finally…
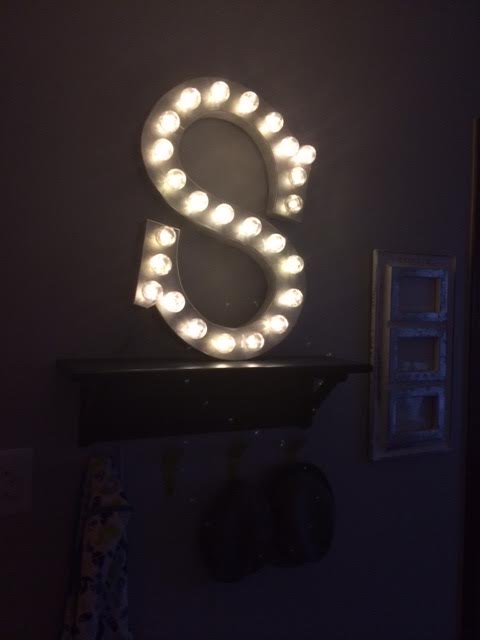
A perfectly lit little “S” for my little Simon 🙂
>>> Check out the links below In case you missed my other DIY Nursery Projects <<<
Striped curtains | Nursery closet | lampshade | Mustache shadow box | A to Z bookends | Silver Dinosaurs | Nursery Mobile
Thanks for stopping by. I hope you enjoyed this little project!







This is our Bliss @ IHeart Organizing | This is our Bliss
February 4, 2015 at 3:39 PM[…] Lampshade Nursery Mobile Pegboard Gallery Wall Free Nursery Word Art Printable Mustache Shadowbox “S” Marquee Nursery Closet […]
>>> Simon’s Nursery Reveal<<< | This is our Bliss
October 23, 2014 at 11:39 AM[…] ← Meet Simon, World! S is for Simon {DIY Marquee Letter} → […]
FREE Nursery Word Art Printable! | This is our Bliss
September 3, 2014 at 9:08 PM[…] over here, then you may have missed all of my past nursery project posts, such as the DIY Mobile, Marquee “S”, the Striped curtains & the Silver Dinosaurs. The printable I am sharing with you today is one […]
babybeandesign
June 5, 2014 at 1:48 AMThis is amazing 🙂 thanks. I think I may need to add this to little ones room makeover