Hello again! Crazy busy day over here with the kiddos and Halloween festivities! My 2-year old had a Halloween parade at school today and then we took the boys to my husband’s office to show off both of the boys’ costumes. I will say we have a pretty cool lion and an ultra-cute monkey on our hands for the next 2 days 🙂 Luckily their gear is nice & warm because it is supposed to be 40 degrees with 45 mph winds and a chance of rain. Yay for our first year taking out the kids!!
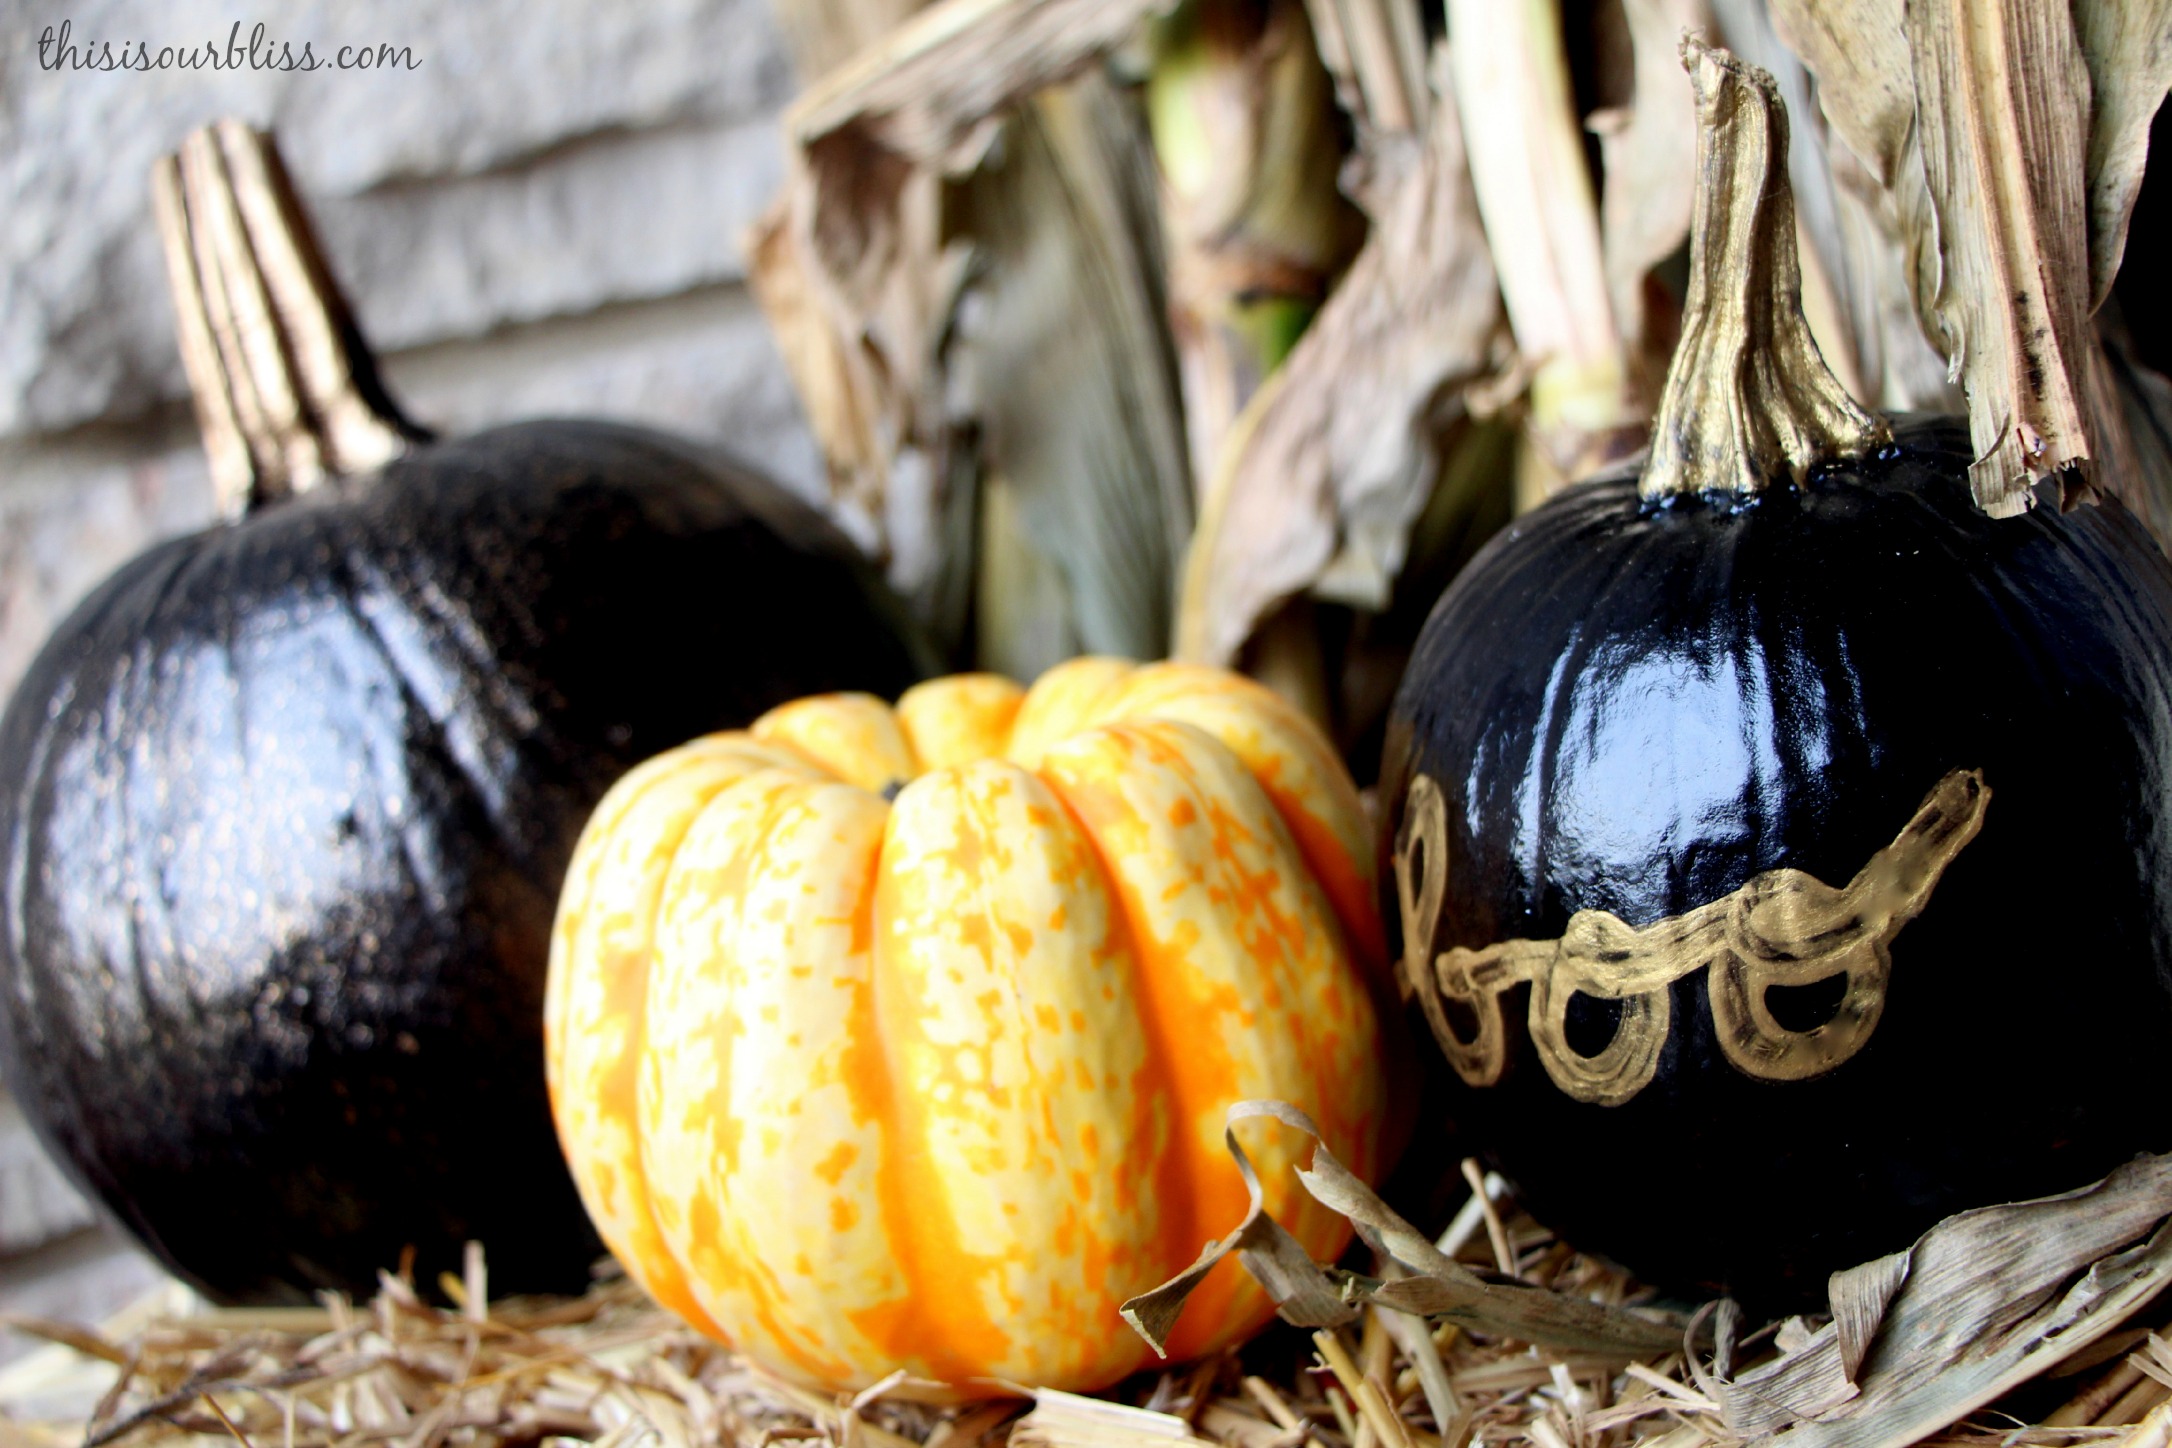
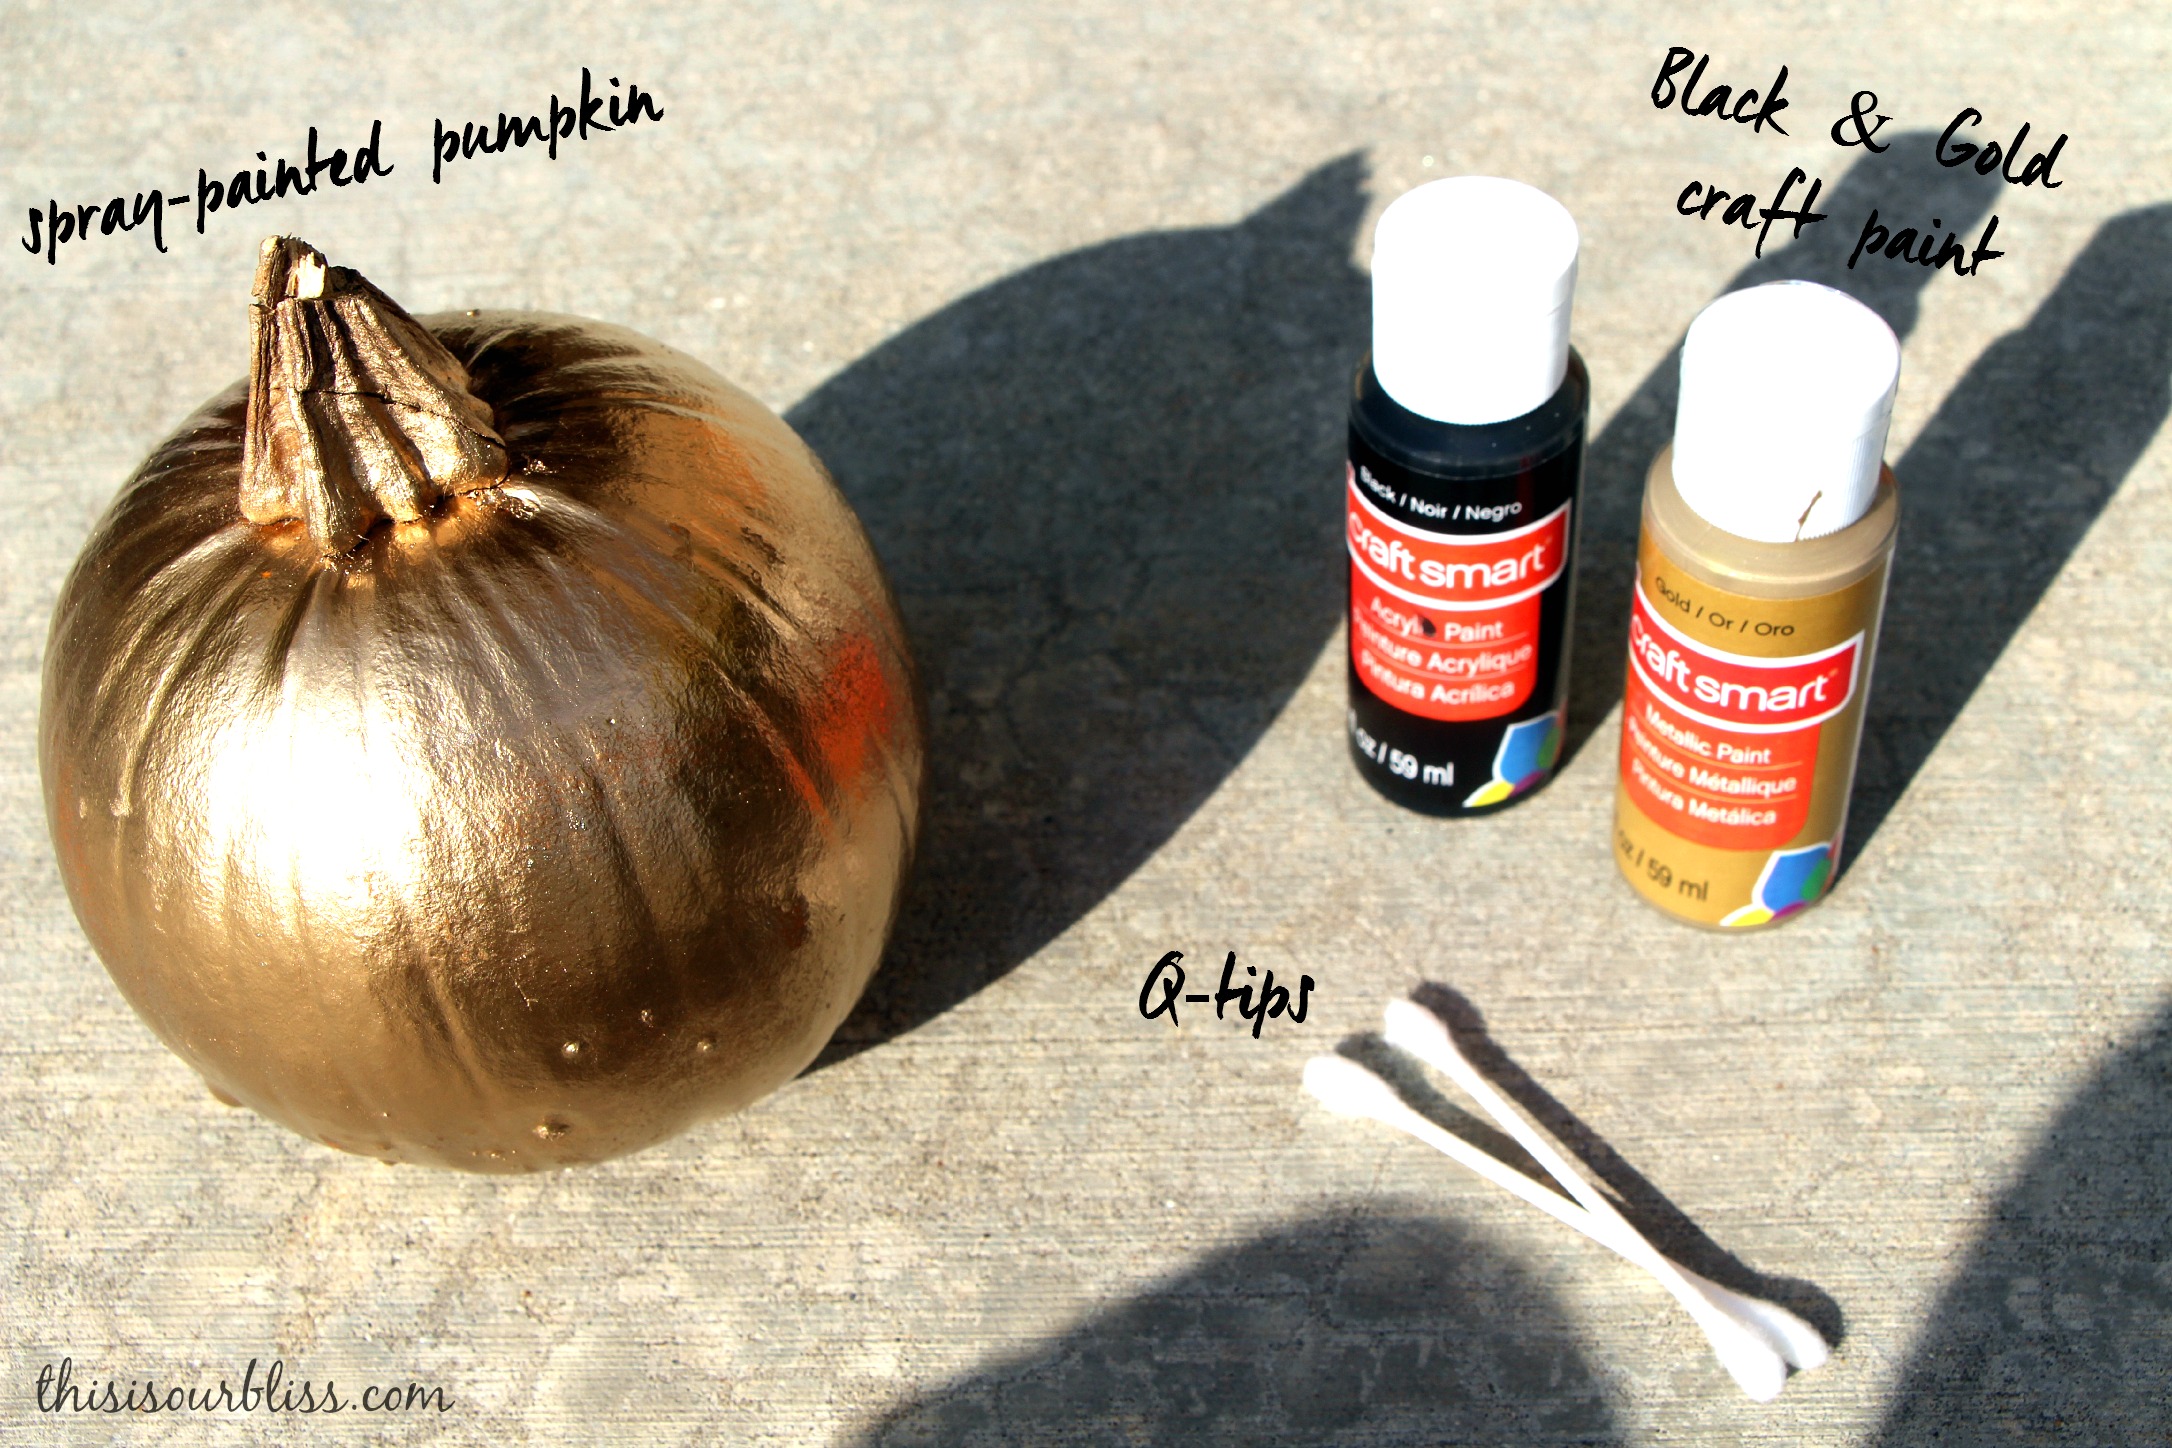
I wanted to pop in and give a quick “how to” on the DIY pumpkins in the Fall Front Porch photos from yesterday. They were meant to be quick & easy & basically cost $0. The only supplies needed are pumpkins, spray paint, craft paint & Q-tips.
The rest is easy to follow. Take a look:
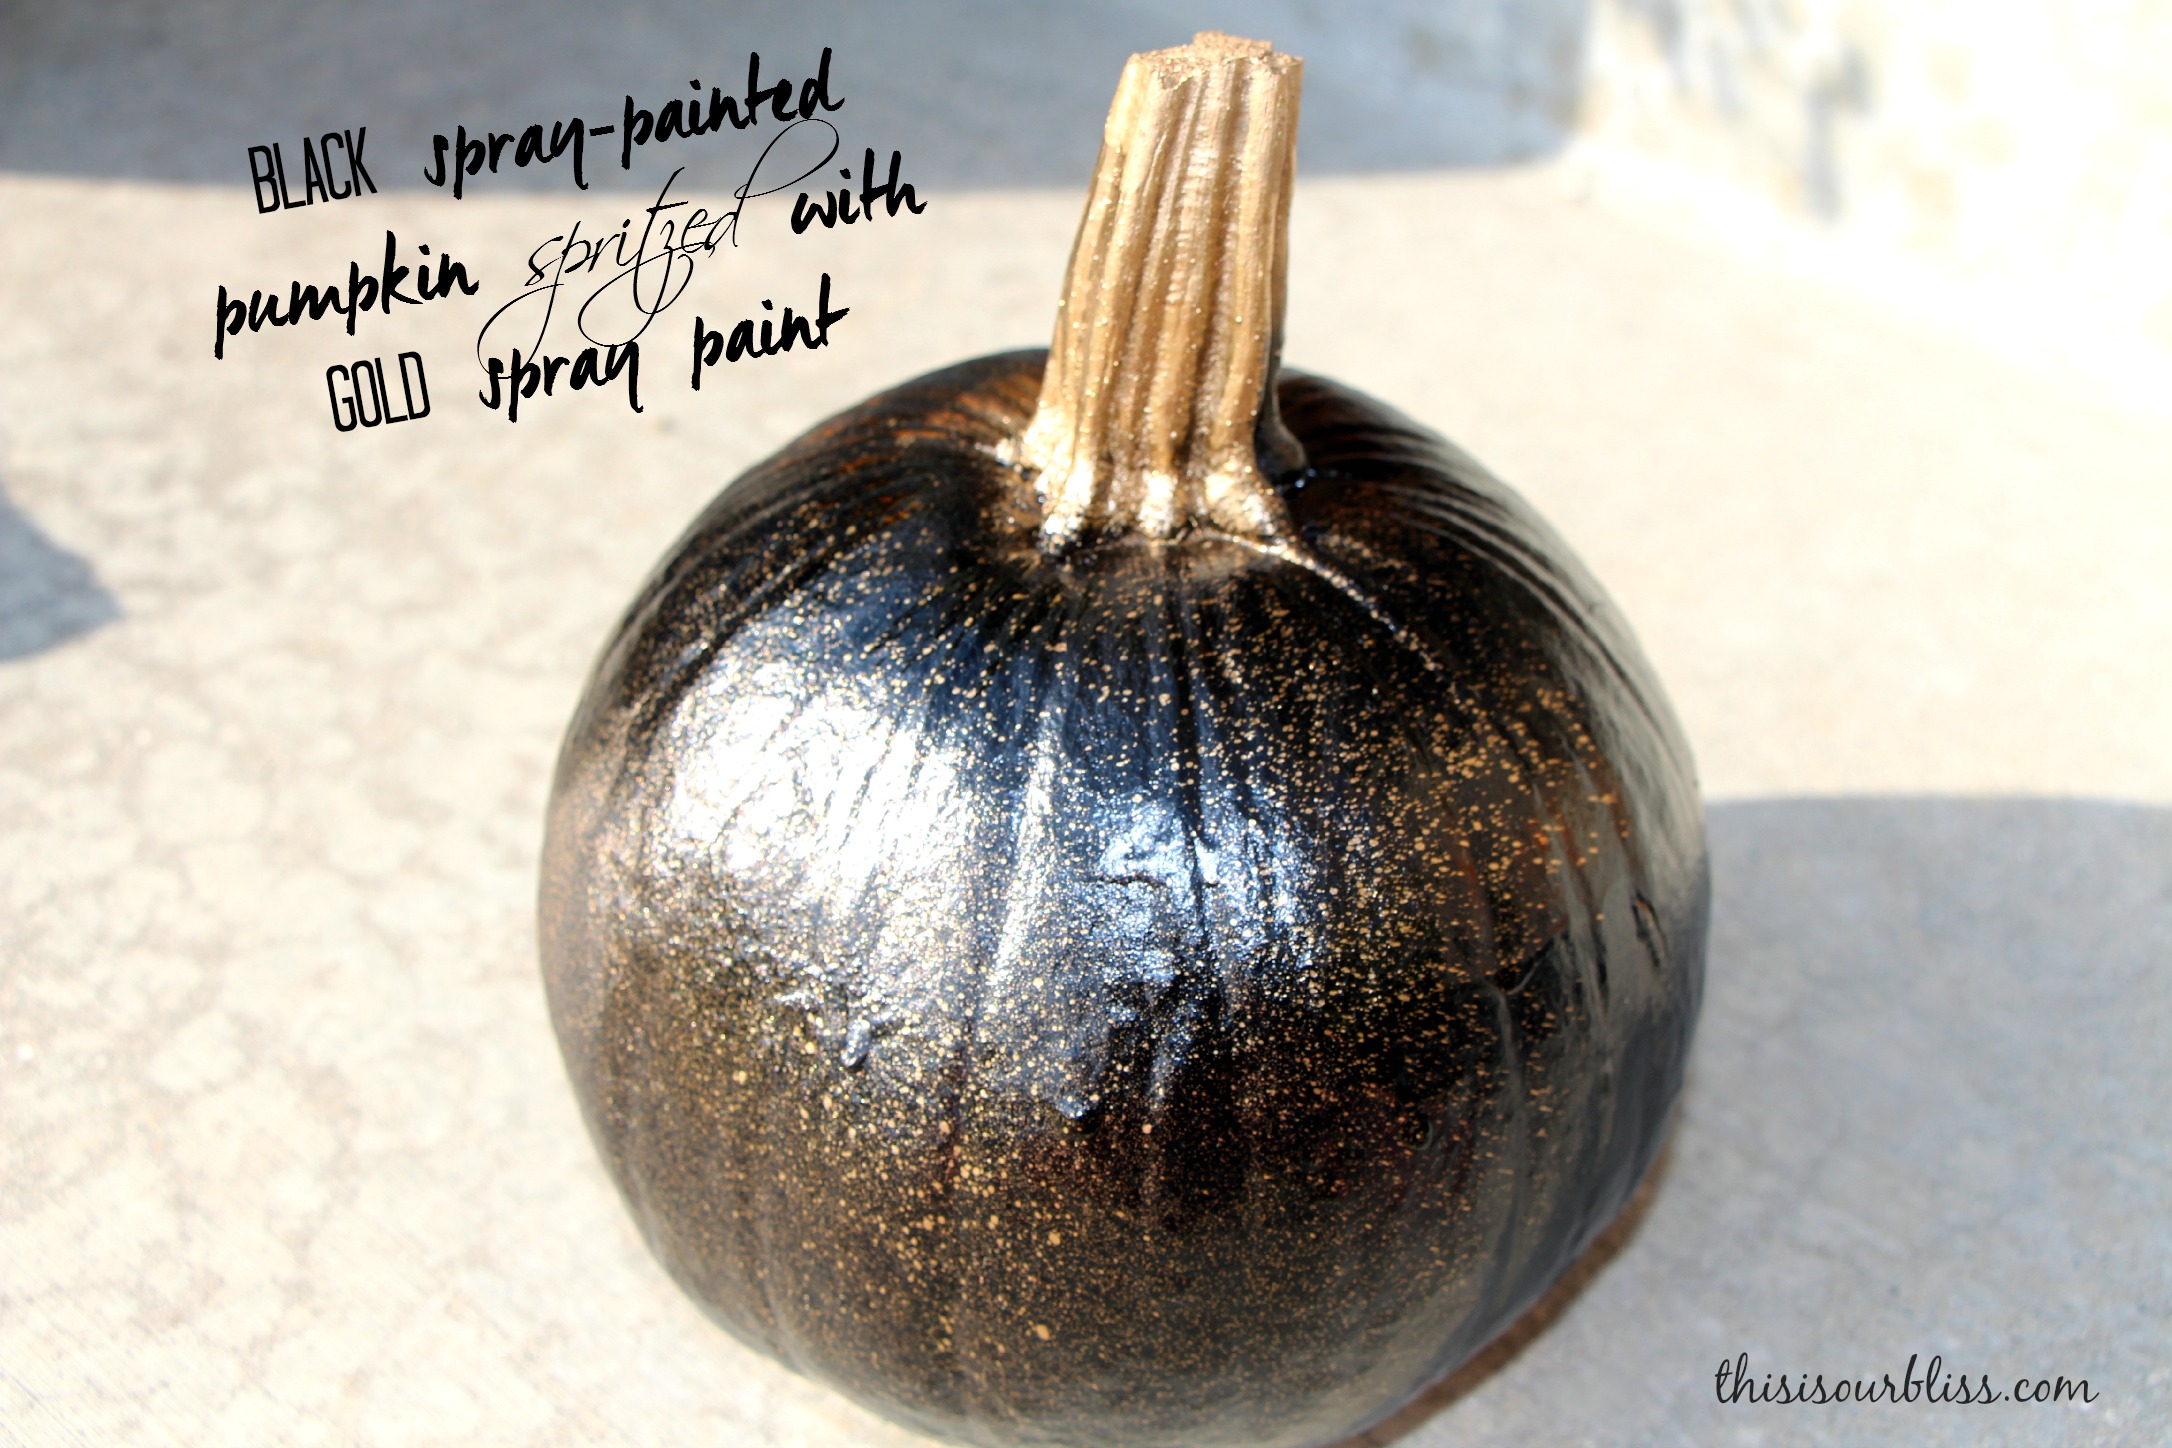
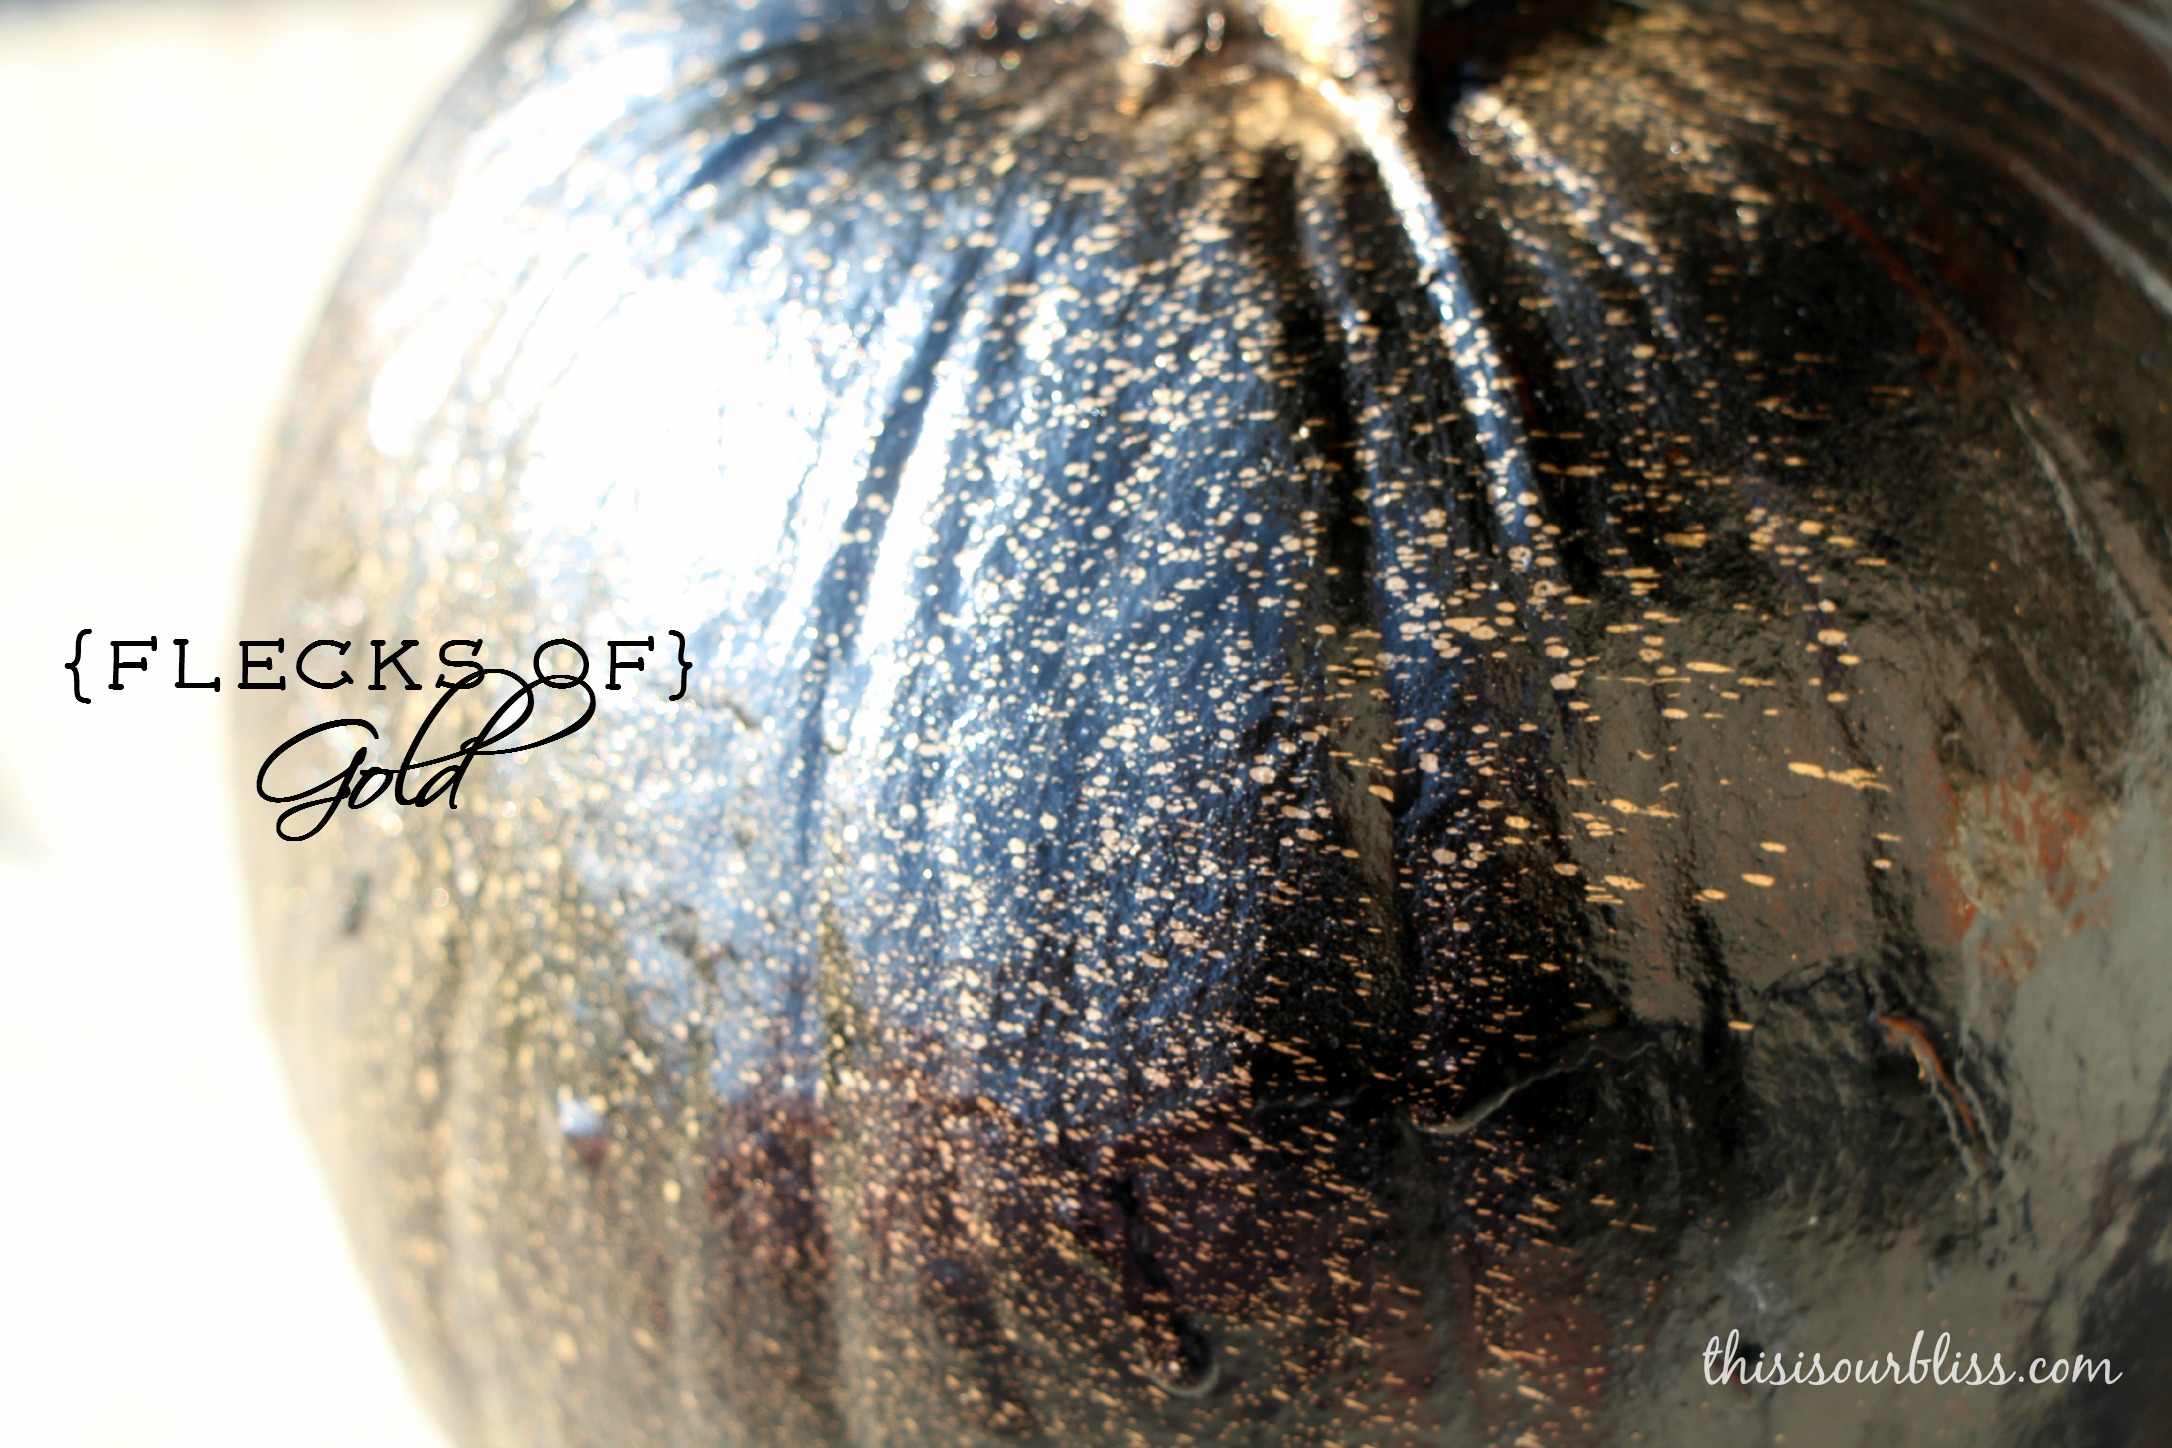
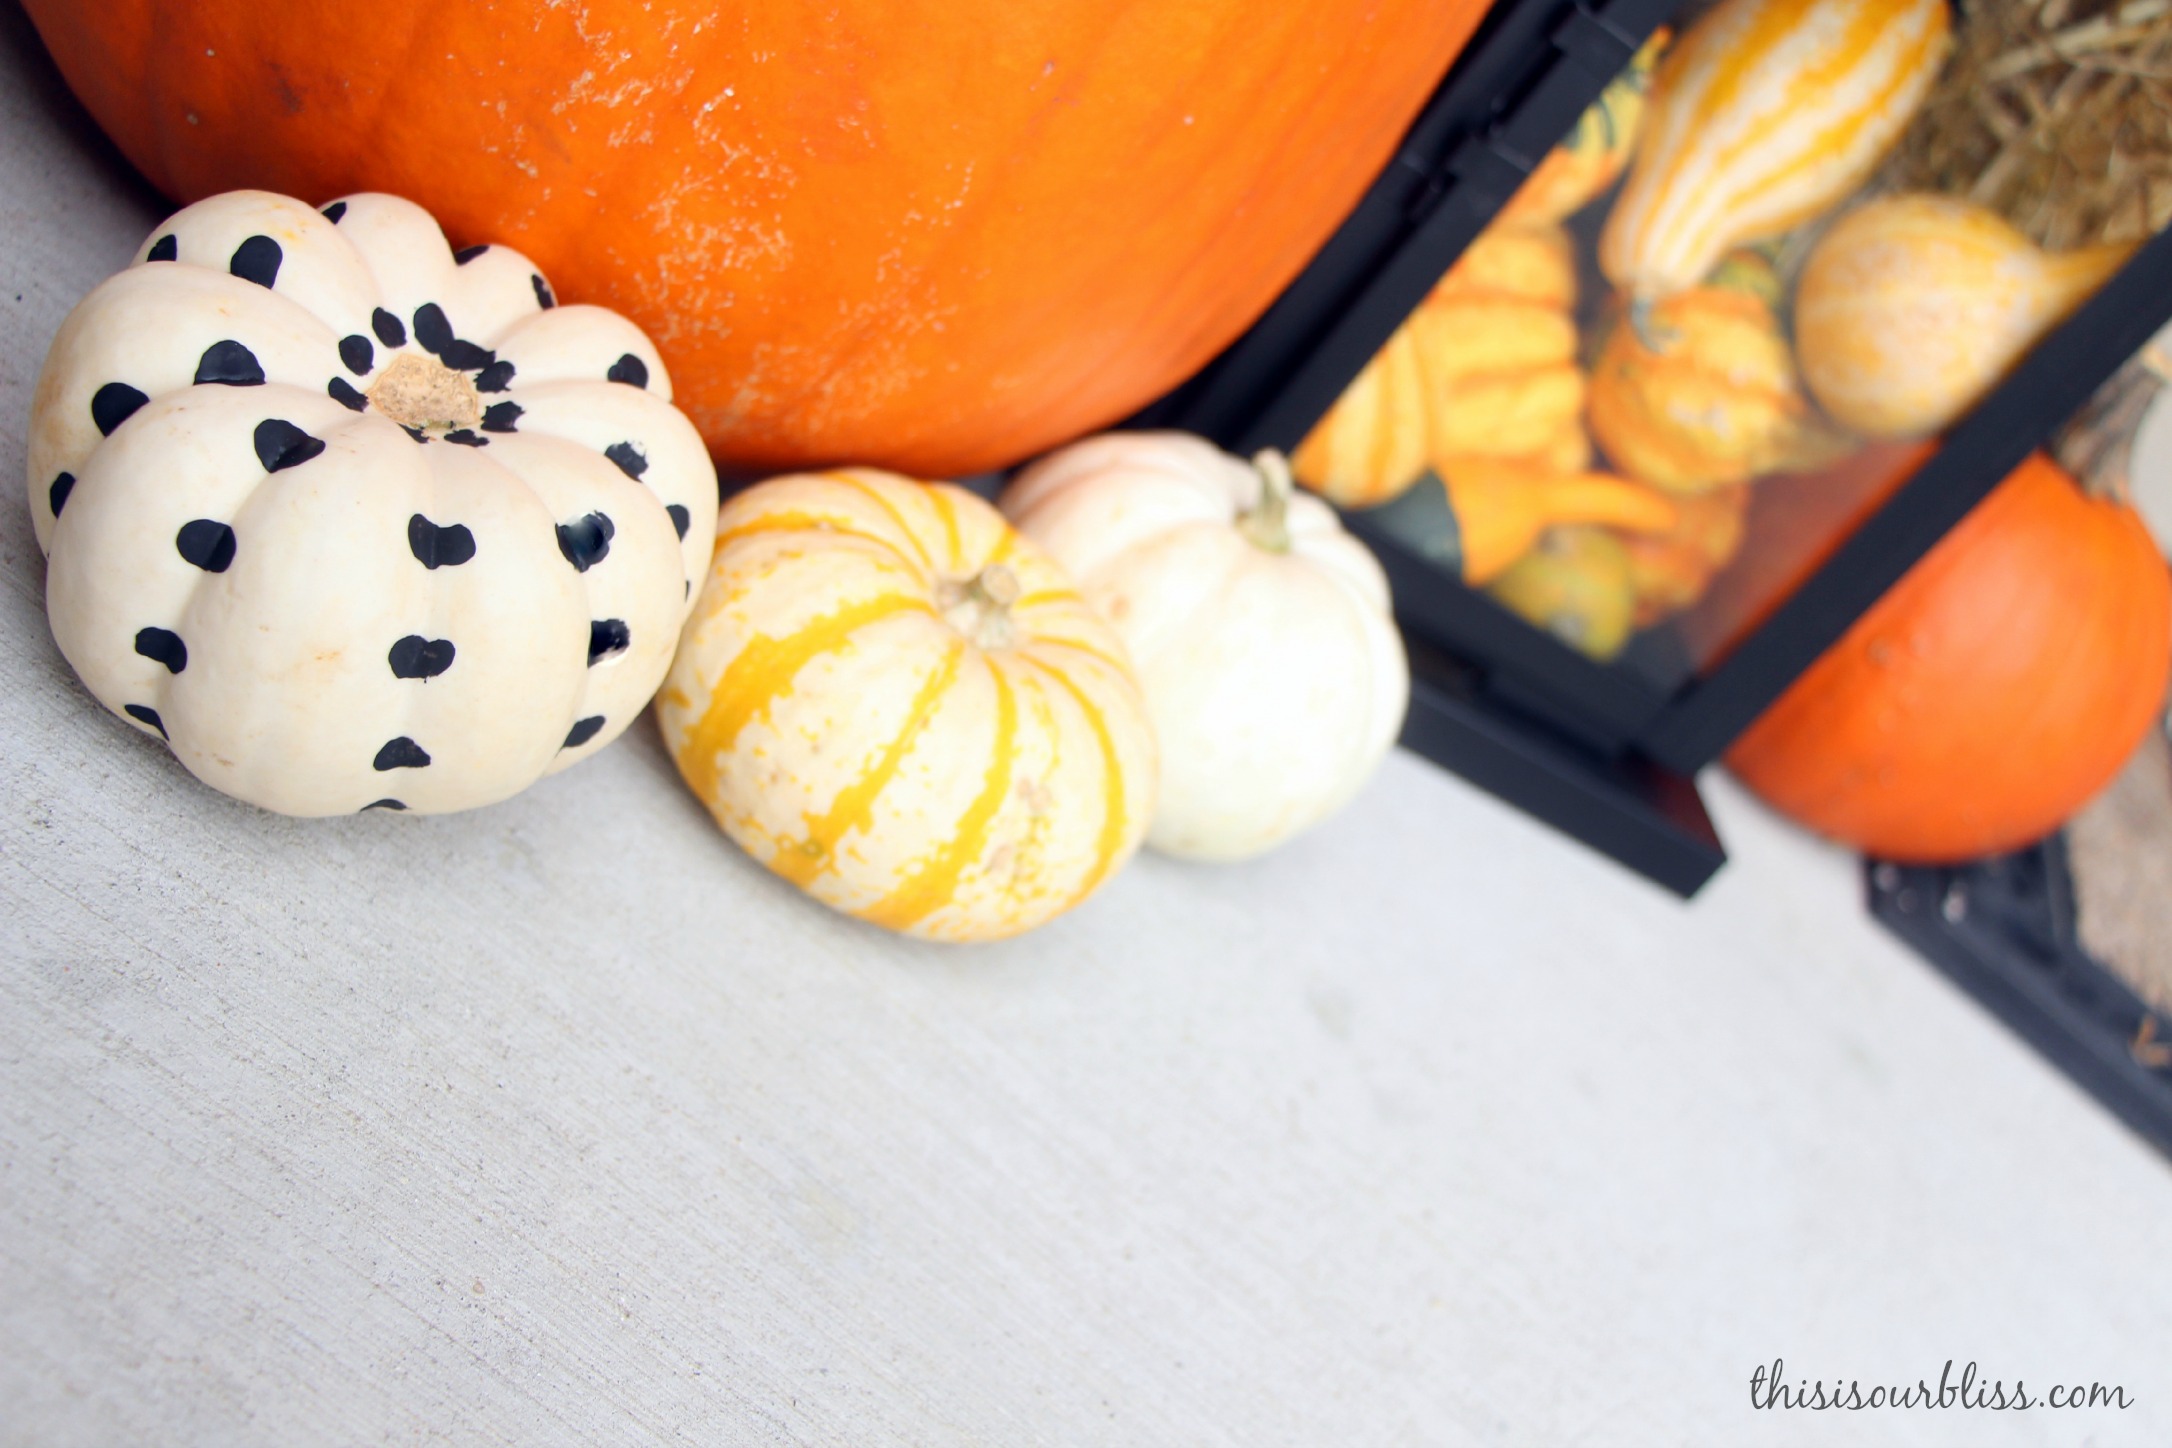
I did the other 2 DIY pumpkins with dots. One, I dabbed the Q-tip up and down the indented lines & the other pumpkin, I dotted heavily at the top and then more sparse lower down for a confetti-look. All were done with my trusty Q-tips!
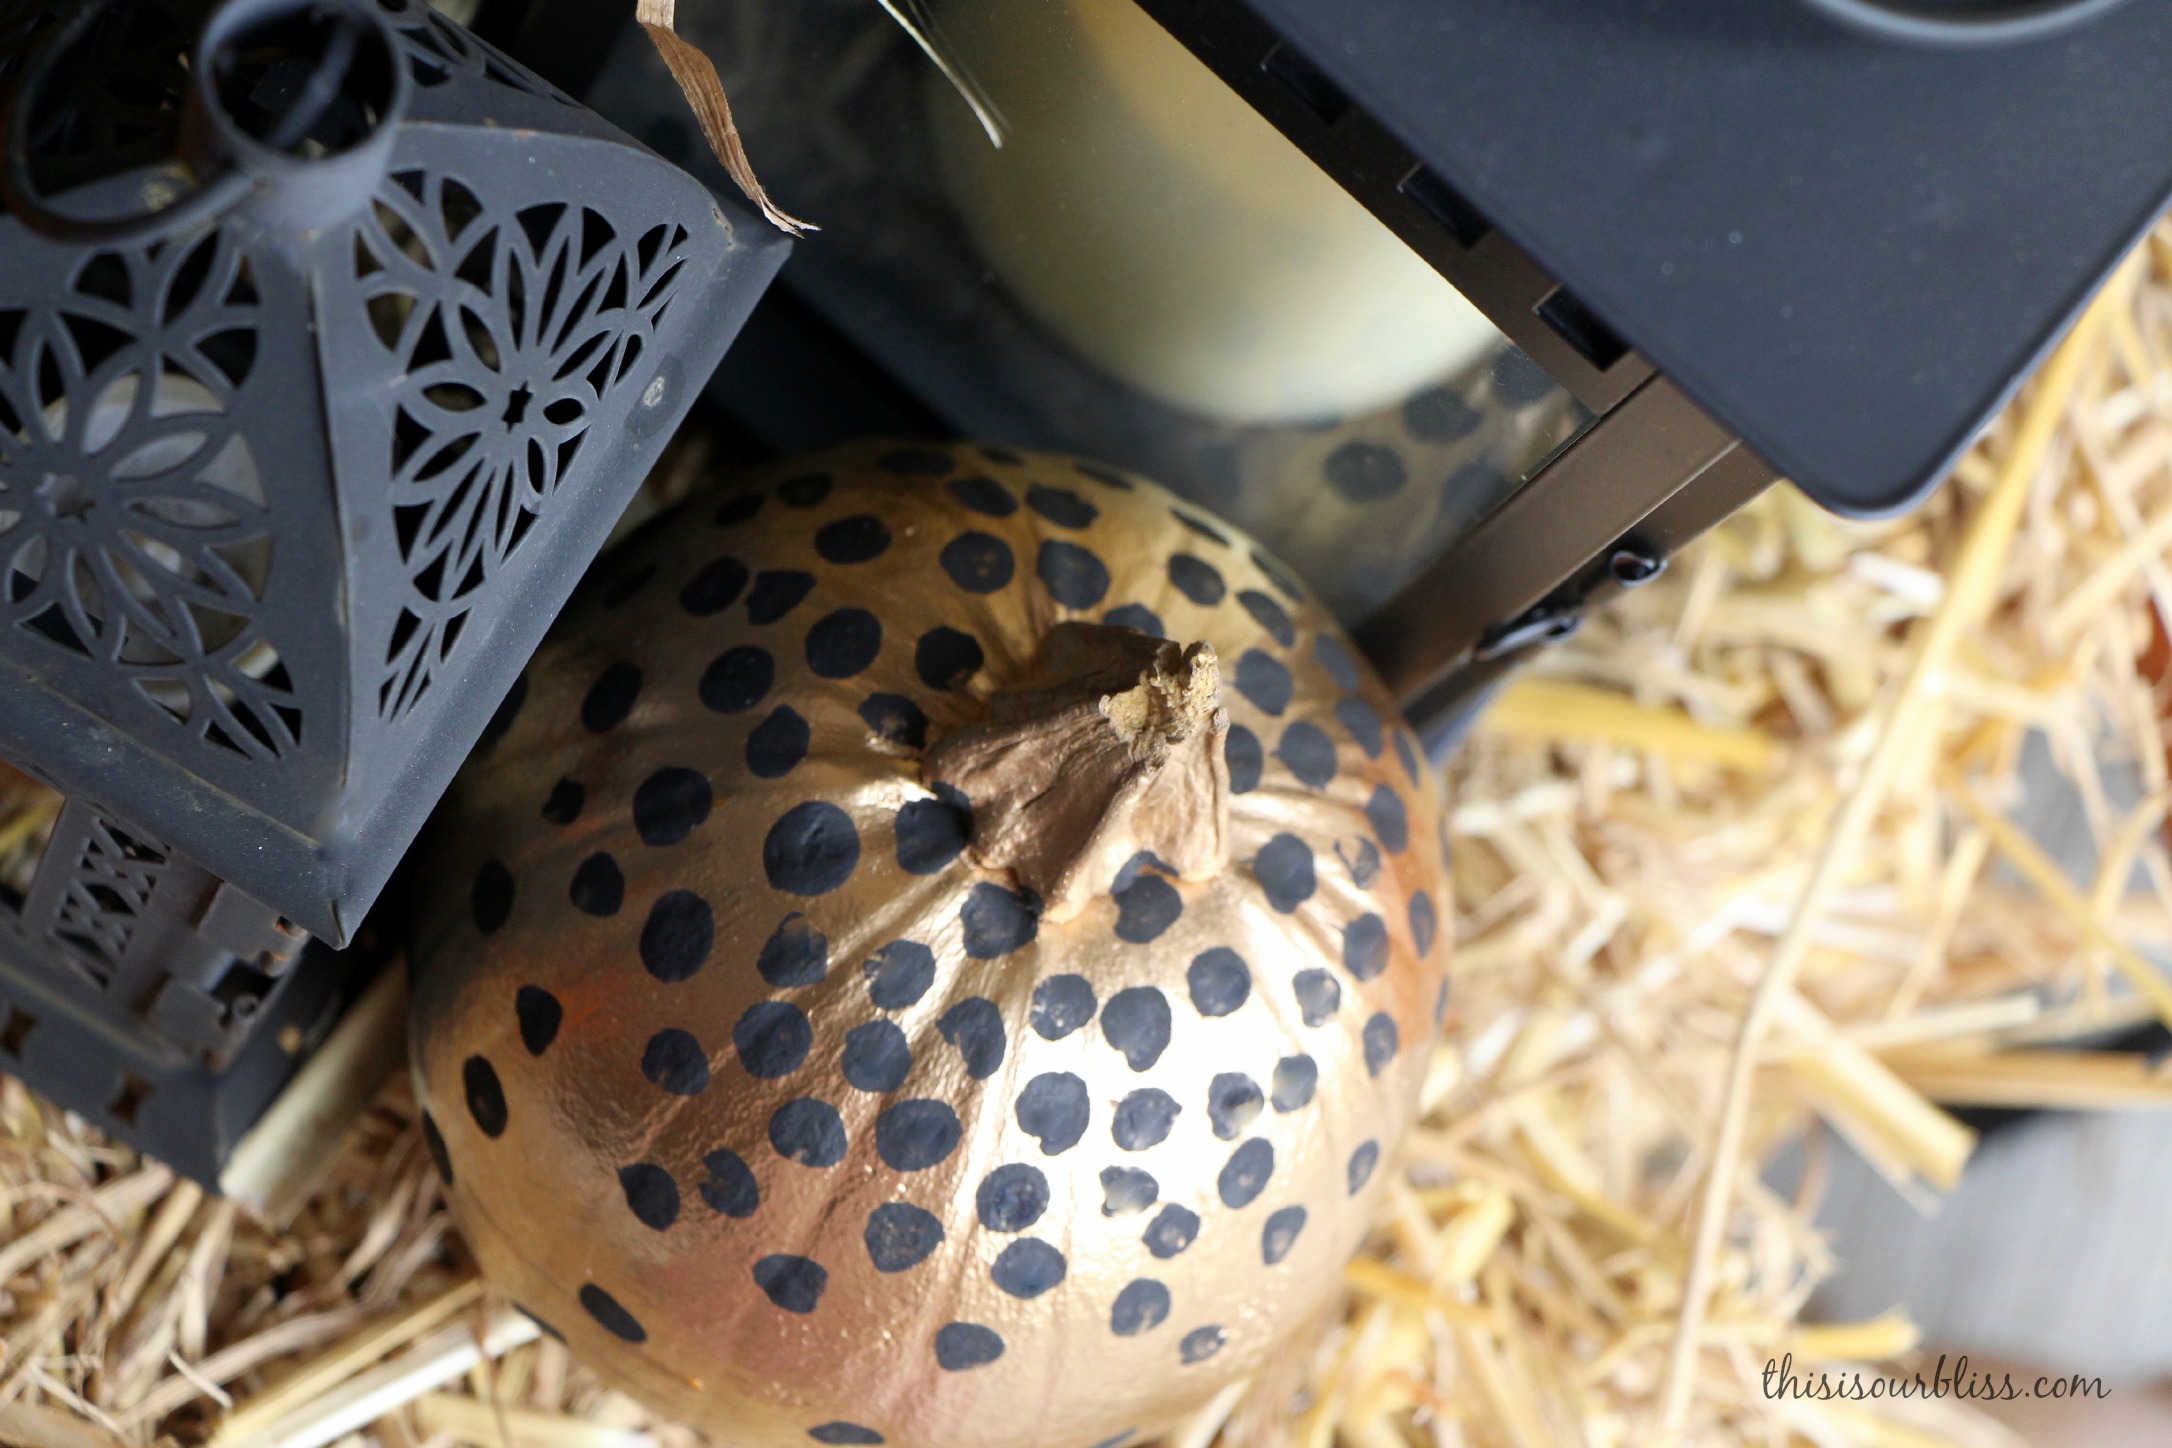
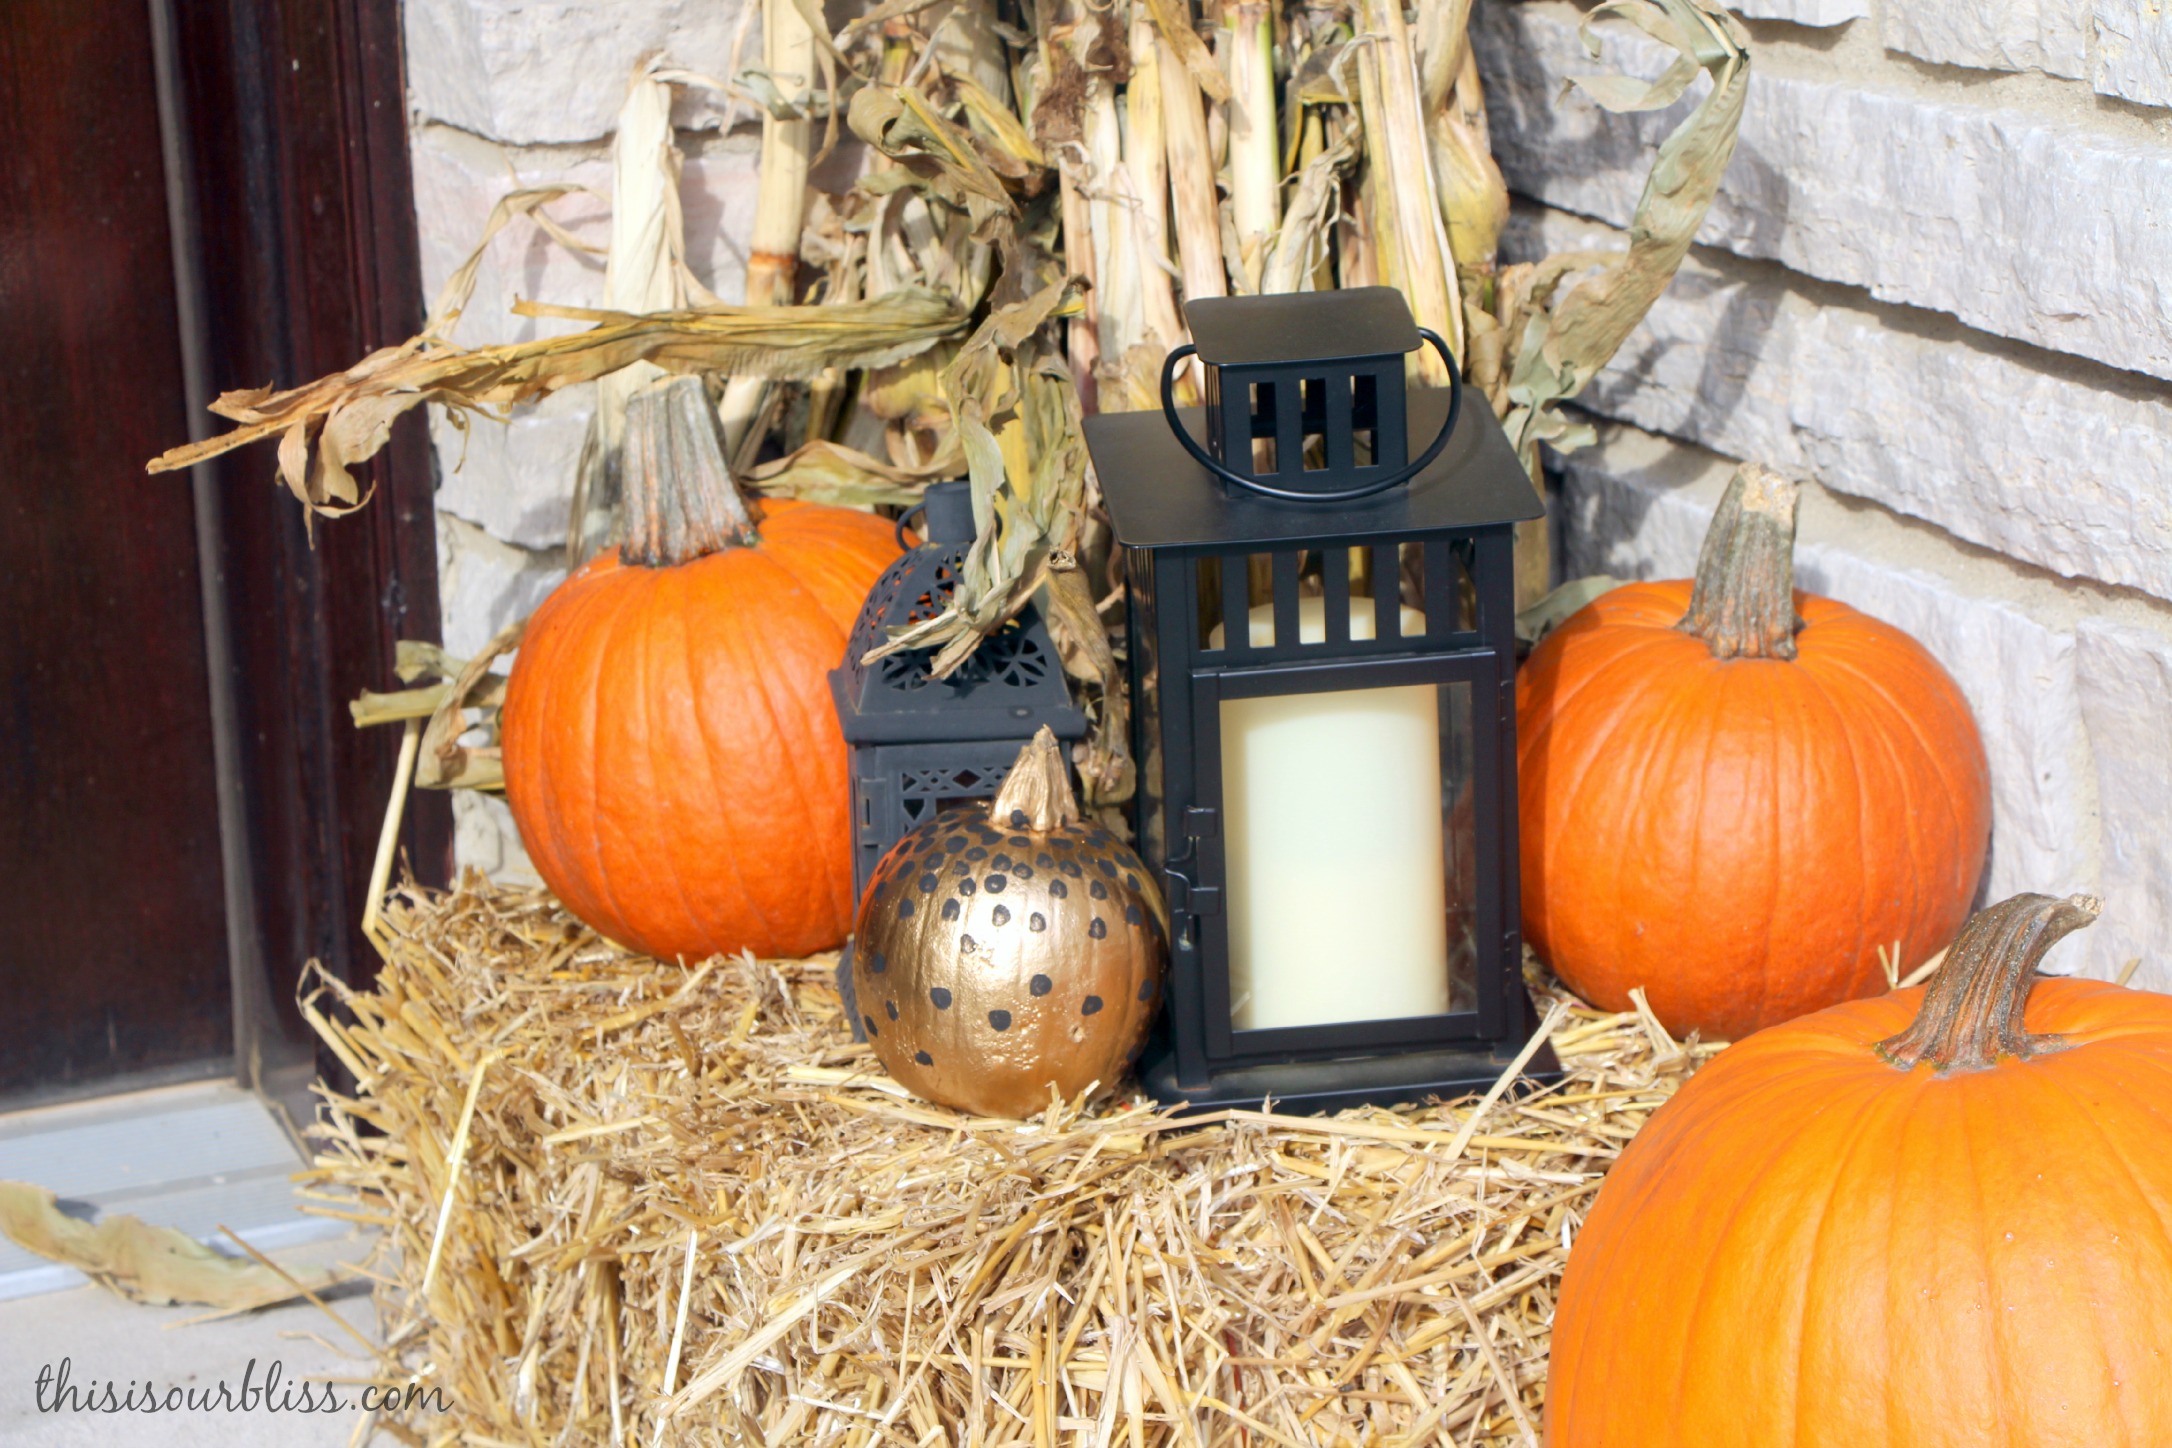
5 minute project with a big impact! I always love a little flare, especially if it involves GOLD.
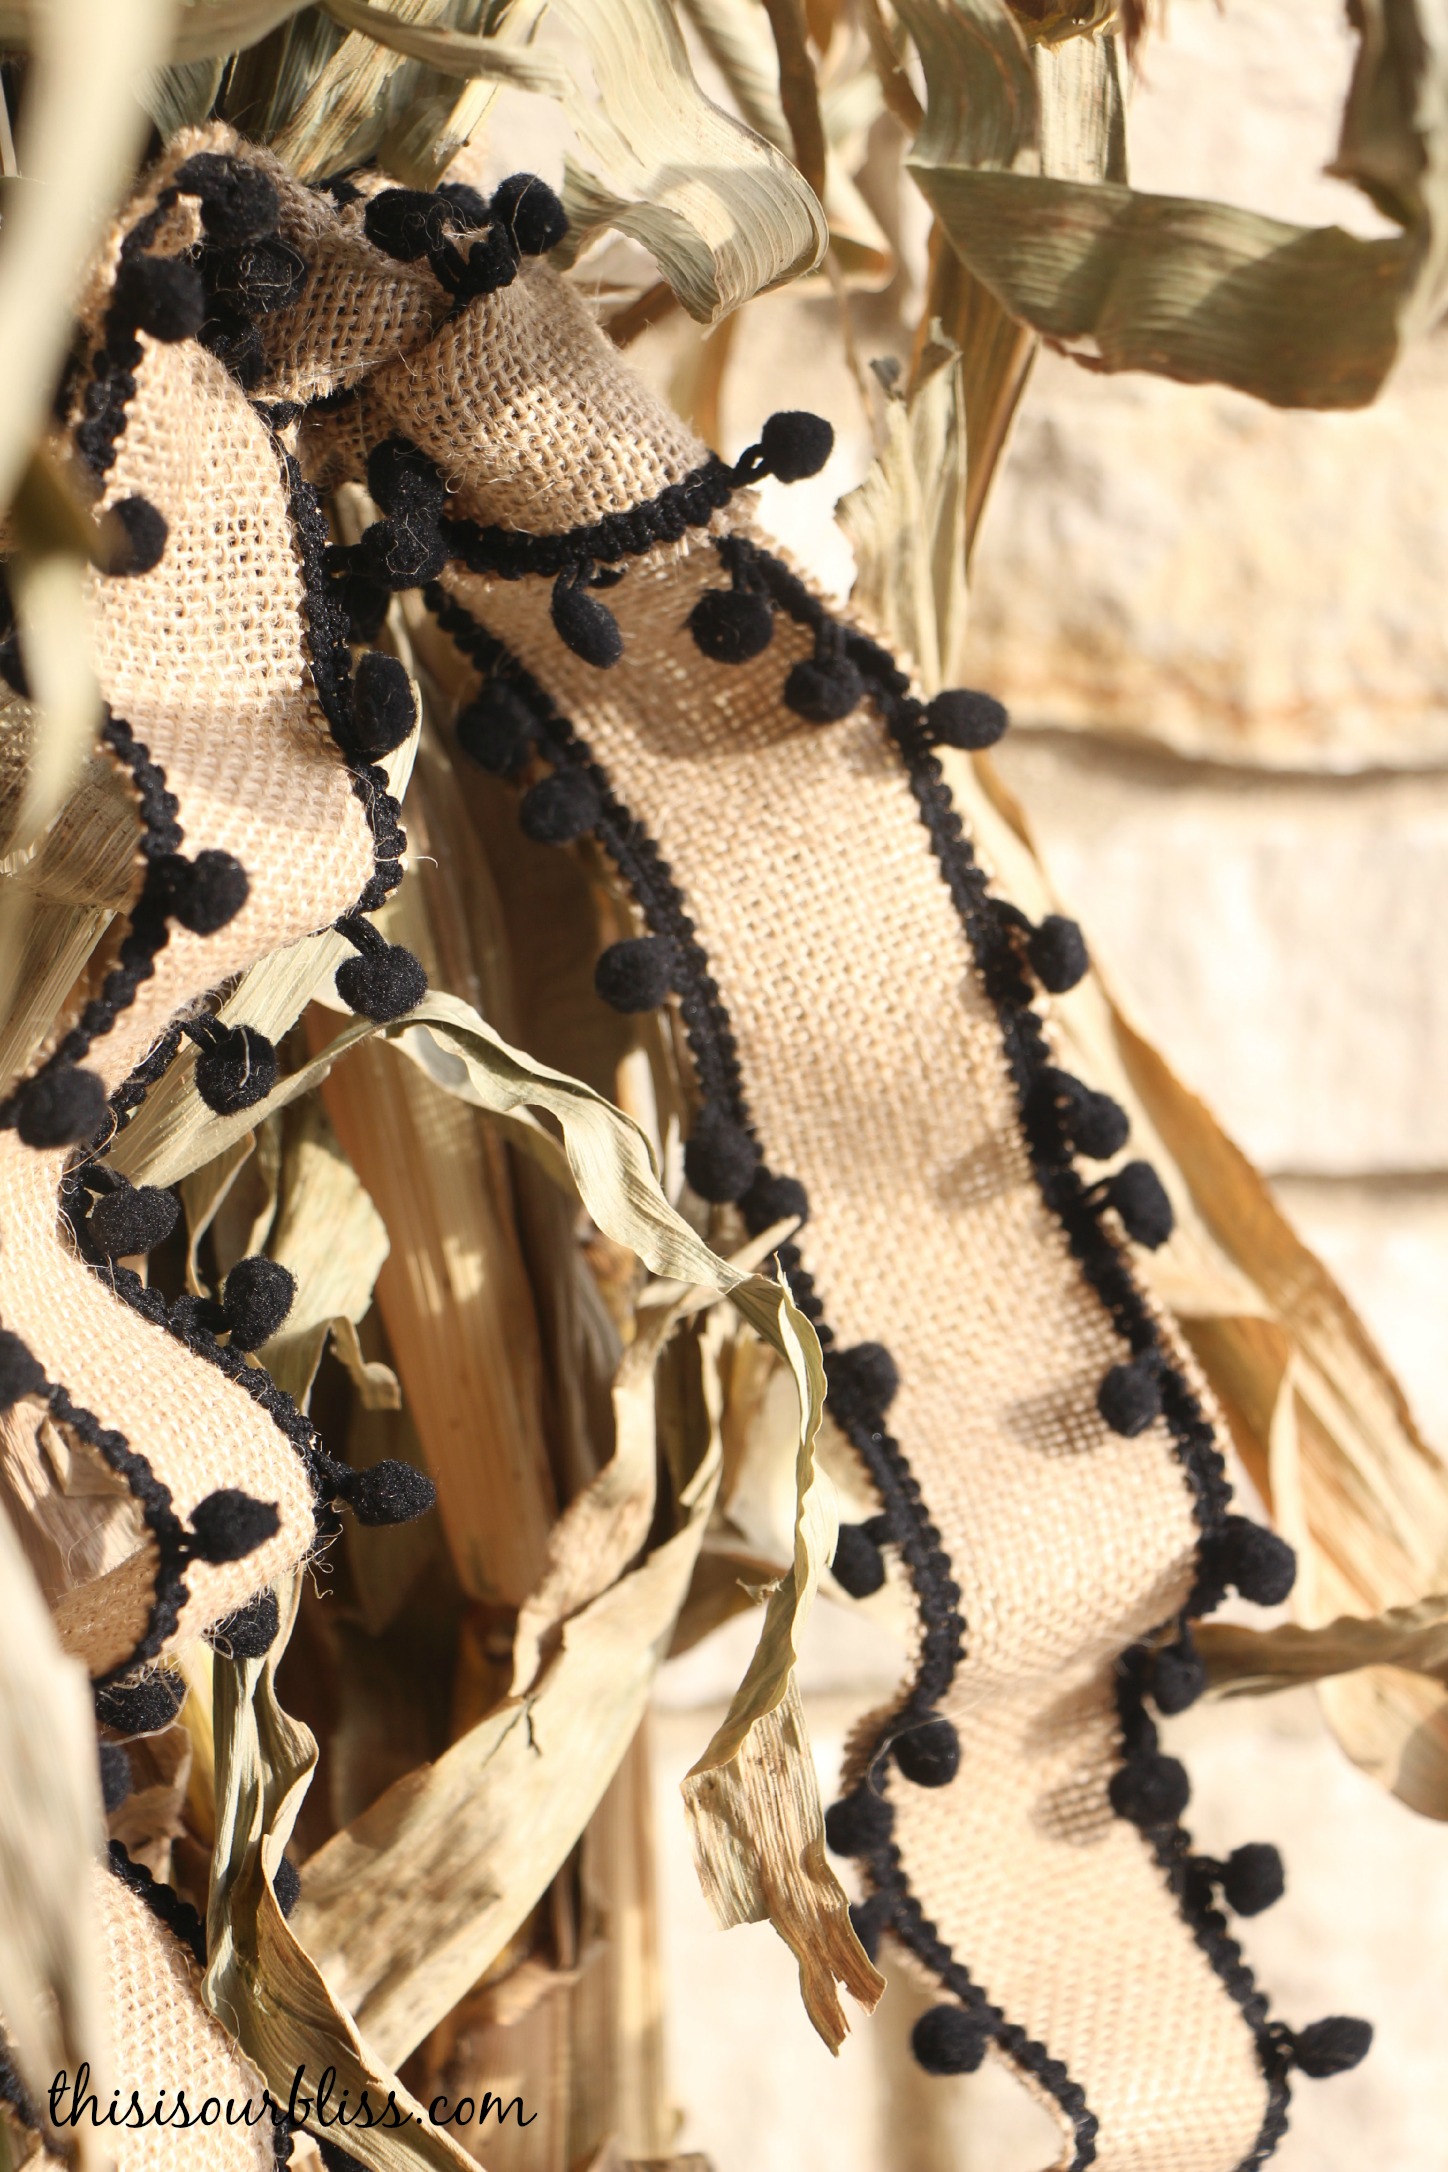
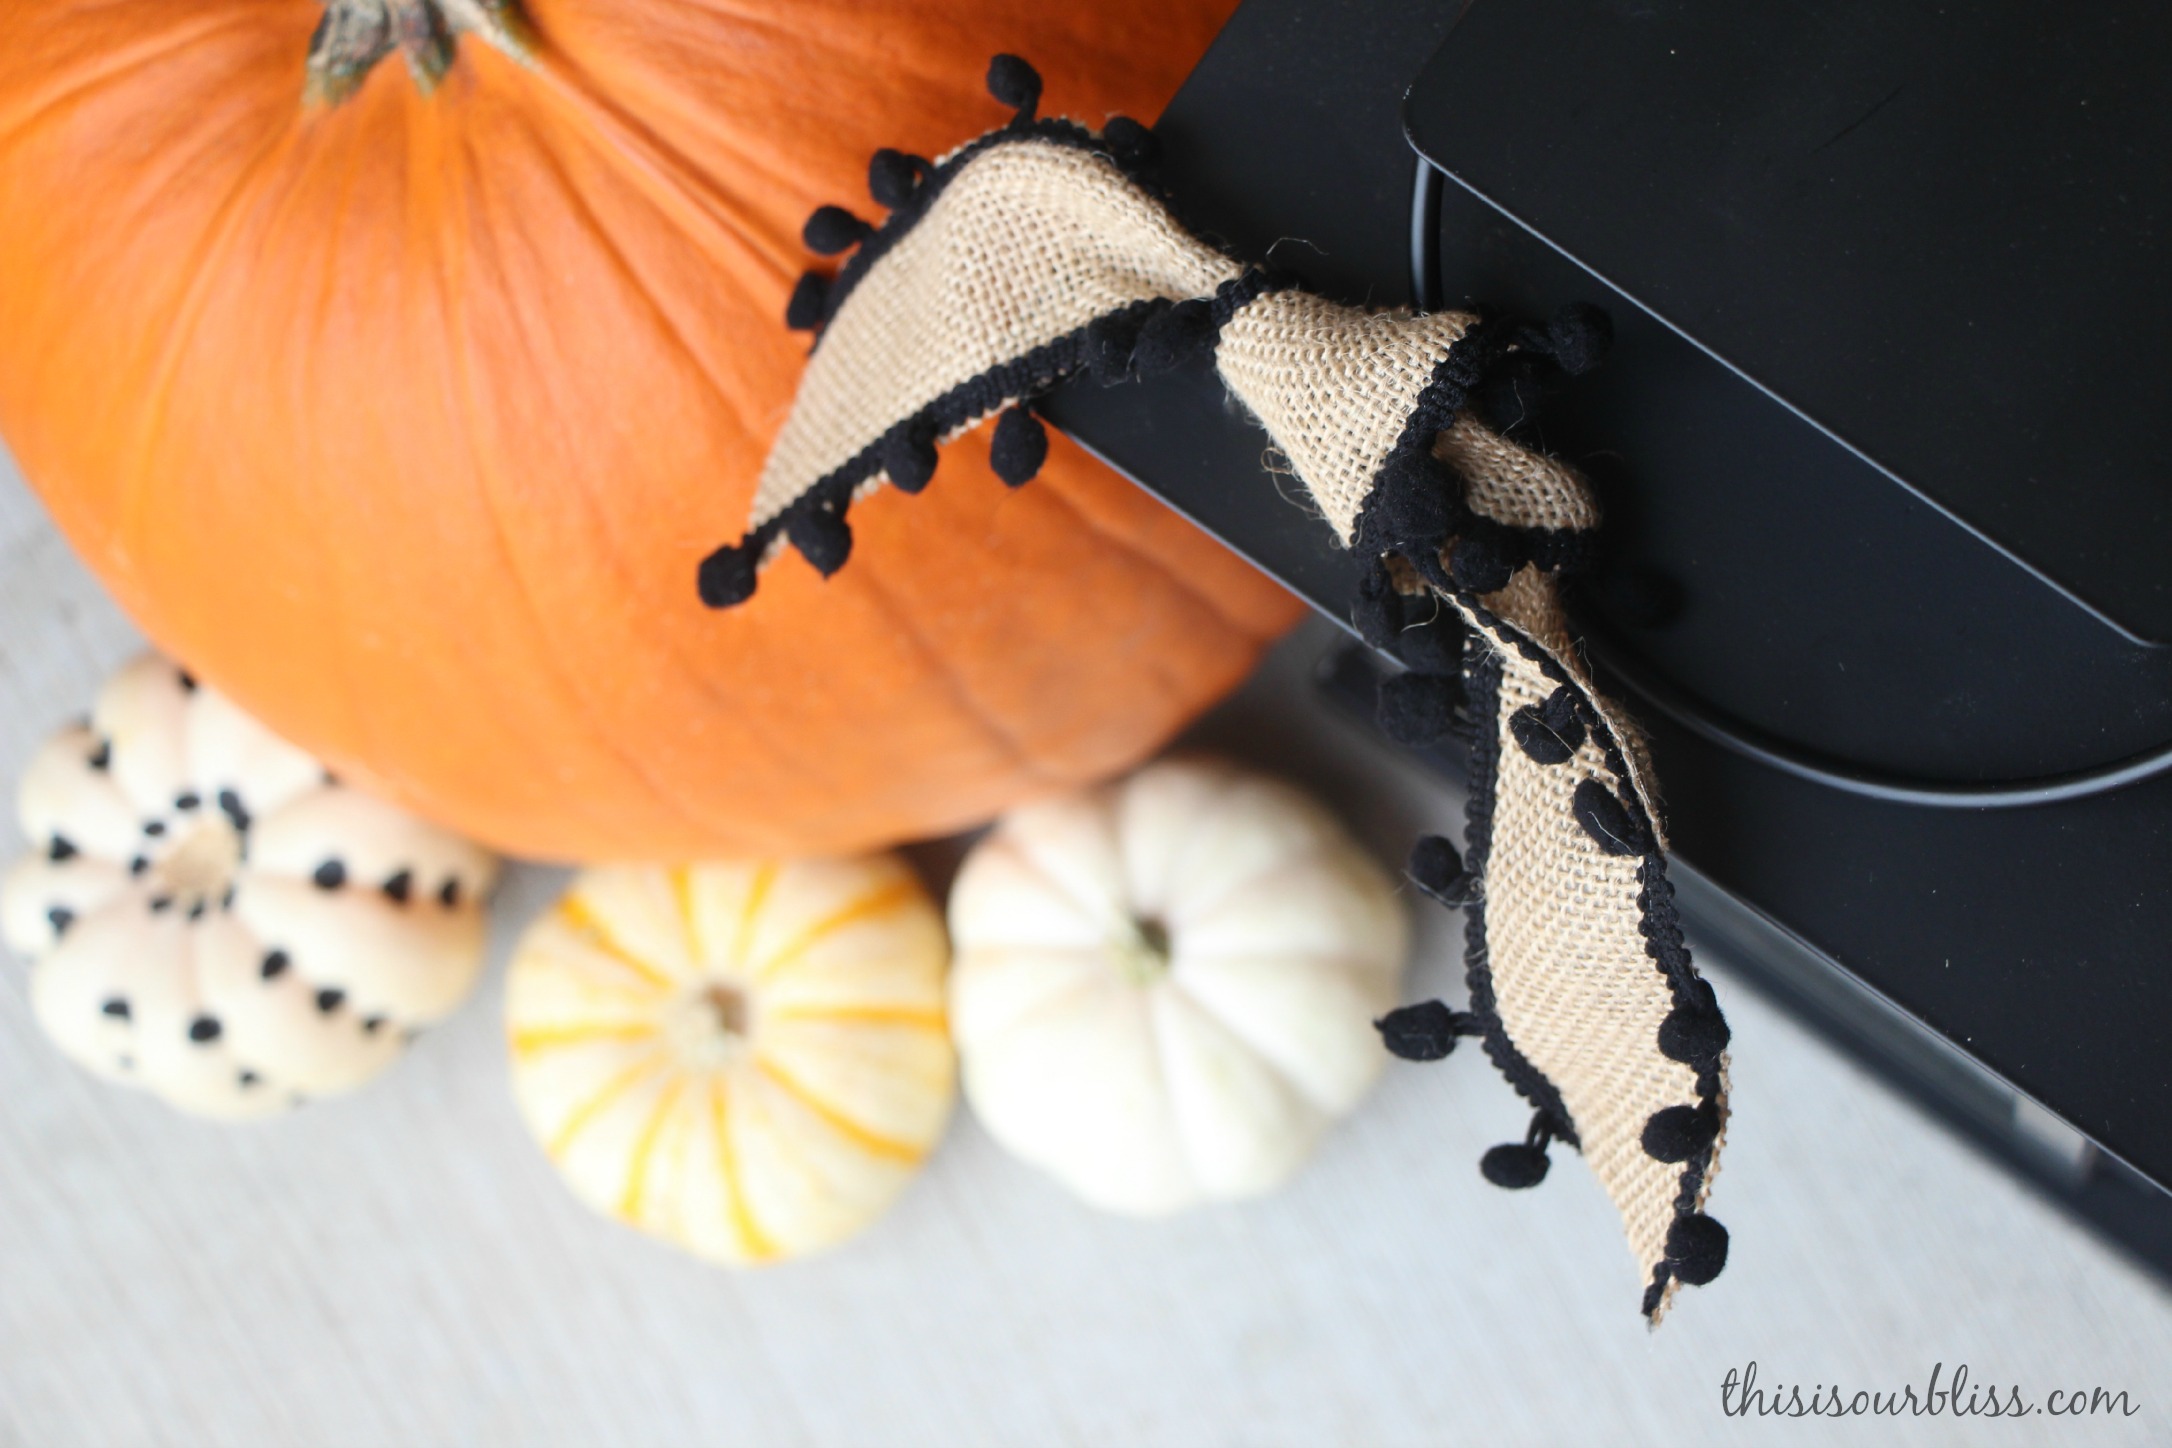 The other bit of flare I added to the porch is this adorable black pom-pom burlap ribbon I featured on my 5 Fab Friday Finds post. You should totally scoop it up while it is still 40% off & free shipping! I tied a strand around each of the cornstalks and then a smaller piece on the handle of the large lantern (and I have the 11″ lantern on the opposite side of the porch – you may remember them from my Outdoor Oasis series this summer). I think the ribbon is my favorite detail of the entire porch. It goes along with the natural feel of the porch, but has a cute little pom-pom pizzazz on the edge. 🙂
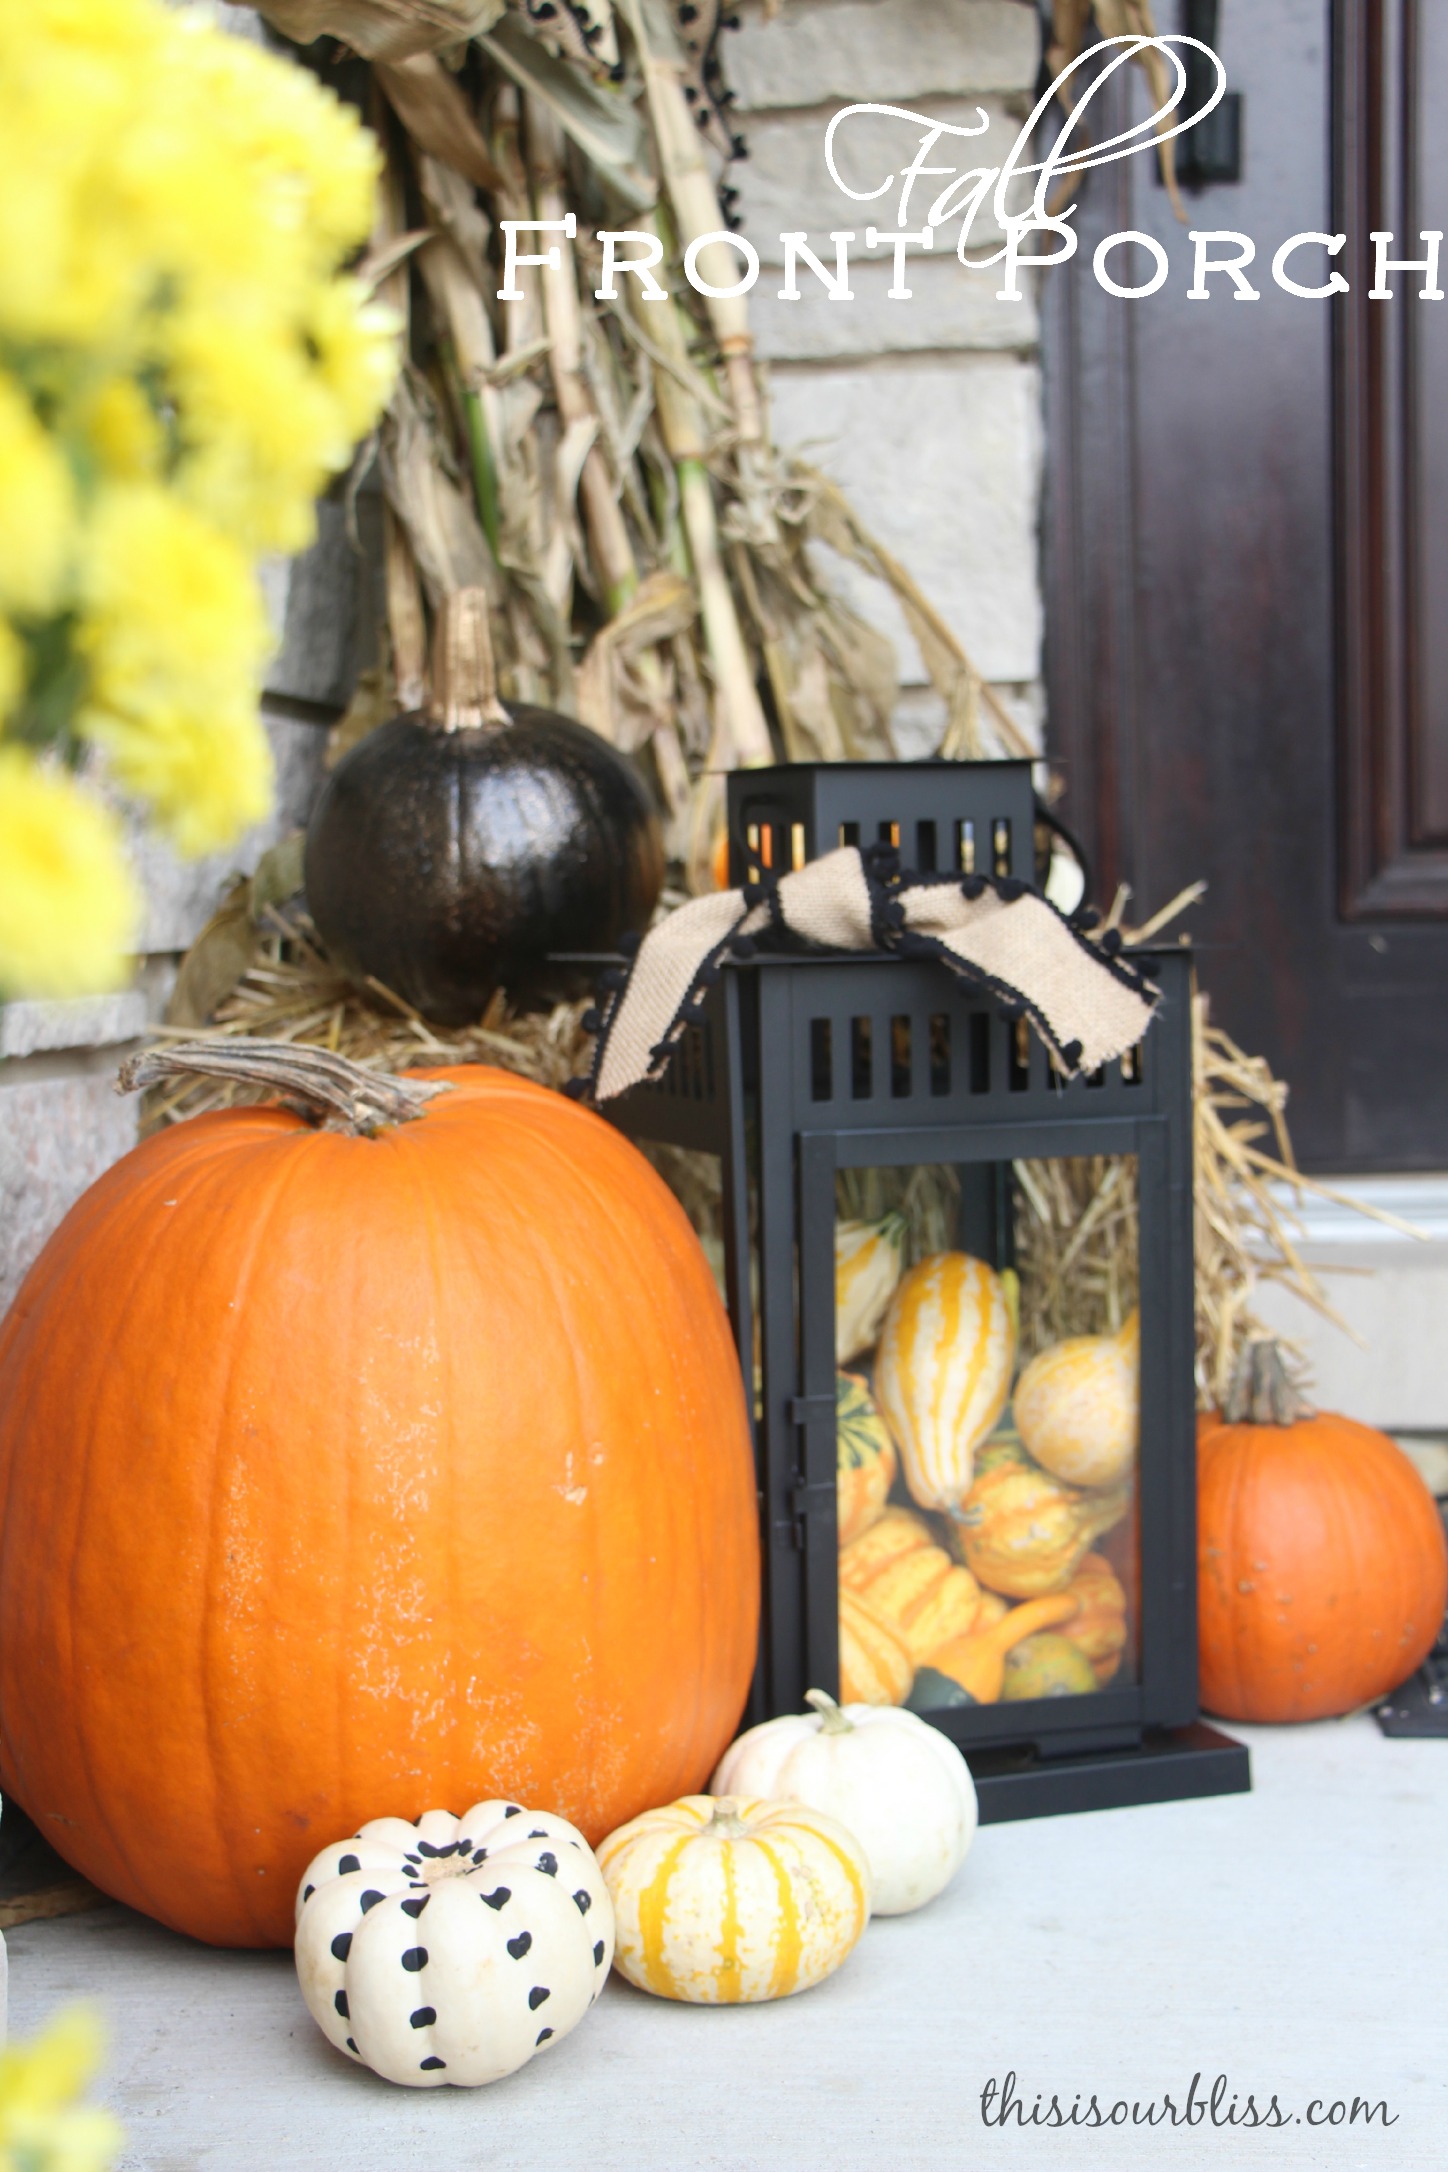
I hope you have all the details you need to get this look on your porch or at least a little inspiration! I mentioned this was my first year decorating the porch for fall & after picking up the supplies, a little set-up and a quick paint job, I think I’ll be doing it again next year. Do you do any outdoor fall decorating? What do you do on your porch? Please share your fall decorating ideas in the comments section on this post. I would love, love, love to hear from you!
Coming soon – playroom bench seat (I am determined to finish it this weekend 🙂 ) and some new projects I have been working on too!
Thanks for reading and I hope you’ll join me back here again soon.