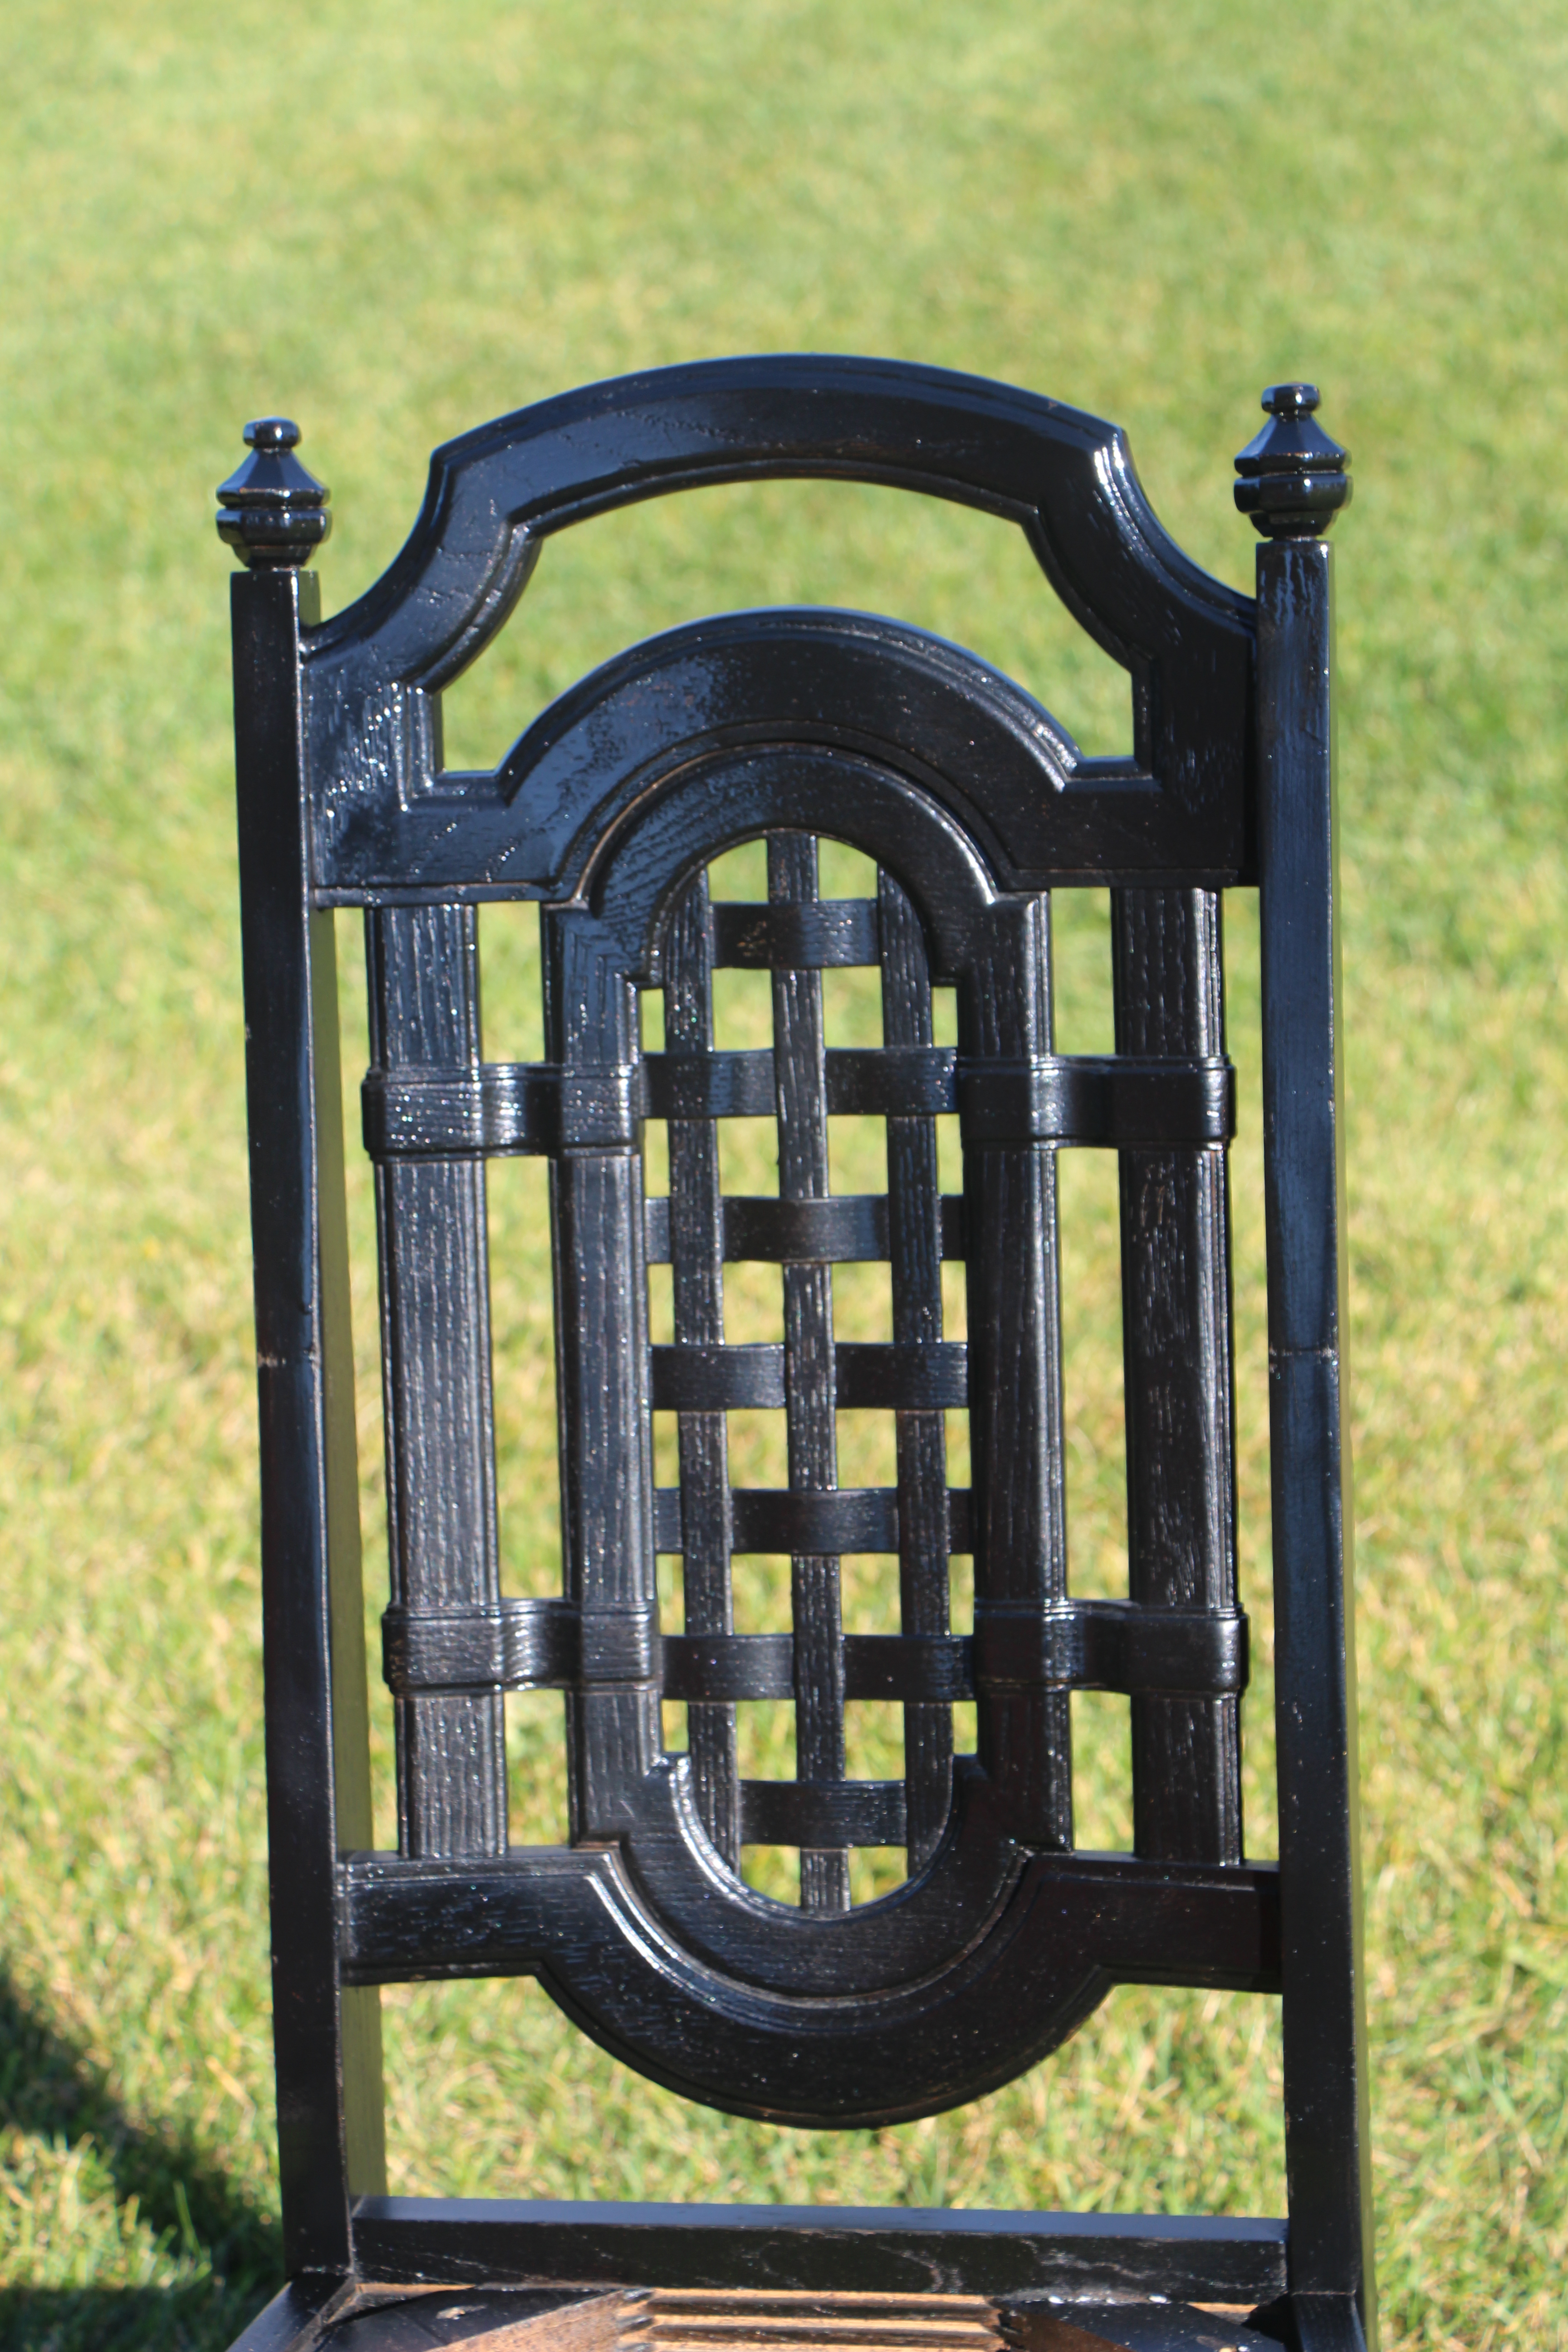
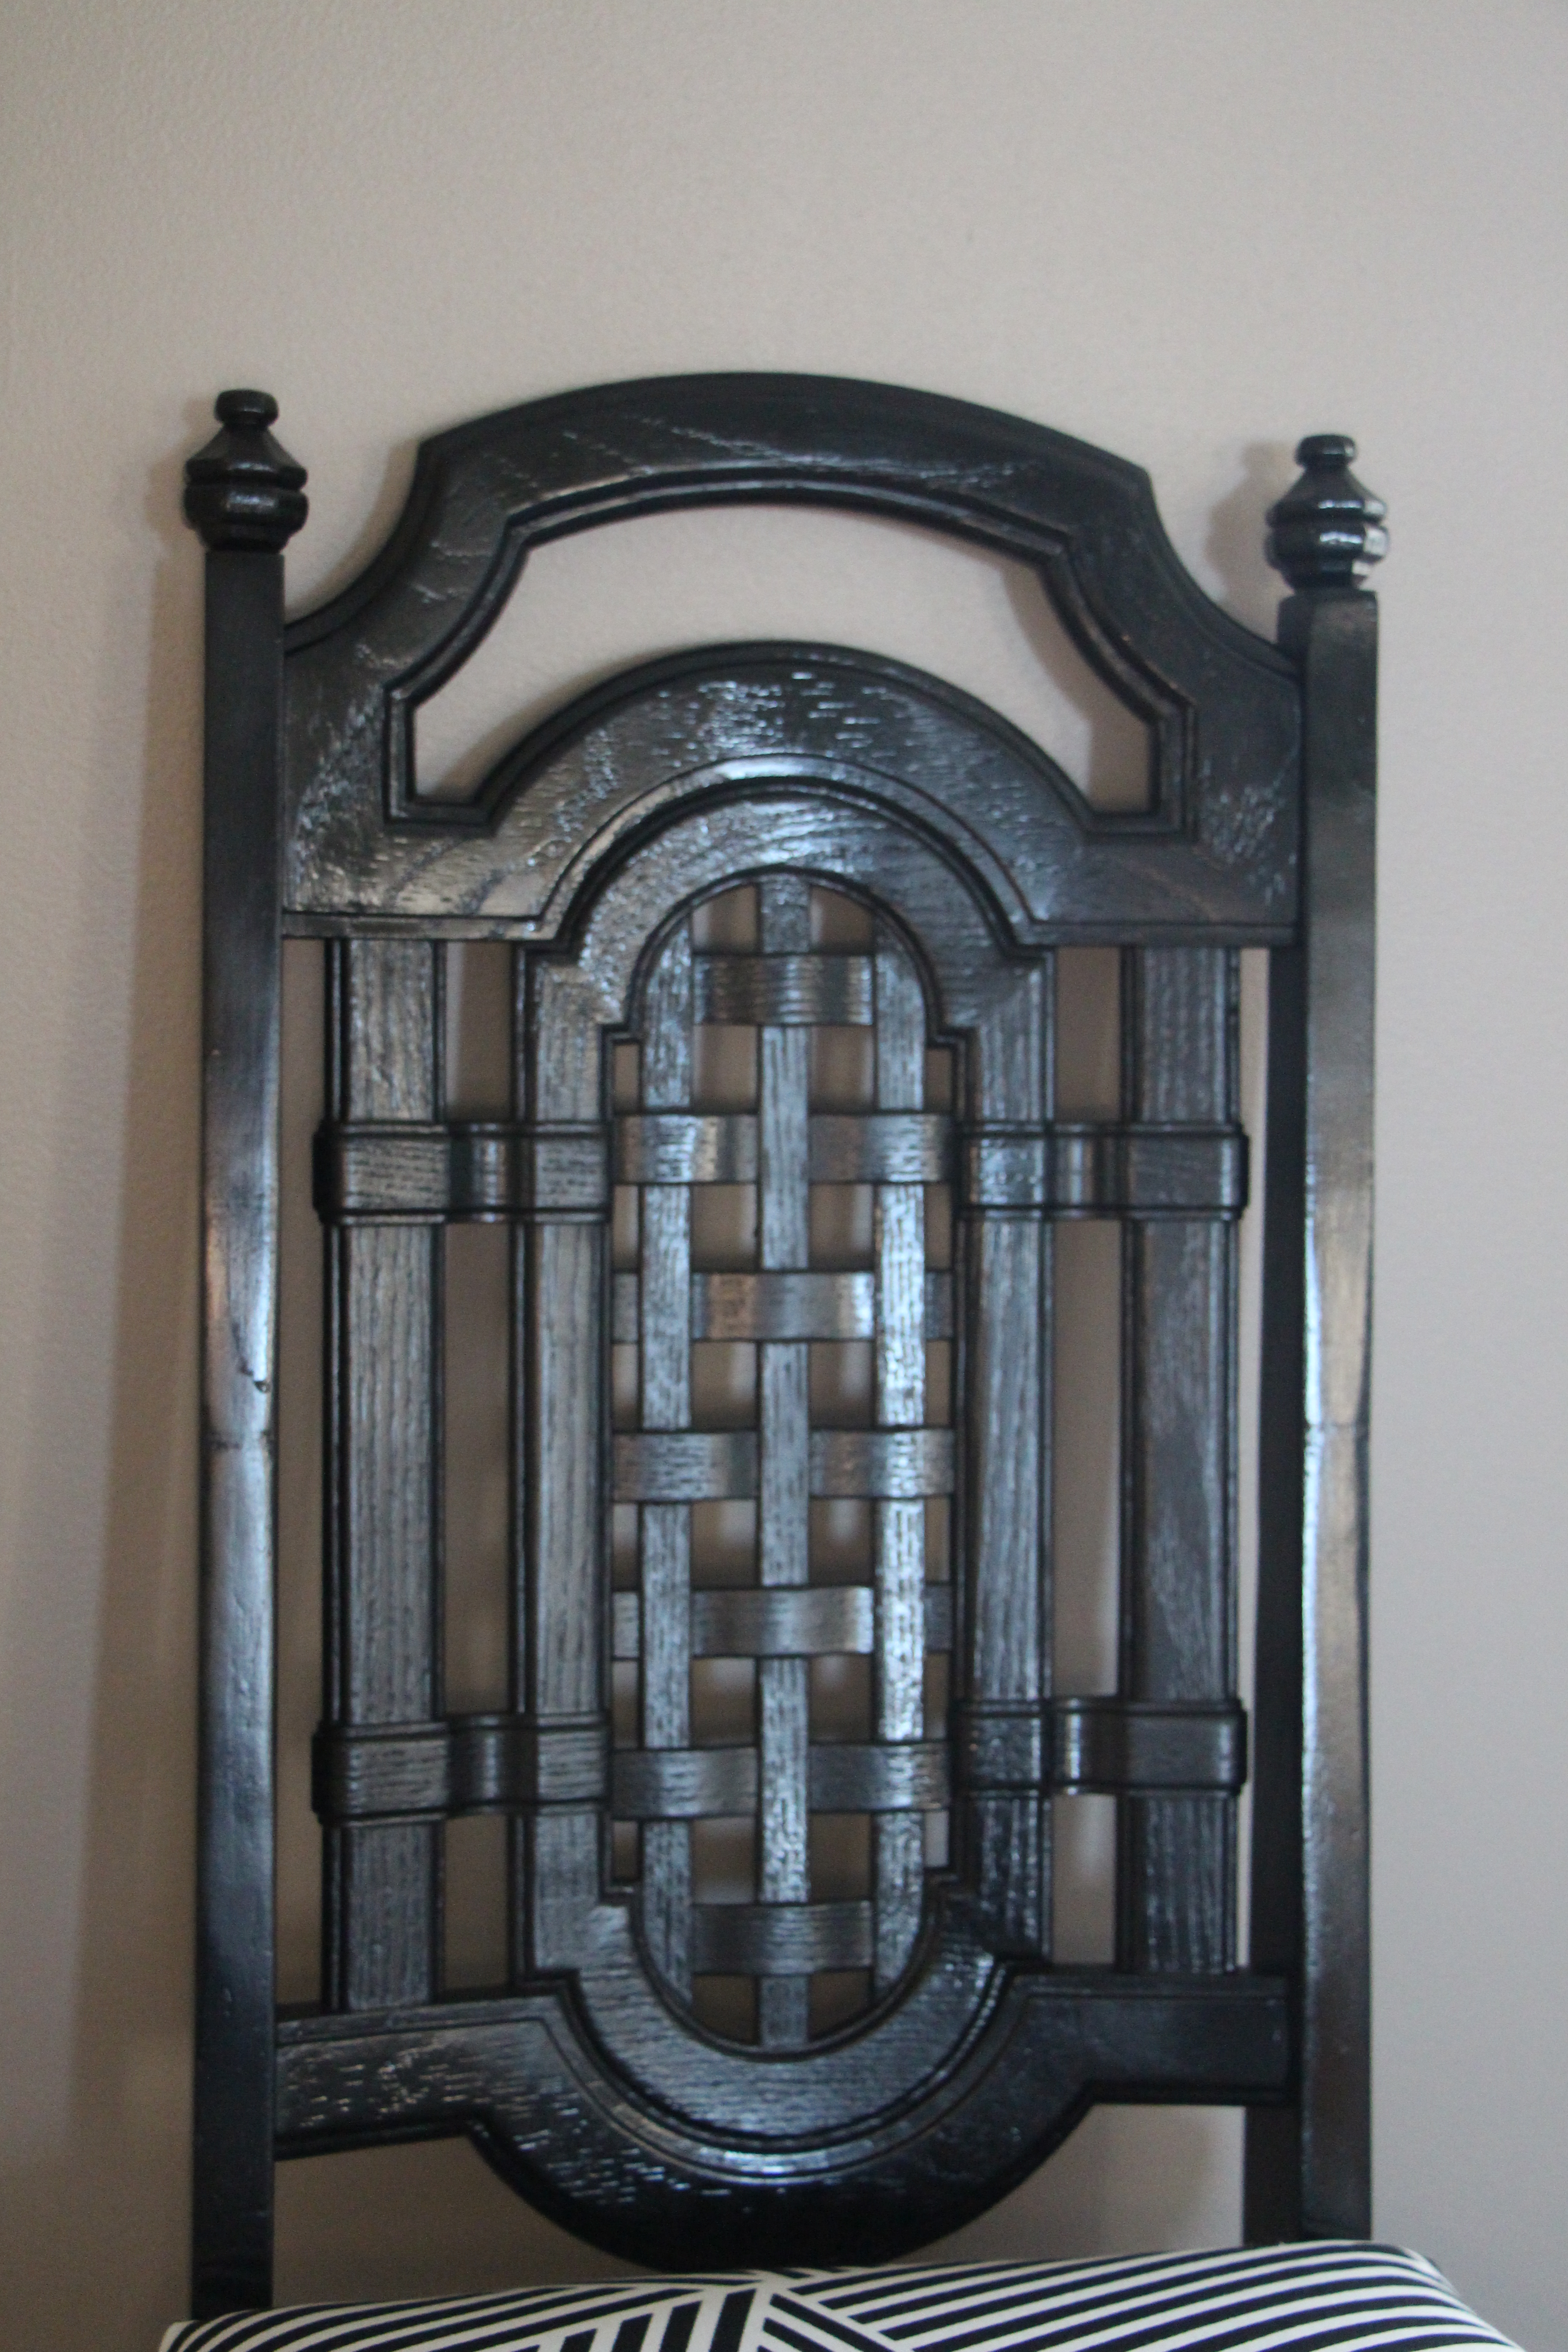
…Not sure how many more to go! I have found myself out shopping or perusing Craig’s List and have these oh-my-gosh-I-could-totally-make-this-chair-look-so-awesome-and-I-have-to-buy-it-now-because-I-will-never-find-another-one-like-it moments. Well, since I have had several of these “moments”, my husband can no longer park in the garage. Whoops! Sorry, dear. So, I finally decided to get out my black spray paint & staple gun and buy some fabric this week to finish up 2 of the chairs I picked up recently 8 months ago! I fell in love with the detailing on the back of the chairs and thought for $20 for the pair, I could make them into something fun. I think I had them looking pretty good after about an hour 🙂
Before I give you a very simplified version of my project, let me remind you that I am by no means an expert. I don’t reupholster furniture as a side job and I have only ever done a bench prior to these chairs. There are tons and tons of tutorials by great bloggers out there and you can find thousands of pins all over Pinterest. I just wanted to show you how I took something from ugly to cute quite easily!
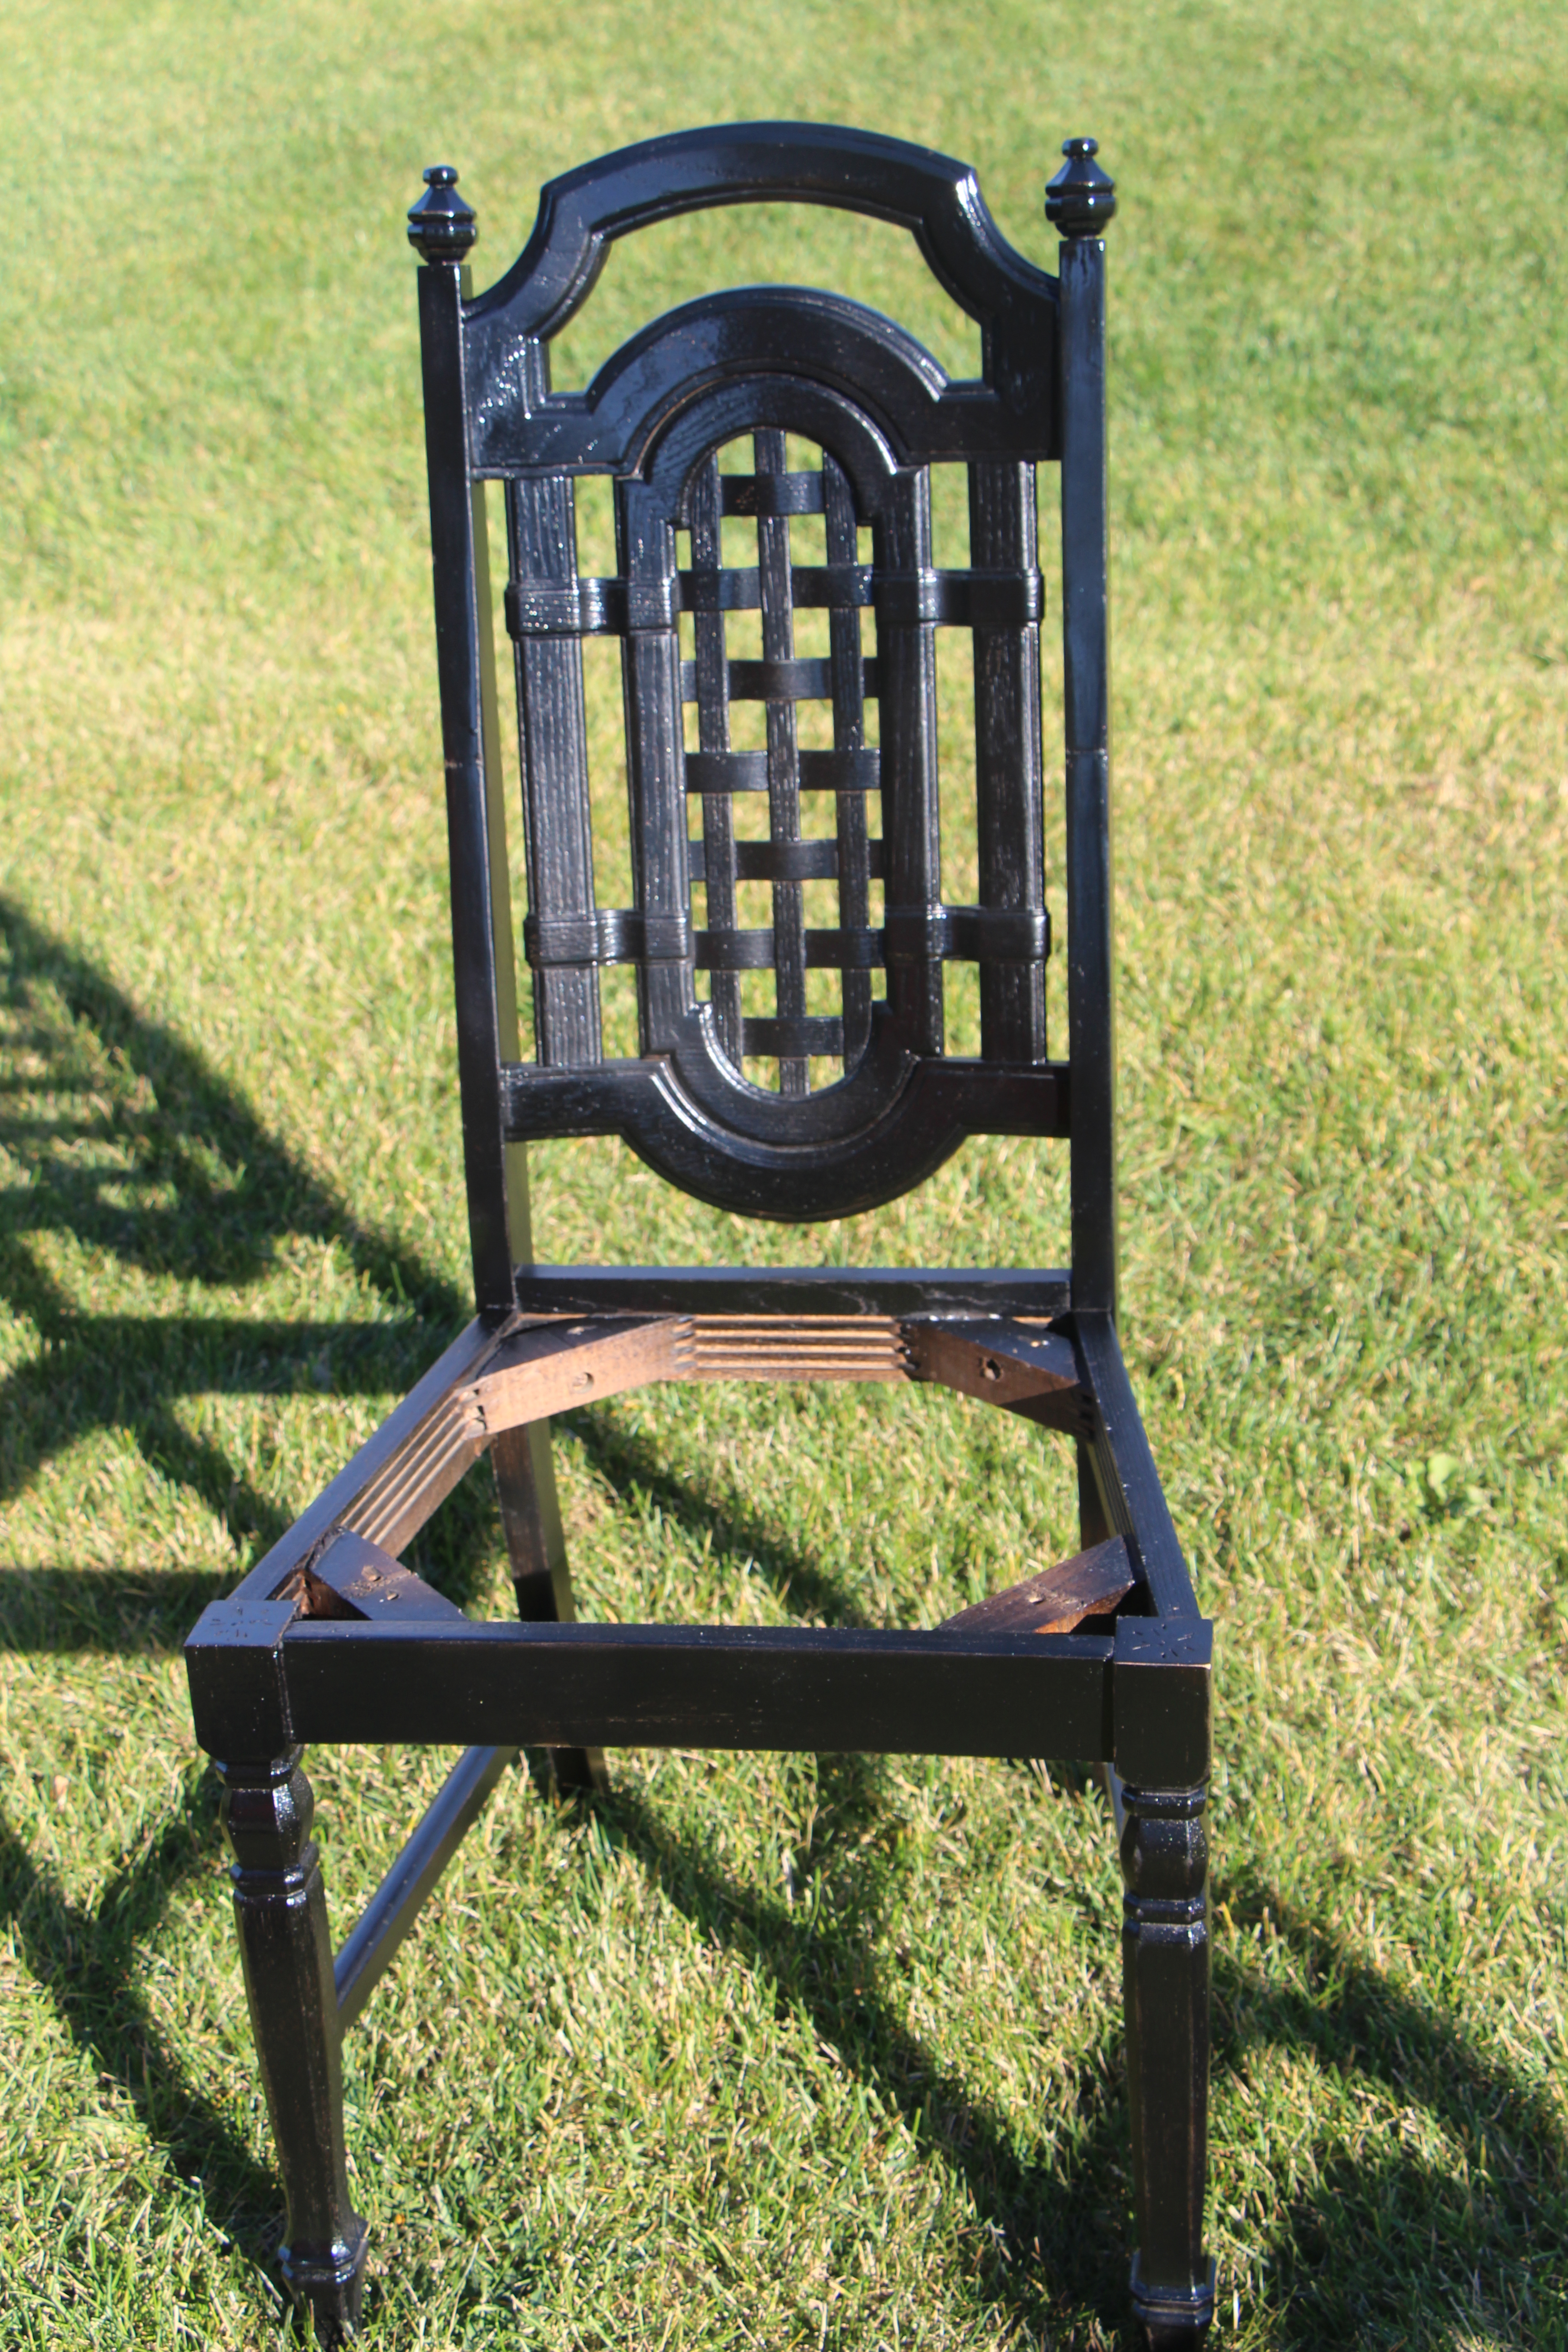
The before…

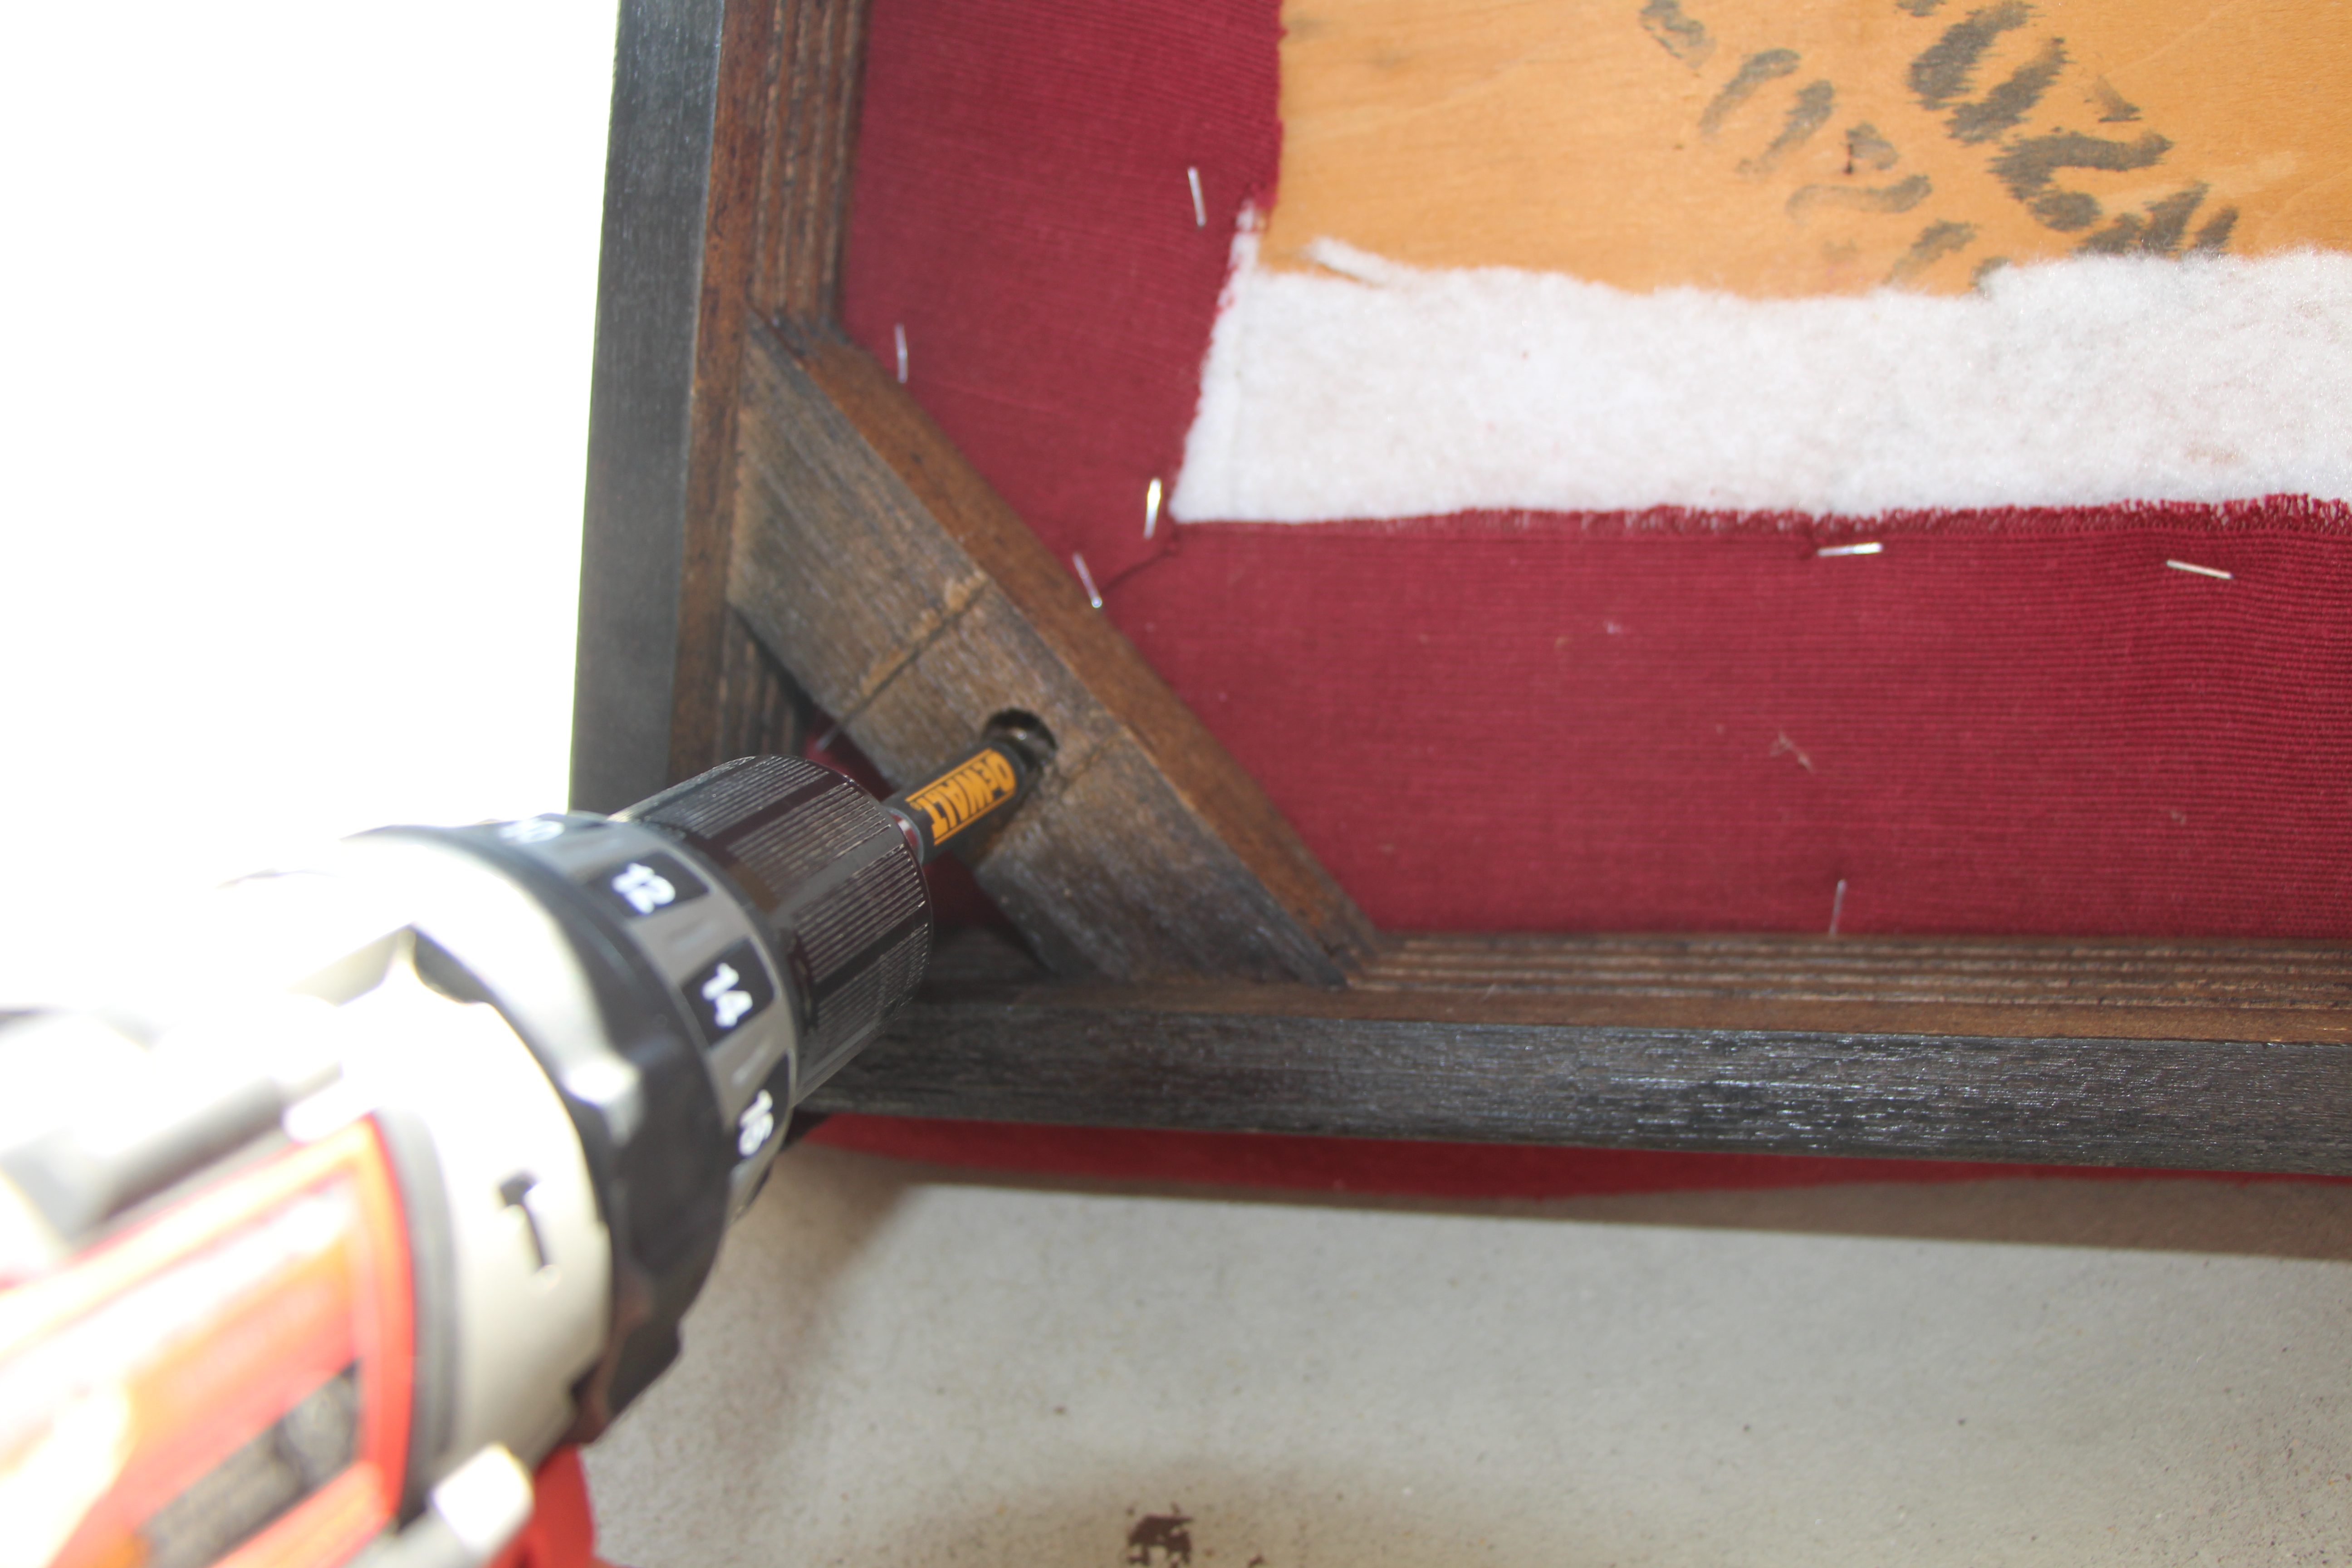
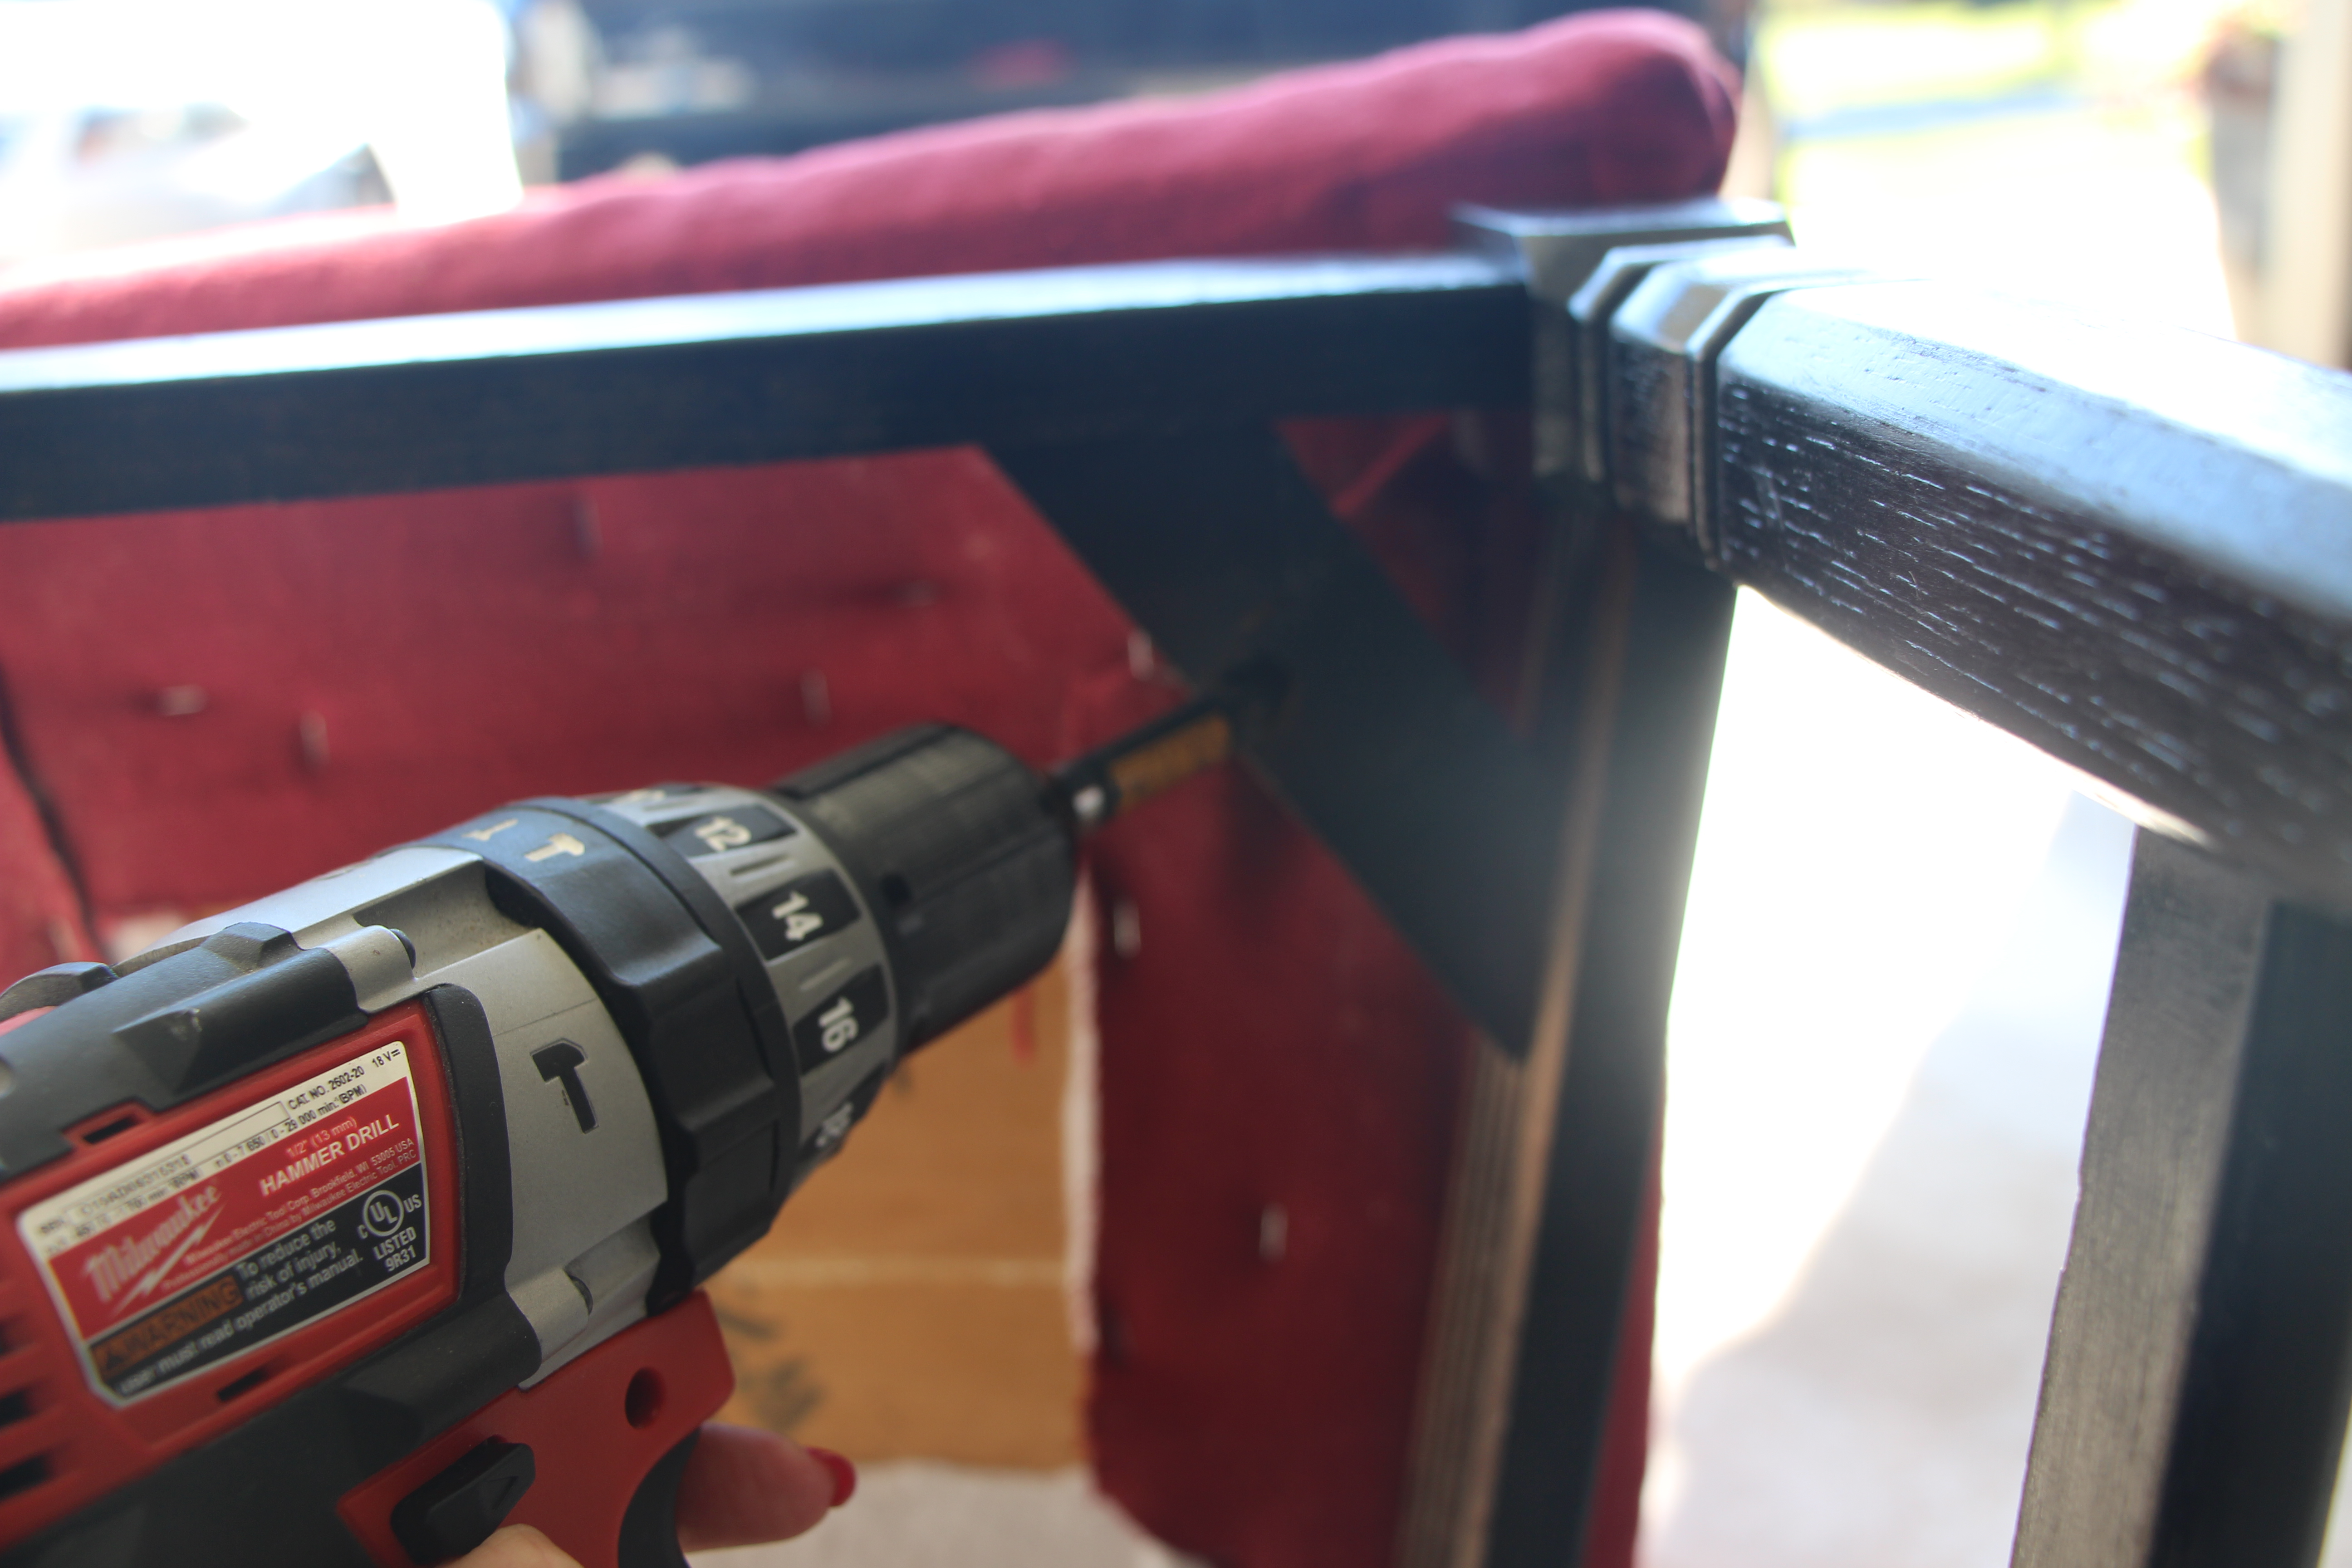
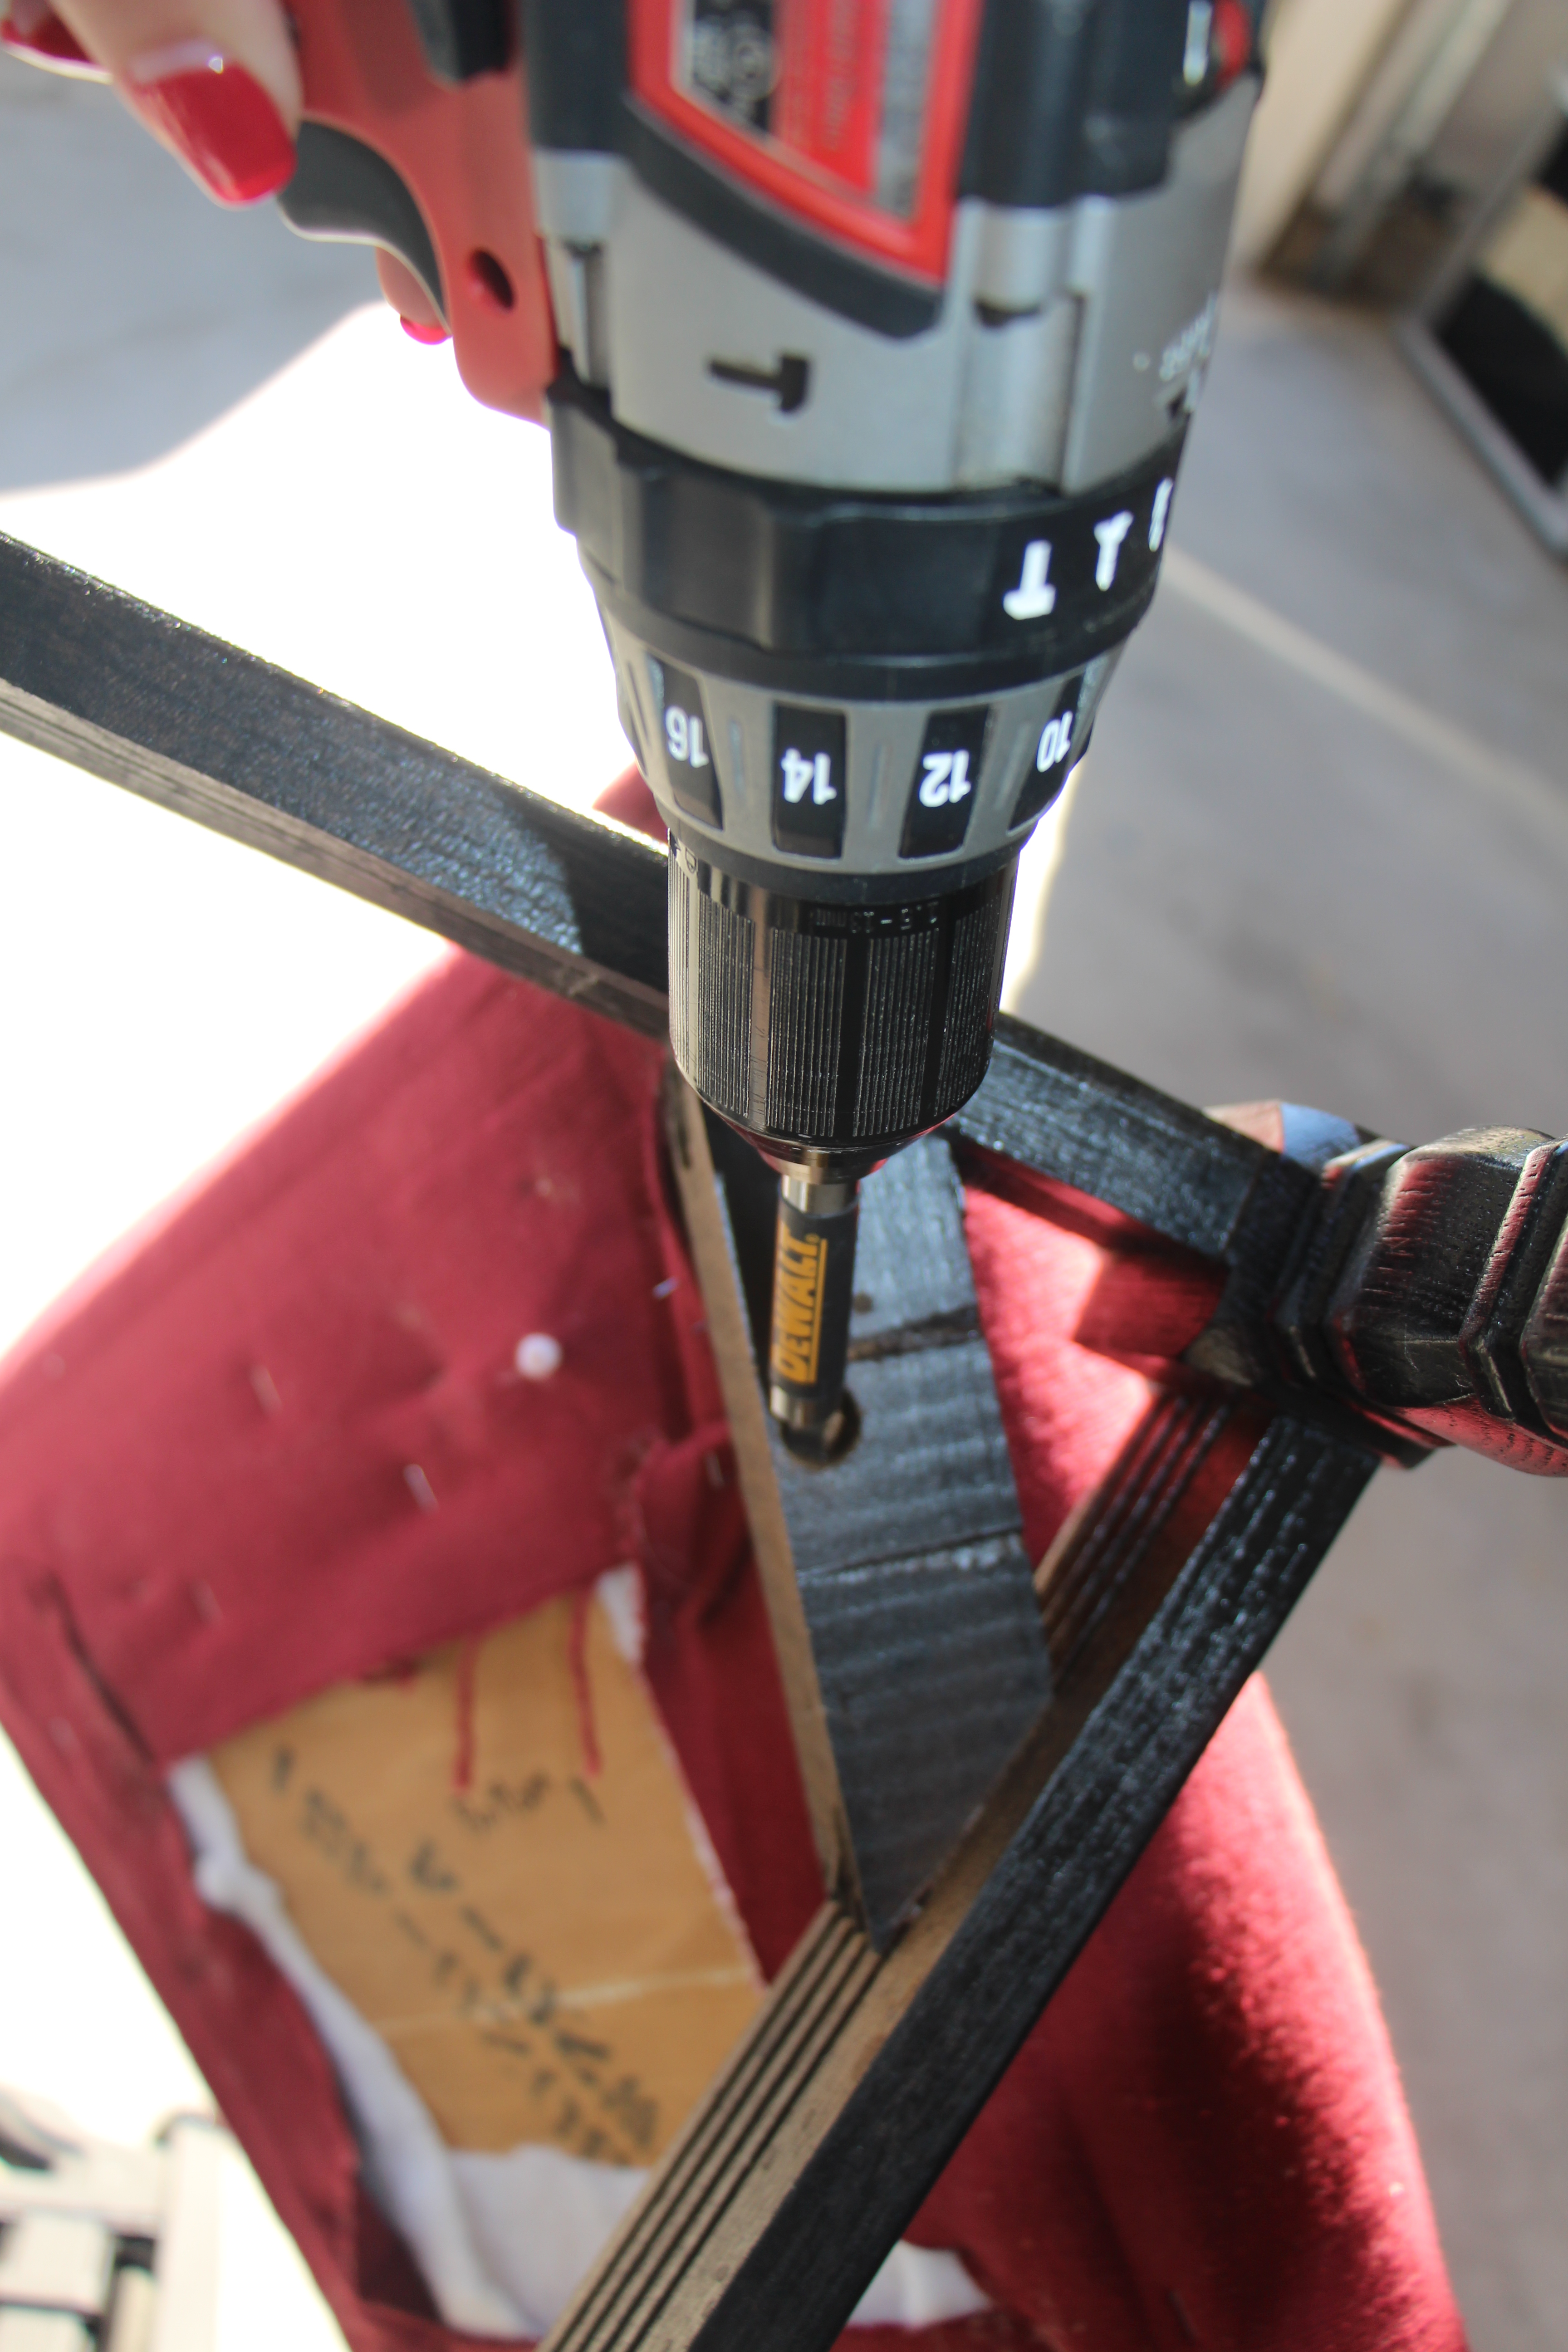
To start, I removed the screws underneath to allow me to remove the cushion.
Once the cushion was free, I gave the chairs a good wipe down with a damp cloth. Then, I took them out into the yard and gave them a fresh coat of glossy black spray paint.
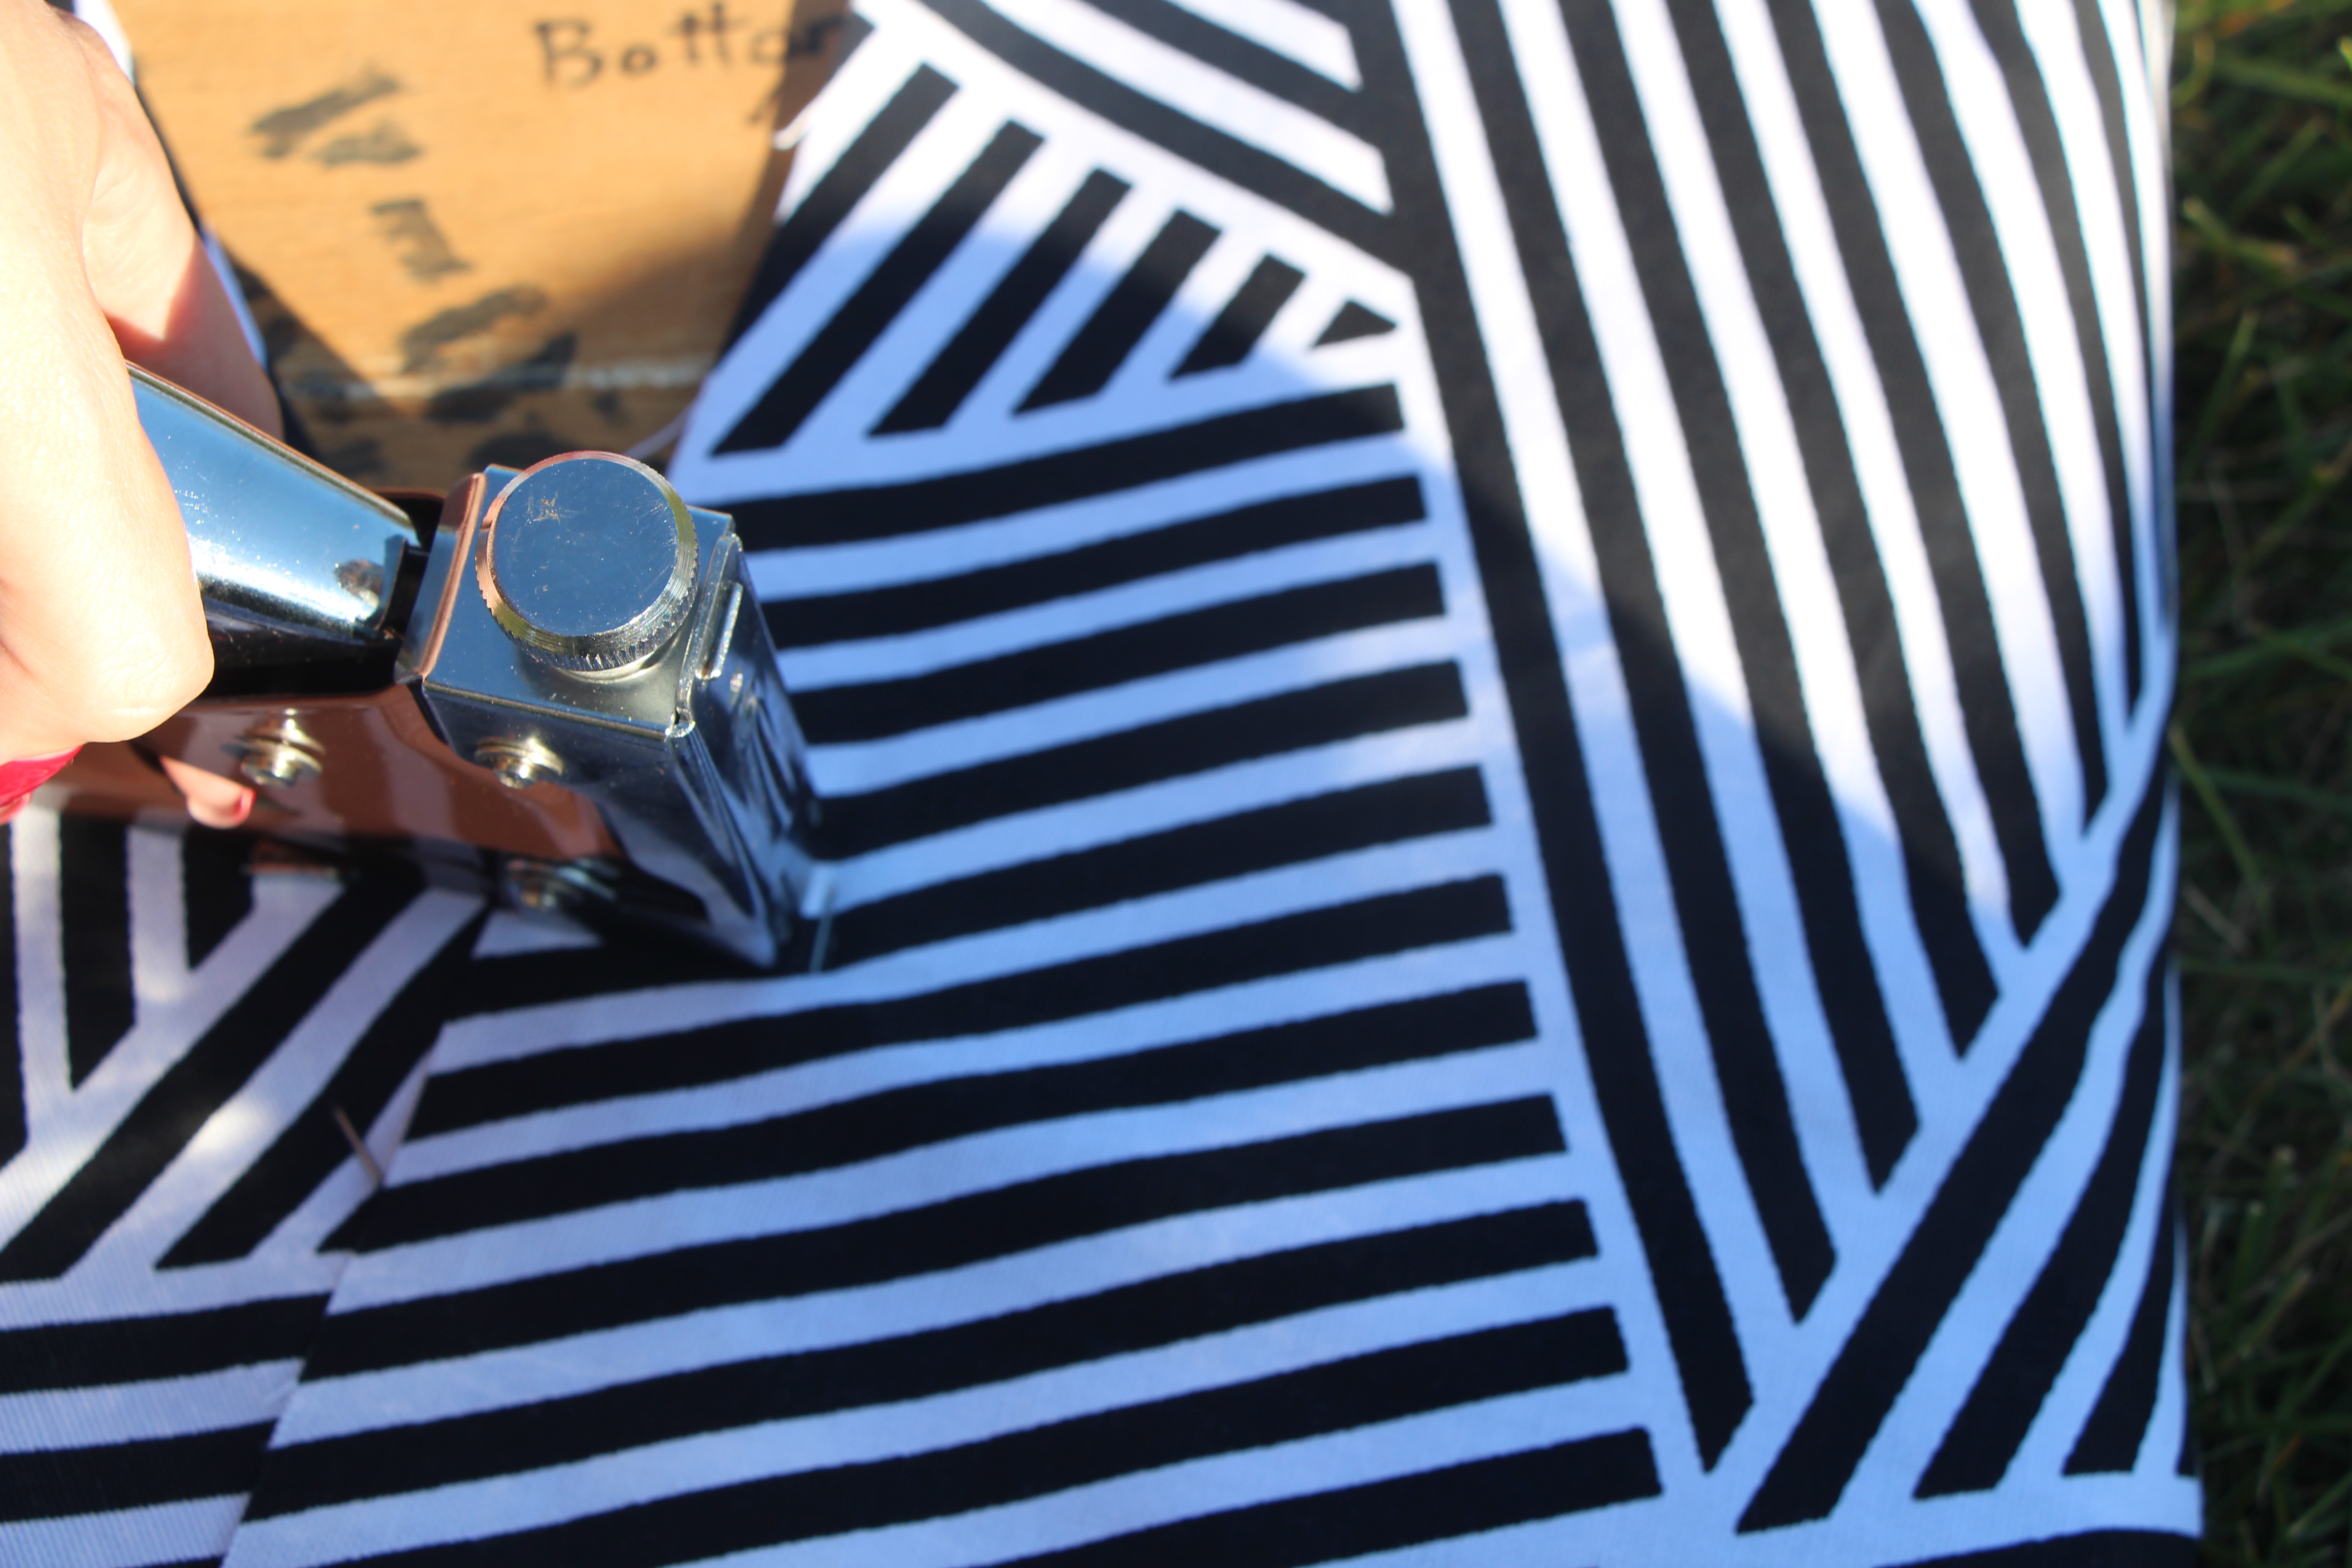
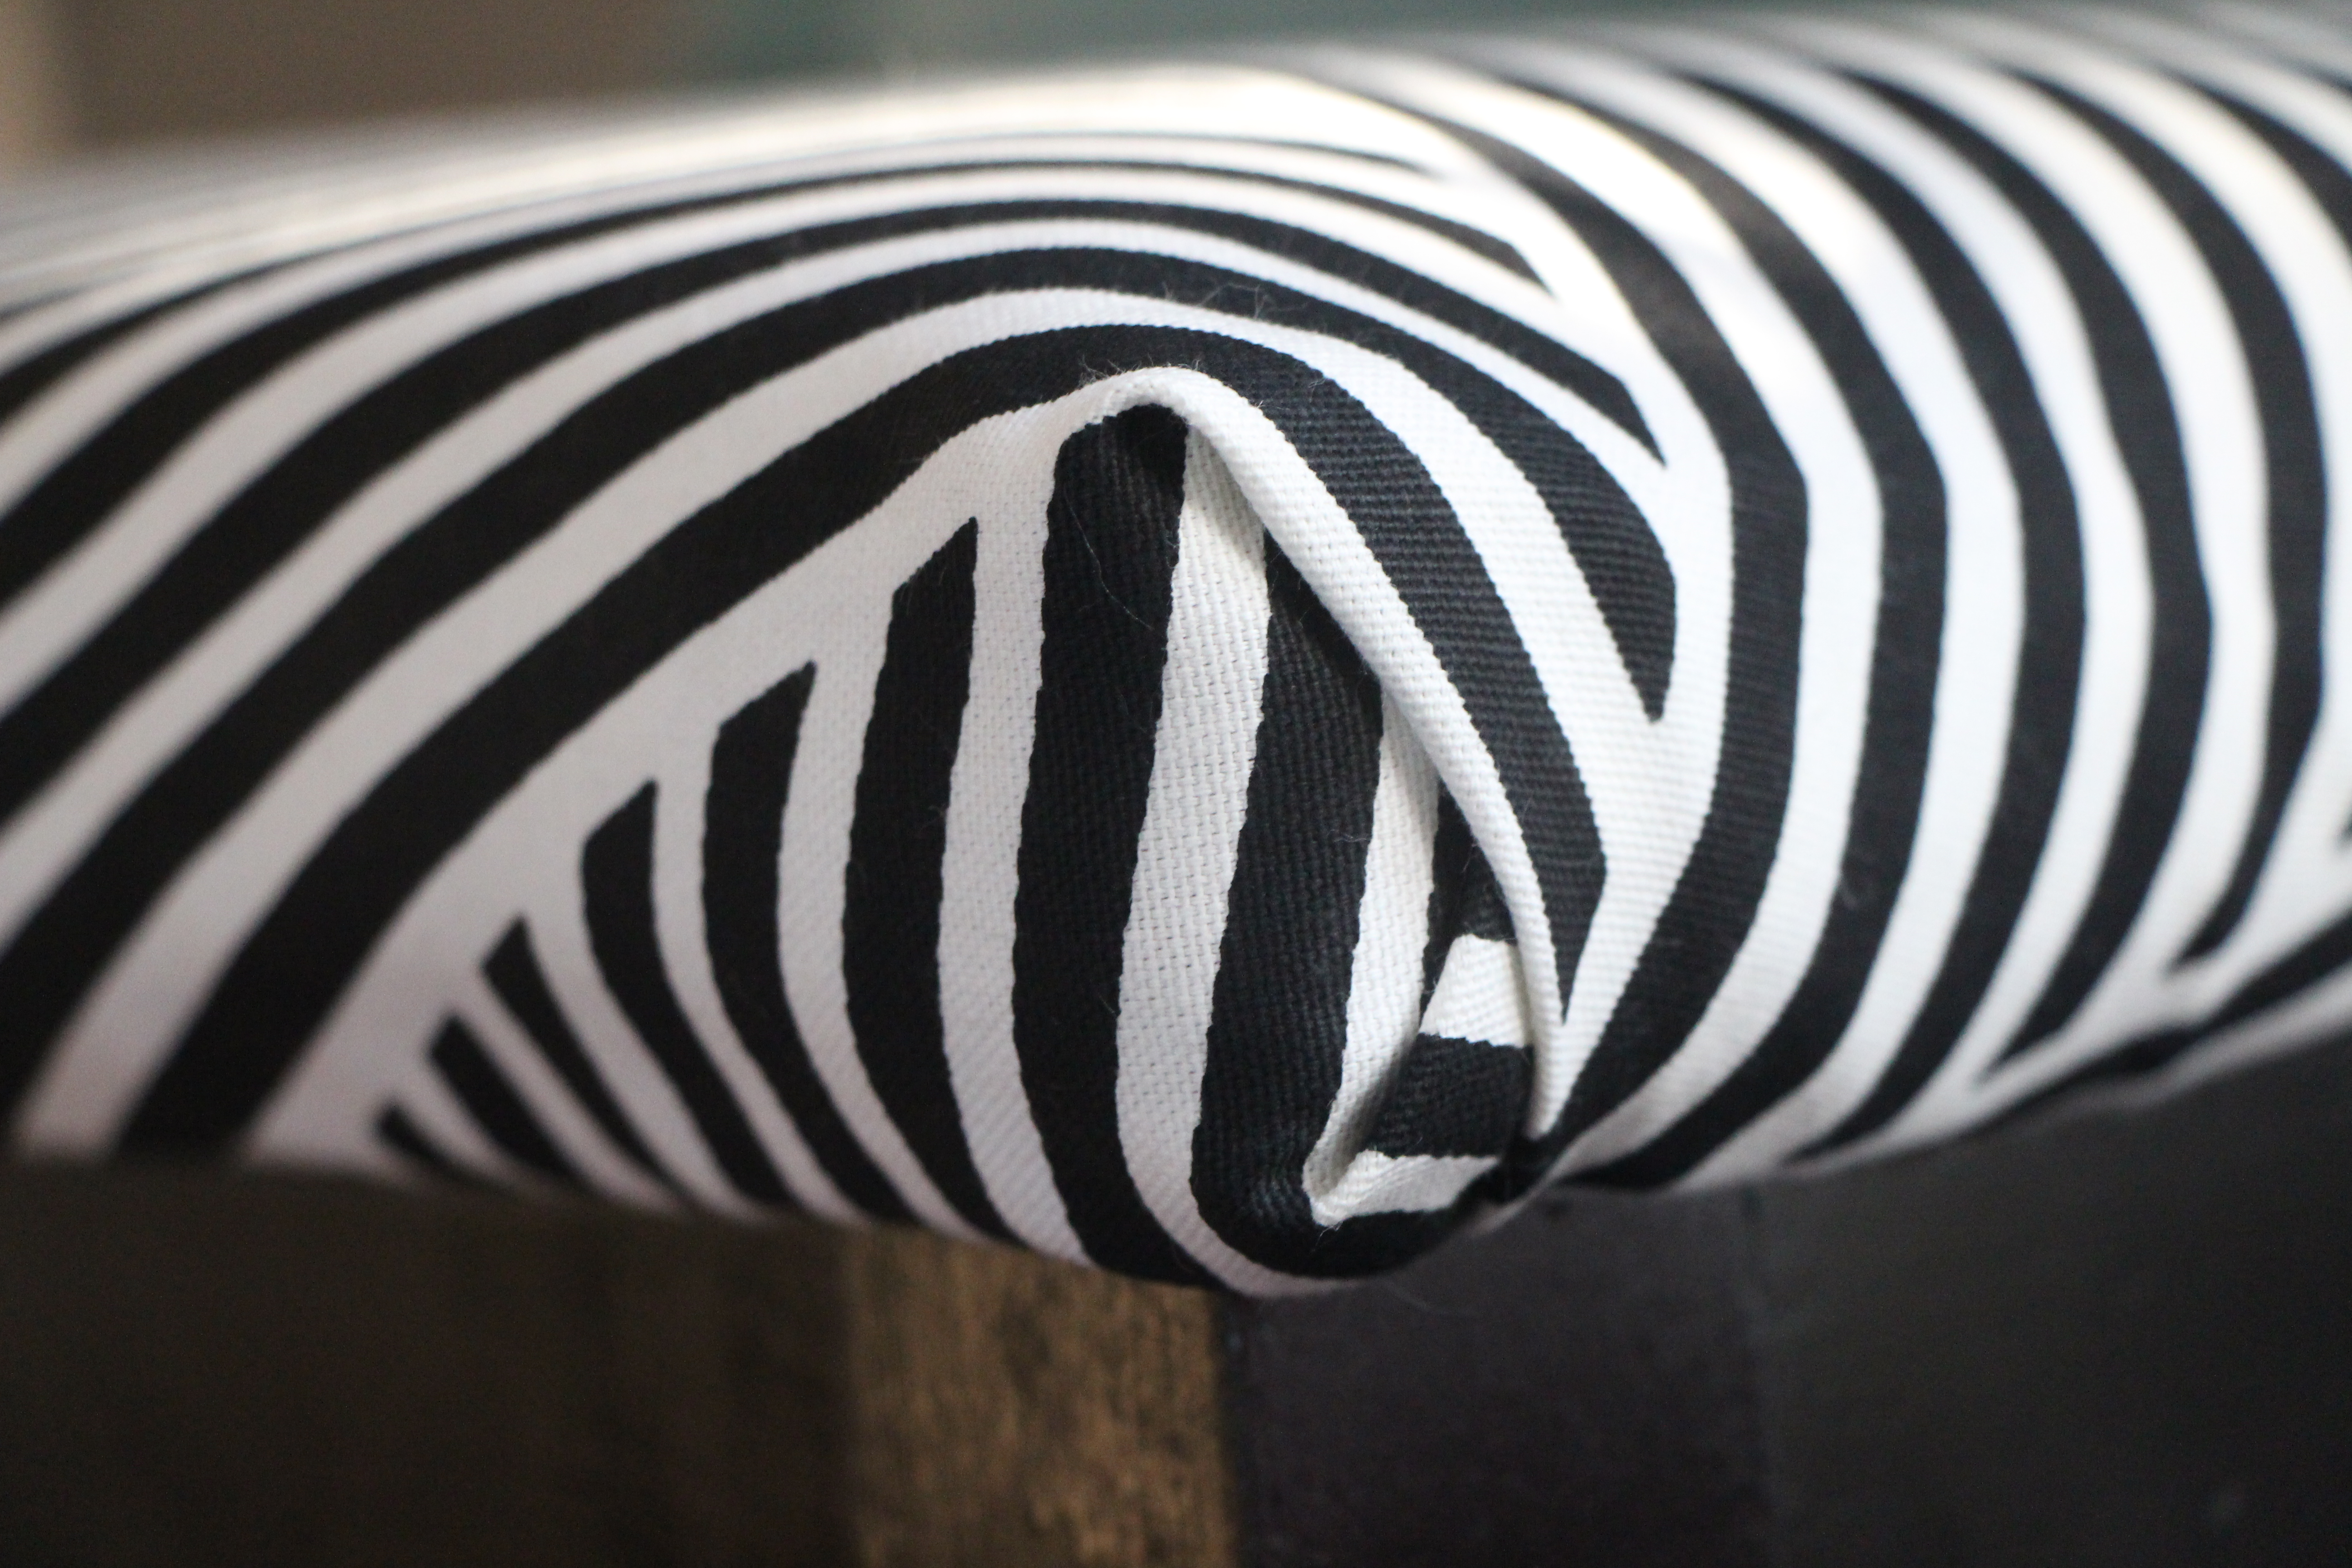
While they dried, I laid out my 1 yard of fabric and cut it in half. 1/2 yard per cushion was just the right out amount. I laid the fabric pretty-side down and then the cushion face-down on top of it. I started by folding over one side of fabric and stapling it down in place. Next, I went to the opposite side of the one I just finished and pulled the fabric taught and stapled it down too. To finish off the sides of the cushion (since I just did the front and back sides), I folded the fabric like I was wrapping a gift. One corner at a time and then staple, staple 🙂
After the chairs dried for about an hour, I centered the cushion back on the frame of the seat and had my husband help me hold steady and then drilled the seat cushion back in. I used new screws since the old ones I removed were pretty rusty.
That was IT!
Here is the after…
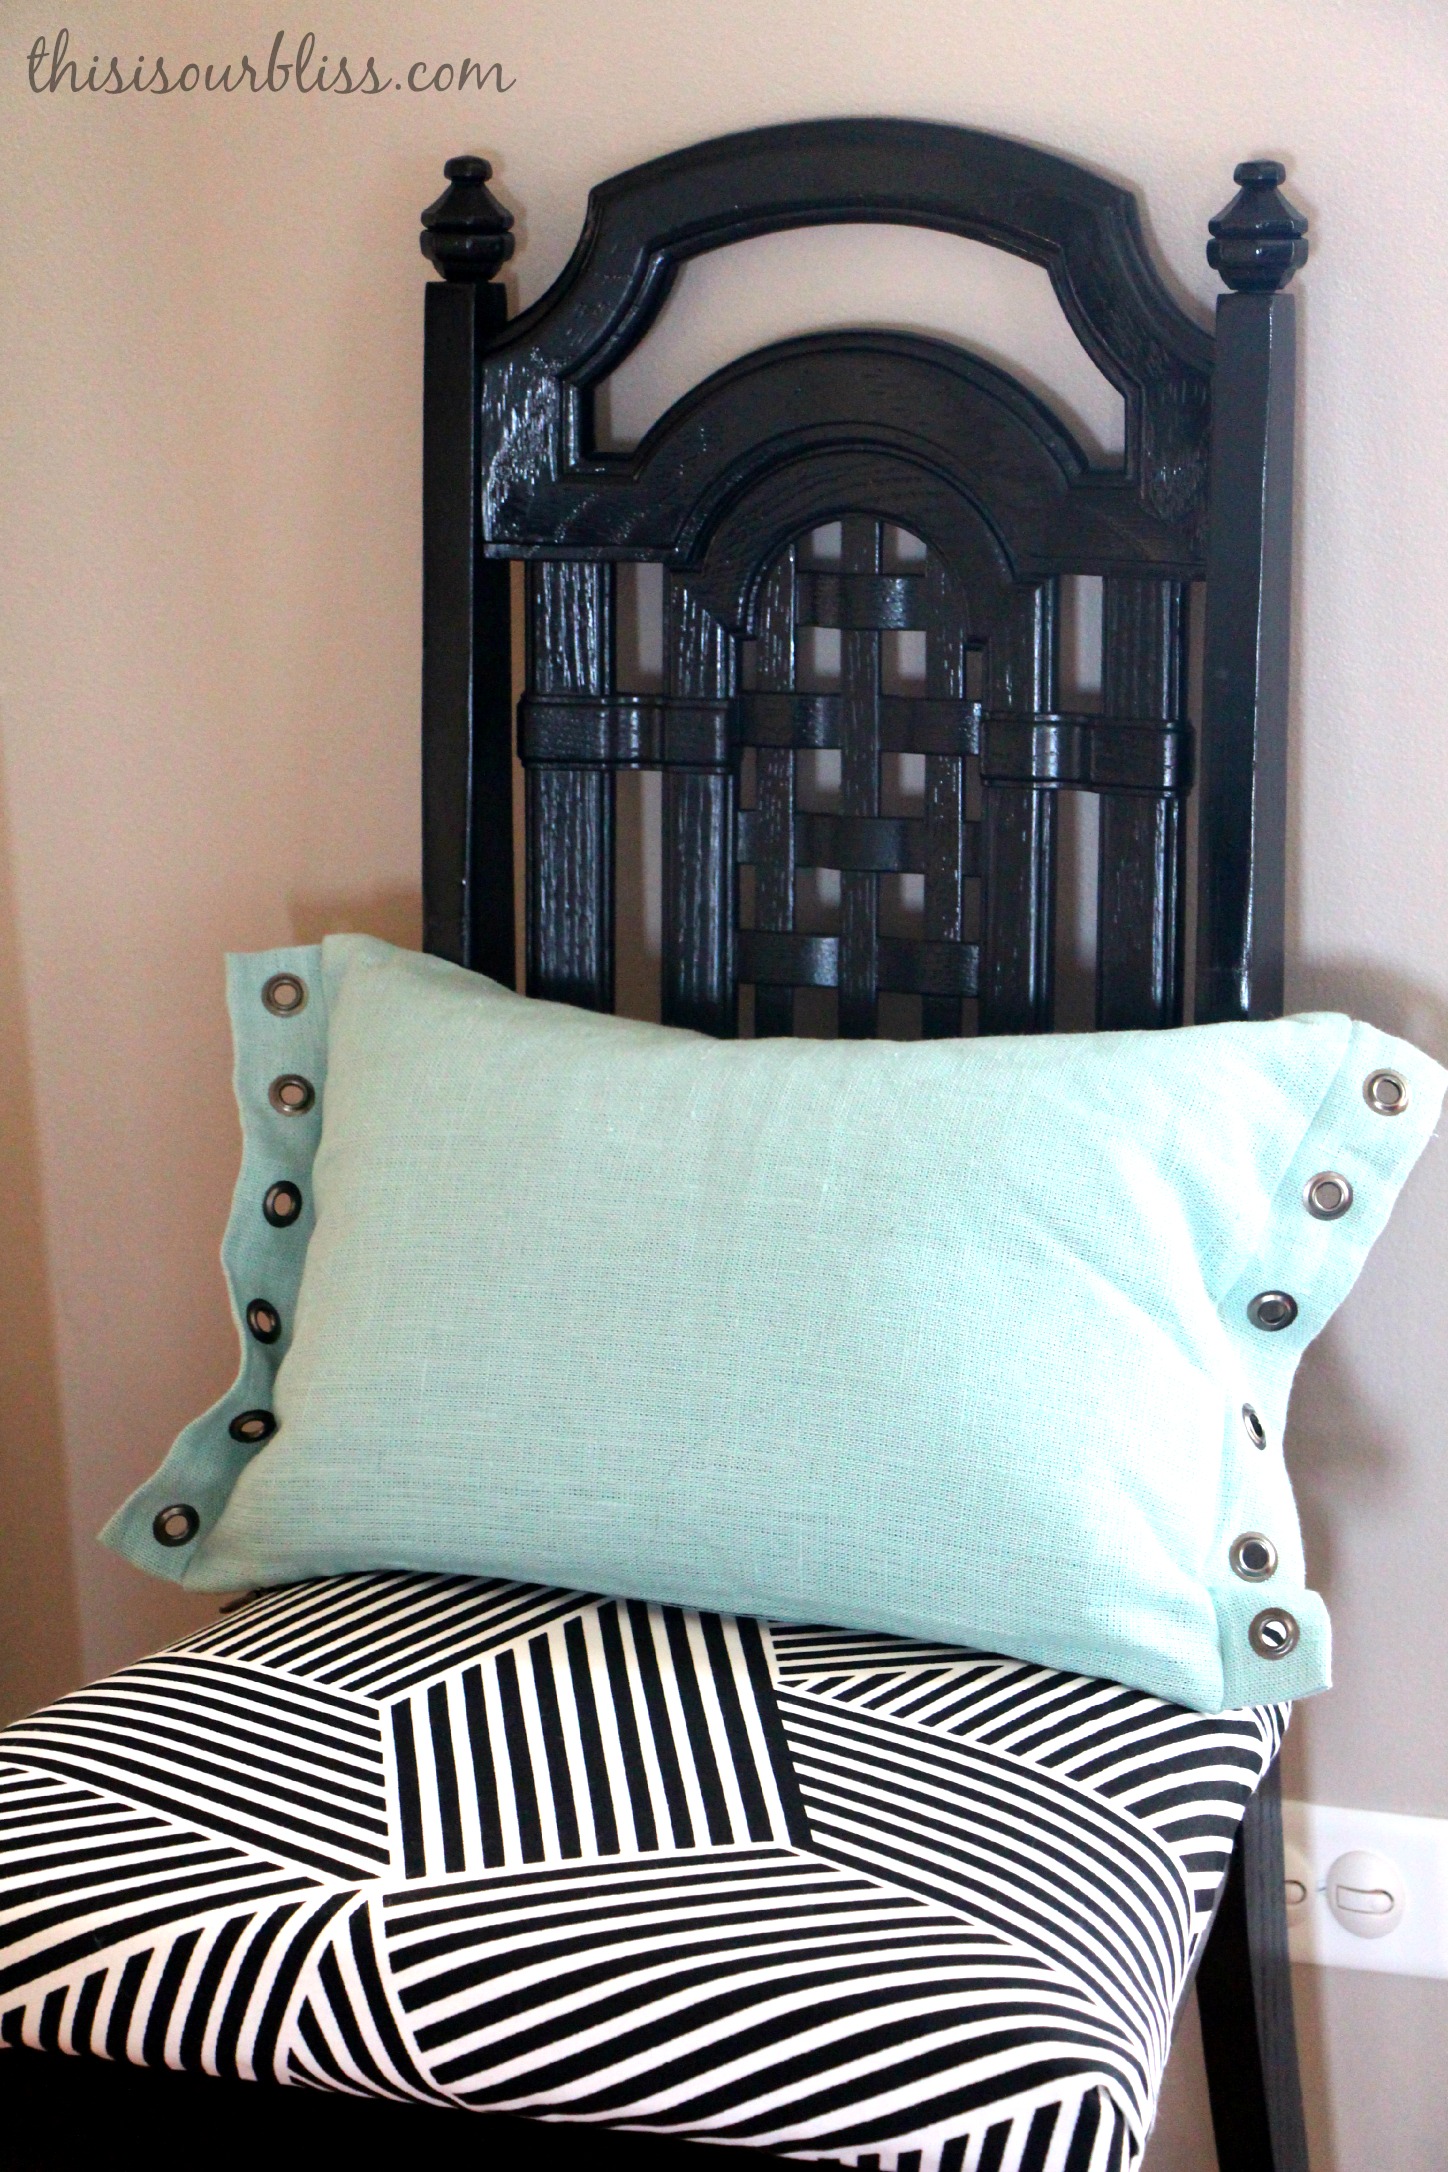
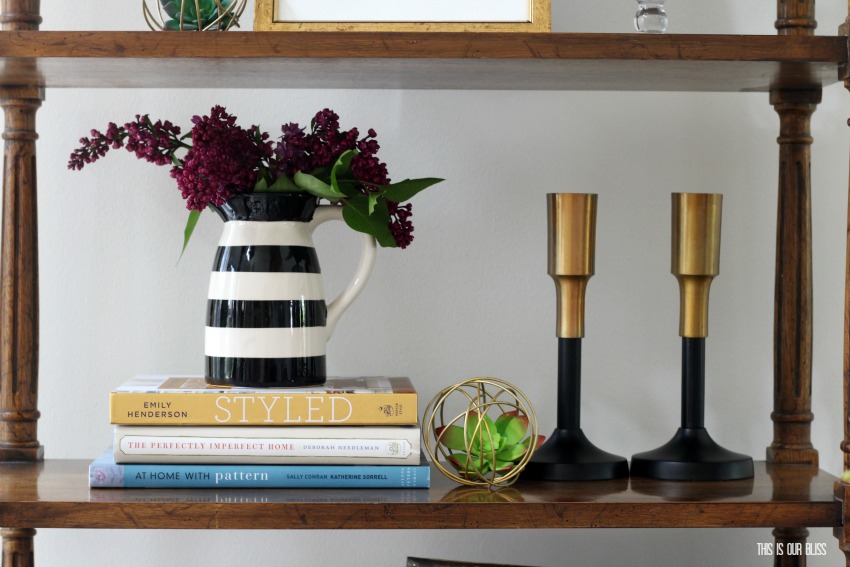
A few close-ups… I will figure out what I am actually going to do with the chairs later. For now, they are in the playroom for some additional mama seating during playdates 🙂

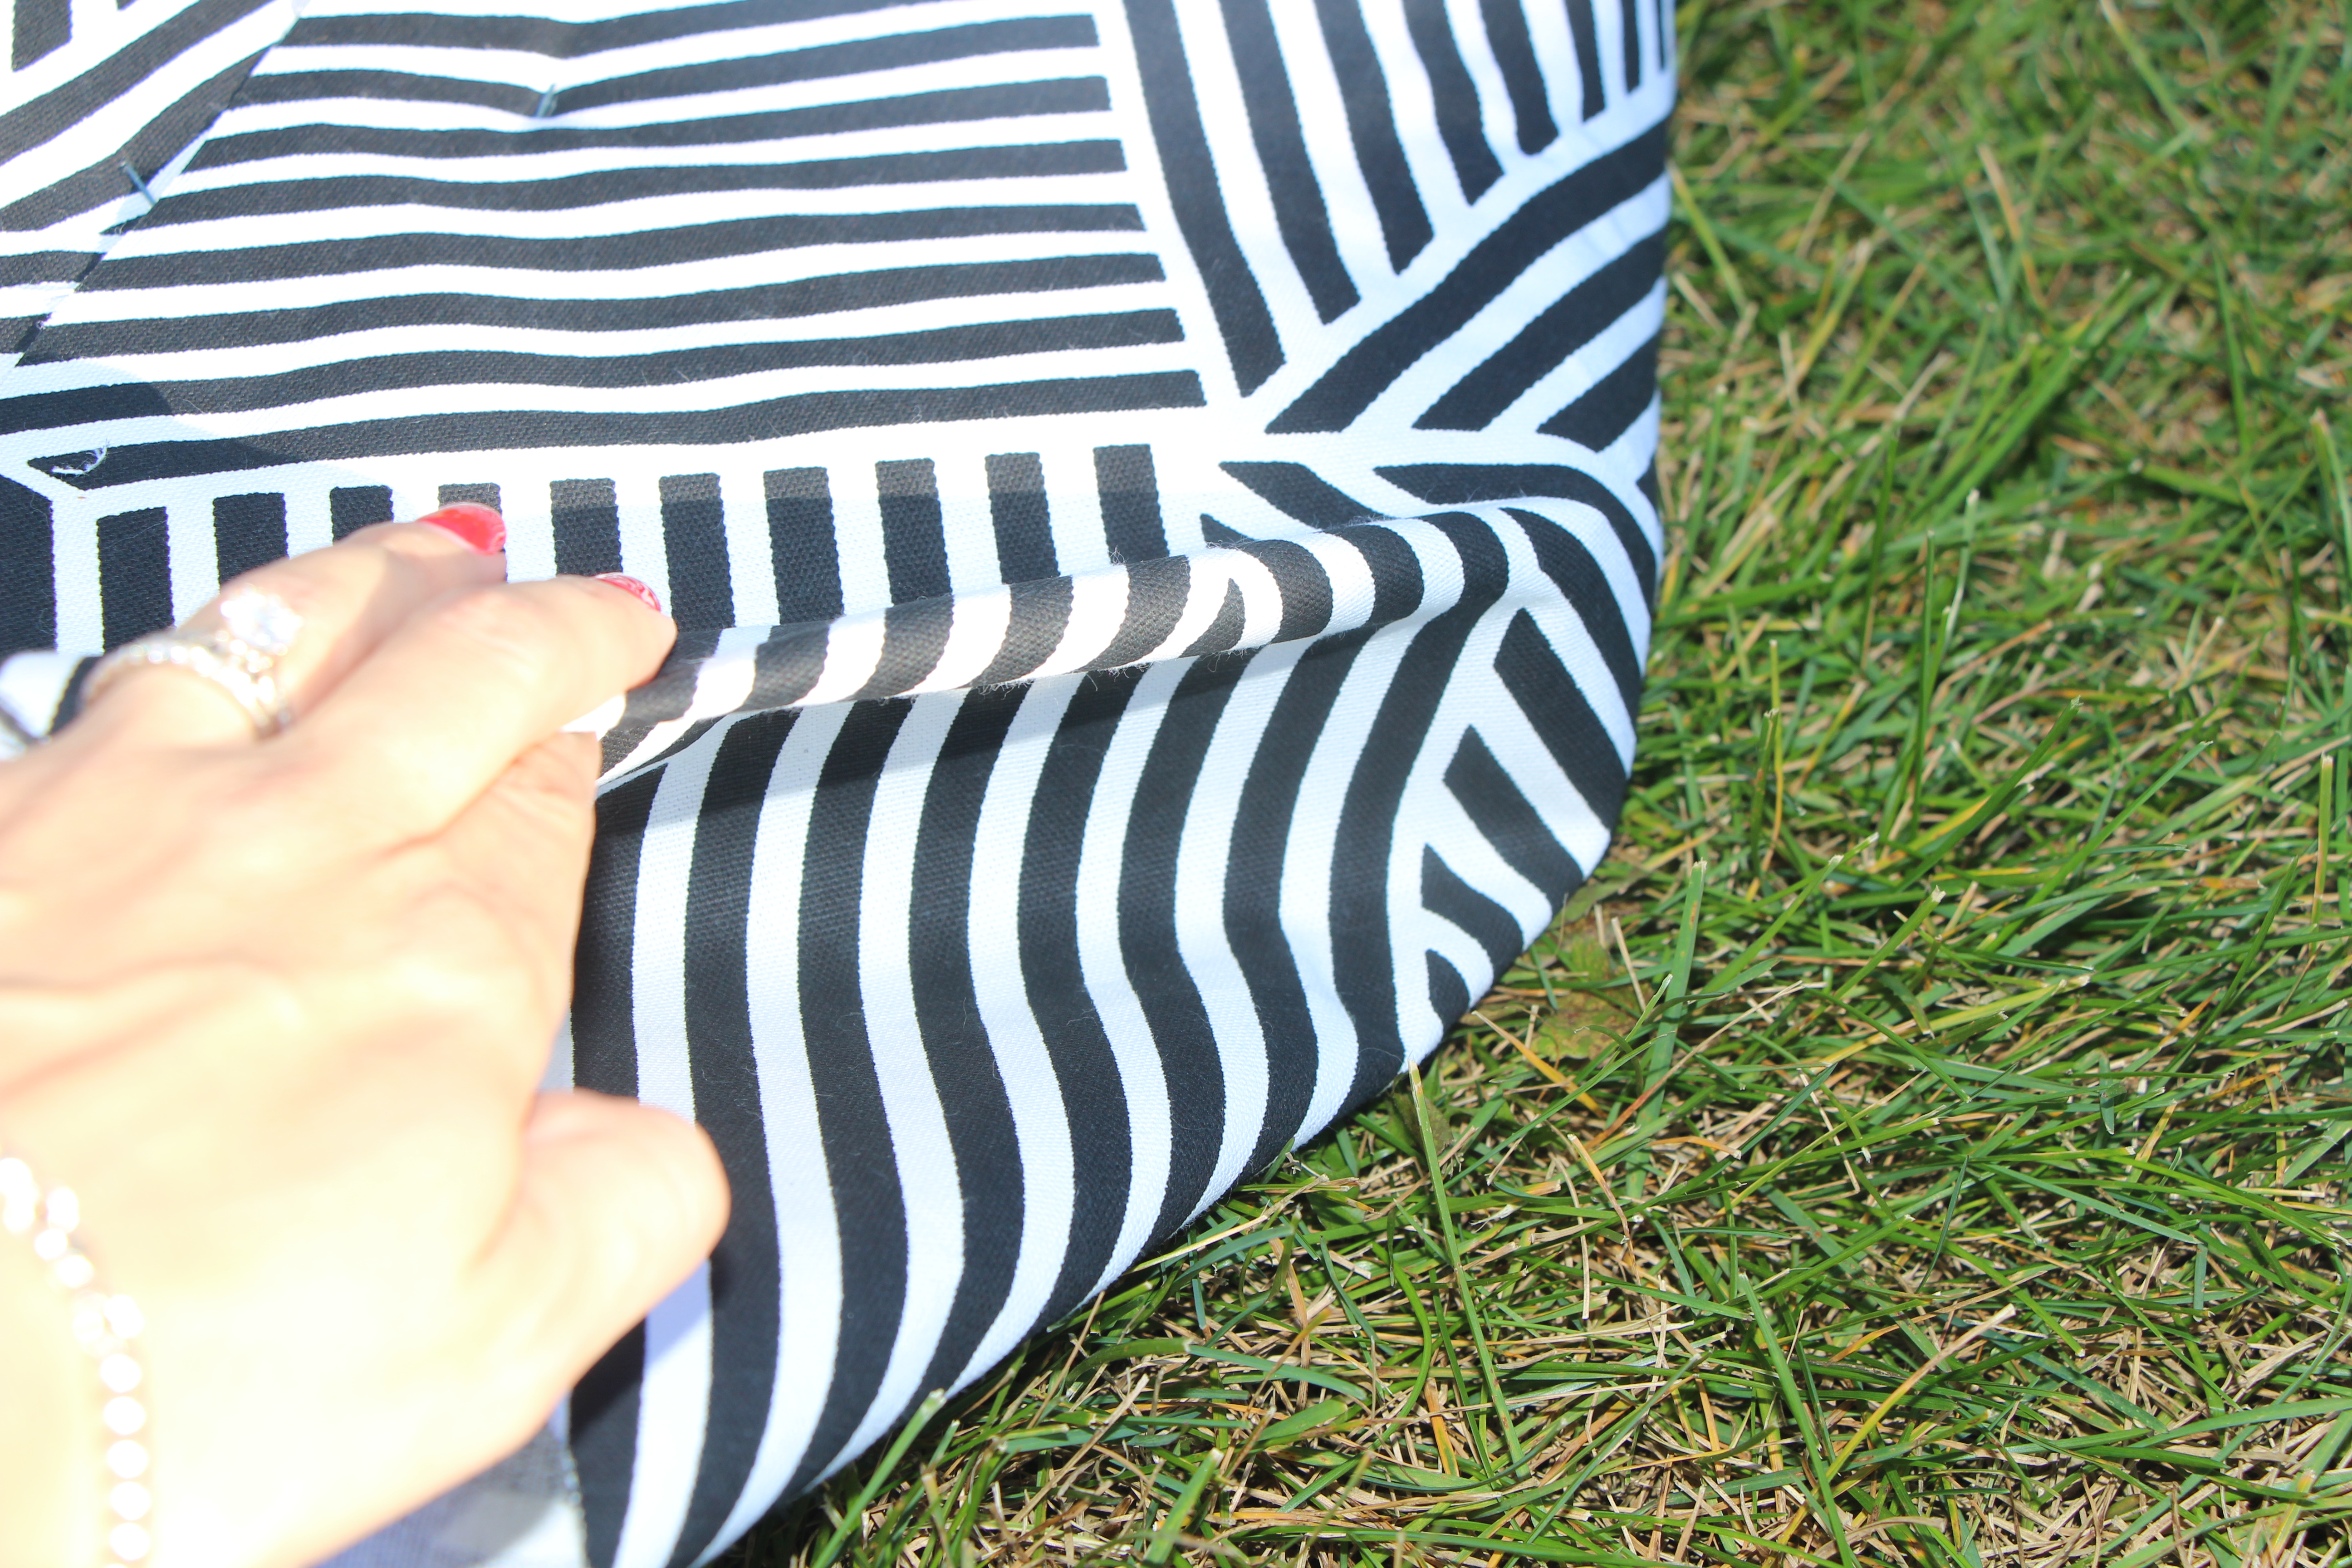
Here you can see the fold over on the corners. If it is done neatly and tightly, it can still look nice.
Now, off to eat some leftover Halloween candy and have a(nother) glass of wine.
Hope to see you back here next week!


I have a thing……for chairs. | This is our Bliss
November 13, 2014 at 6:25 PM[…] Way too many chair projects, not enough time and nowhere to put them even if I would refinish them all. I mentioned before Ted can’t even park in the garage anymore! I just started my thrifting journey in the last year or so and have tons to learn about finding the right pieces to actually make pretty again, so since I don’t know what I am actually supposed to be hunting for, I just keep bringing them home! I dream of spotting just the right fabric and making over all of these chairs to sit in a room of our house and look pretty (with the perfect pillow placed on its seat, too, of course). I can handle a basic staple gun and fabric project, but haven’t attempted anything past that yet. I recently started searching for an upholstery class in our area so I can do the real thing. There are tons of tutorials on Pinterest, but I think I want more comprehensive schooling before I try to DIY anything beyond the complexity level of my black & white striped chairs. […]
Reading Nook: Part 3 {The Bench Cushion} | This is our Bliss
November 7, 2014 at 5:59 PM[…] books in the DIY bookshelves, so I thought sticking with timeless neutrals was the way to go. The chairs I madeover last week are also black & white so they work well together, along with the greige walls and […]
samanthareineke
November 6, 2014 at 1:42 PMLove these chairs! What a great find! I’m personally a dresser hoarder 😊 My husband would feel lucky to have chairs instead!
Rachael @ This is our Bliss
November 6, 2014 at 3:33 PMThank you! I thought they were a fun find too 🙂 I would LOVE to tackle a dresser project – but I’m starting with chairs… less painting haha!
Me, Myself and DIY
November 4, 2014 at 6:35 AMsuper cute! I love making over chairs. And, there’s no room in my garage for cars either. Husbands everywhere are completely out of luck it seems. 😉
Rachael @ This is our Bliss
November 4, 2014 at 2:13 PMThank you! Yes, such a fun project to tackle! They sure are… poor things lol 🙂
Rowe Spurling Paint Company
November 3, 2014 at 5:08 PMYou have been nominated for a Liebster Award! This award was designed to recognize hard working bloggers and introduce new people to creative content. If you choose to accept it remember to pay it forward and keep on spreading the word about your favourite bloggers.
Betty
October 31, 2014 at 9:25 PMLove this tip and tutorial.