Today, I am here with another post from none other than – the guestroom. These follow-up posts just don’t quit! Yes, I do realize I finished the Guestroom Revamp Project for the SPRING One Room Challenge, but clearly I haven’t been able to share all of the goodies from inside. I can hardly believe that the Fall ORC is already quickly approaching. It kicks off on October 8th and I still haven’t quite decided which room I’m going to jump in to work on…hopefully I have my decision made in the next couple of weeks 🙂
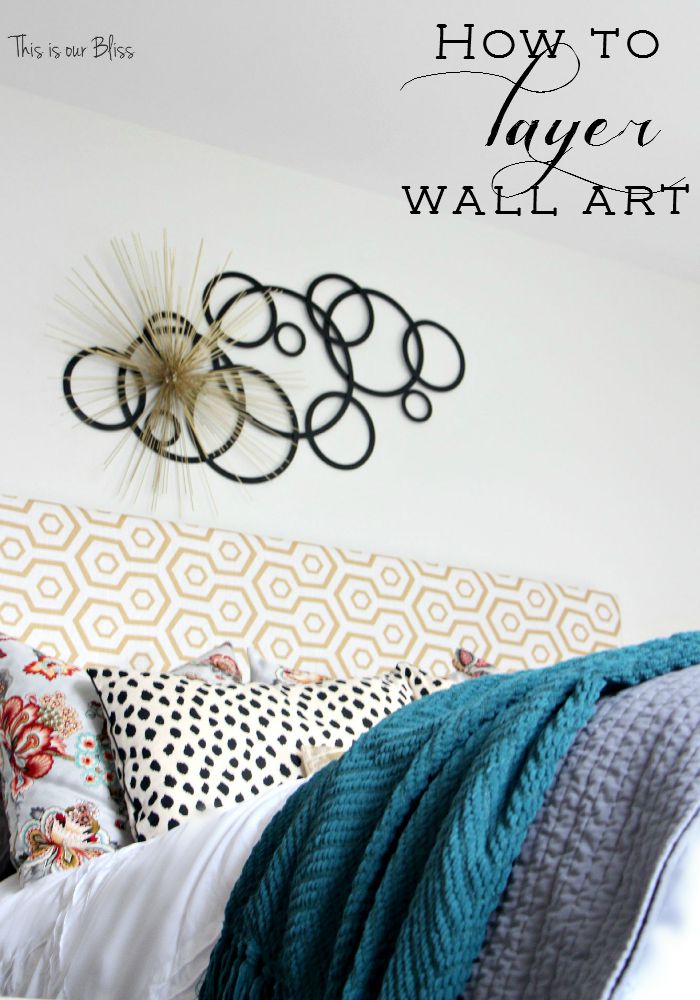
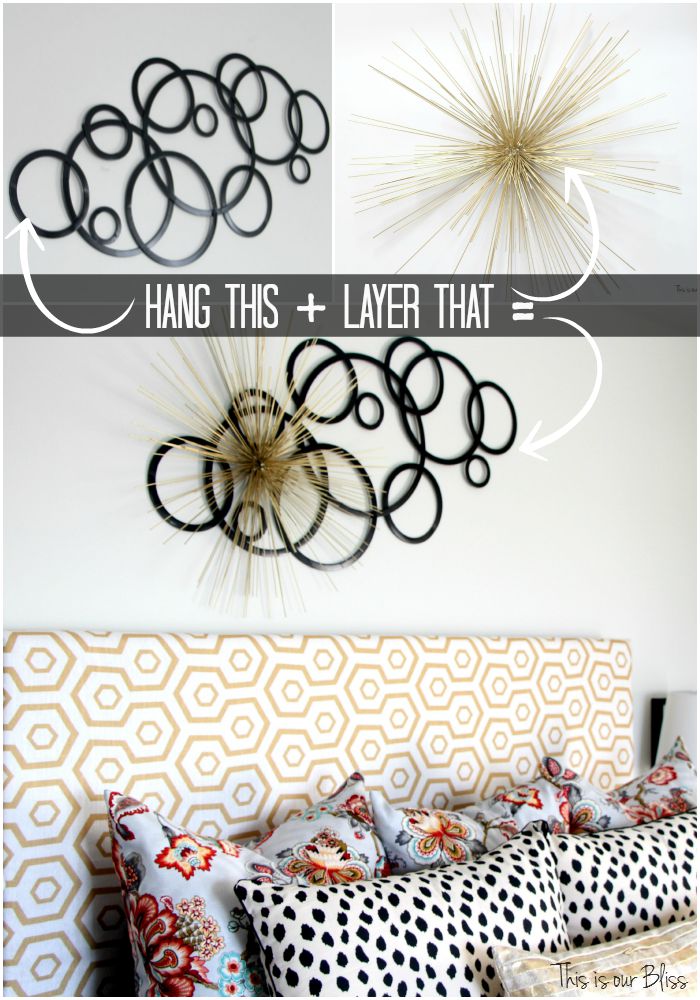
So, back to this project – I am calling it “layered wall art” because that’s basically what it is! I took 2 separate metal wall décor pieces and stacked one right on top of the other!
 When working on the layout/design for decorating a wall in our home, I’m usually trying to come up with an idea that is somewhat unique & different. I don’t like to just buy something & throw it up. When I am out hunting and I find something I really like, I try to come up with ways to make it one-of-a-kind. I know…if it ain’t broke, don’t fix it, but I consider it simply tweaking or restyling – just like I did here!
So, here we go… well, there aren’t really that many steps to follow so its not like a traditional tutorial, but here is what I did to achieve this layered look.
 If you remember back to week #3 of the challenge, I was hoarding goods left & right to go in the room…most of which happened to be gold. Weird, I know.
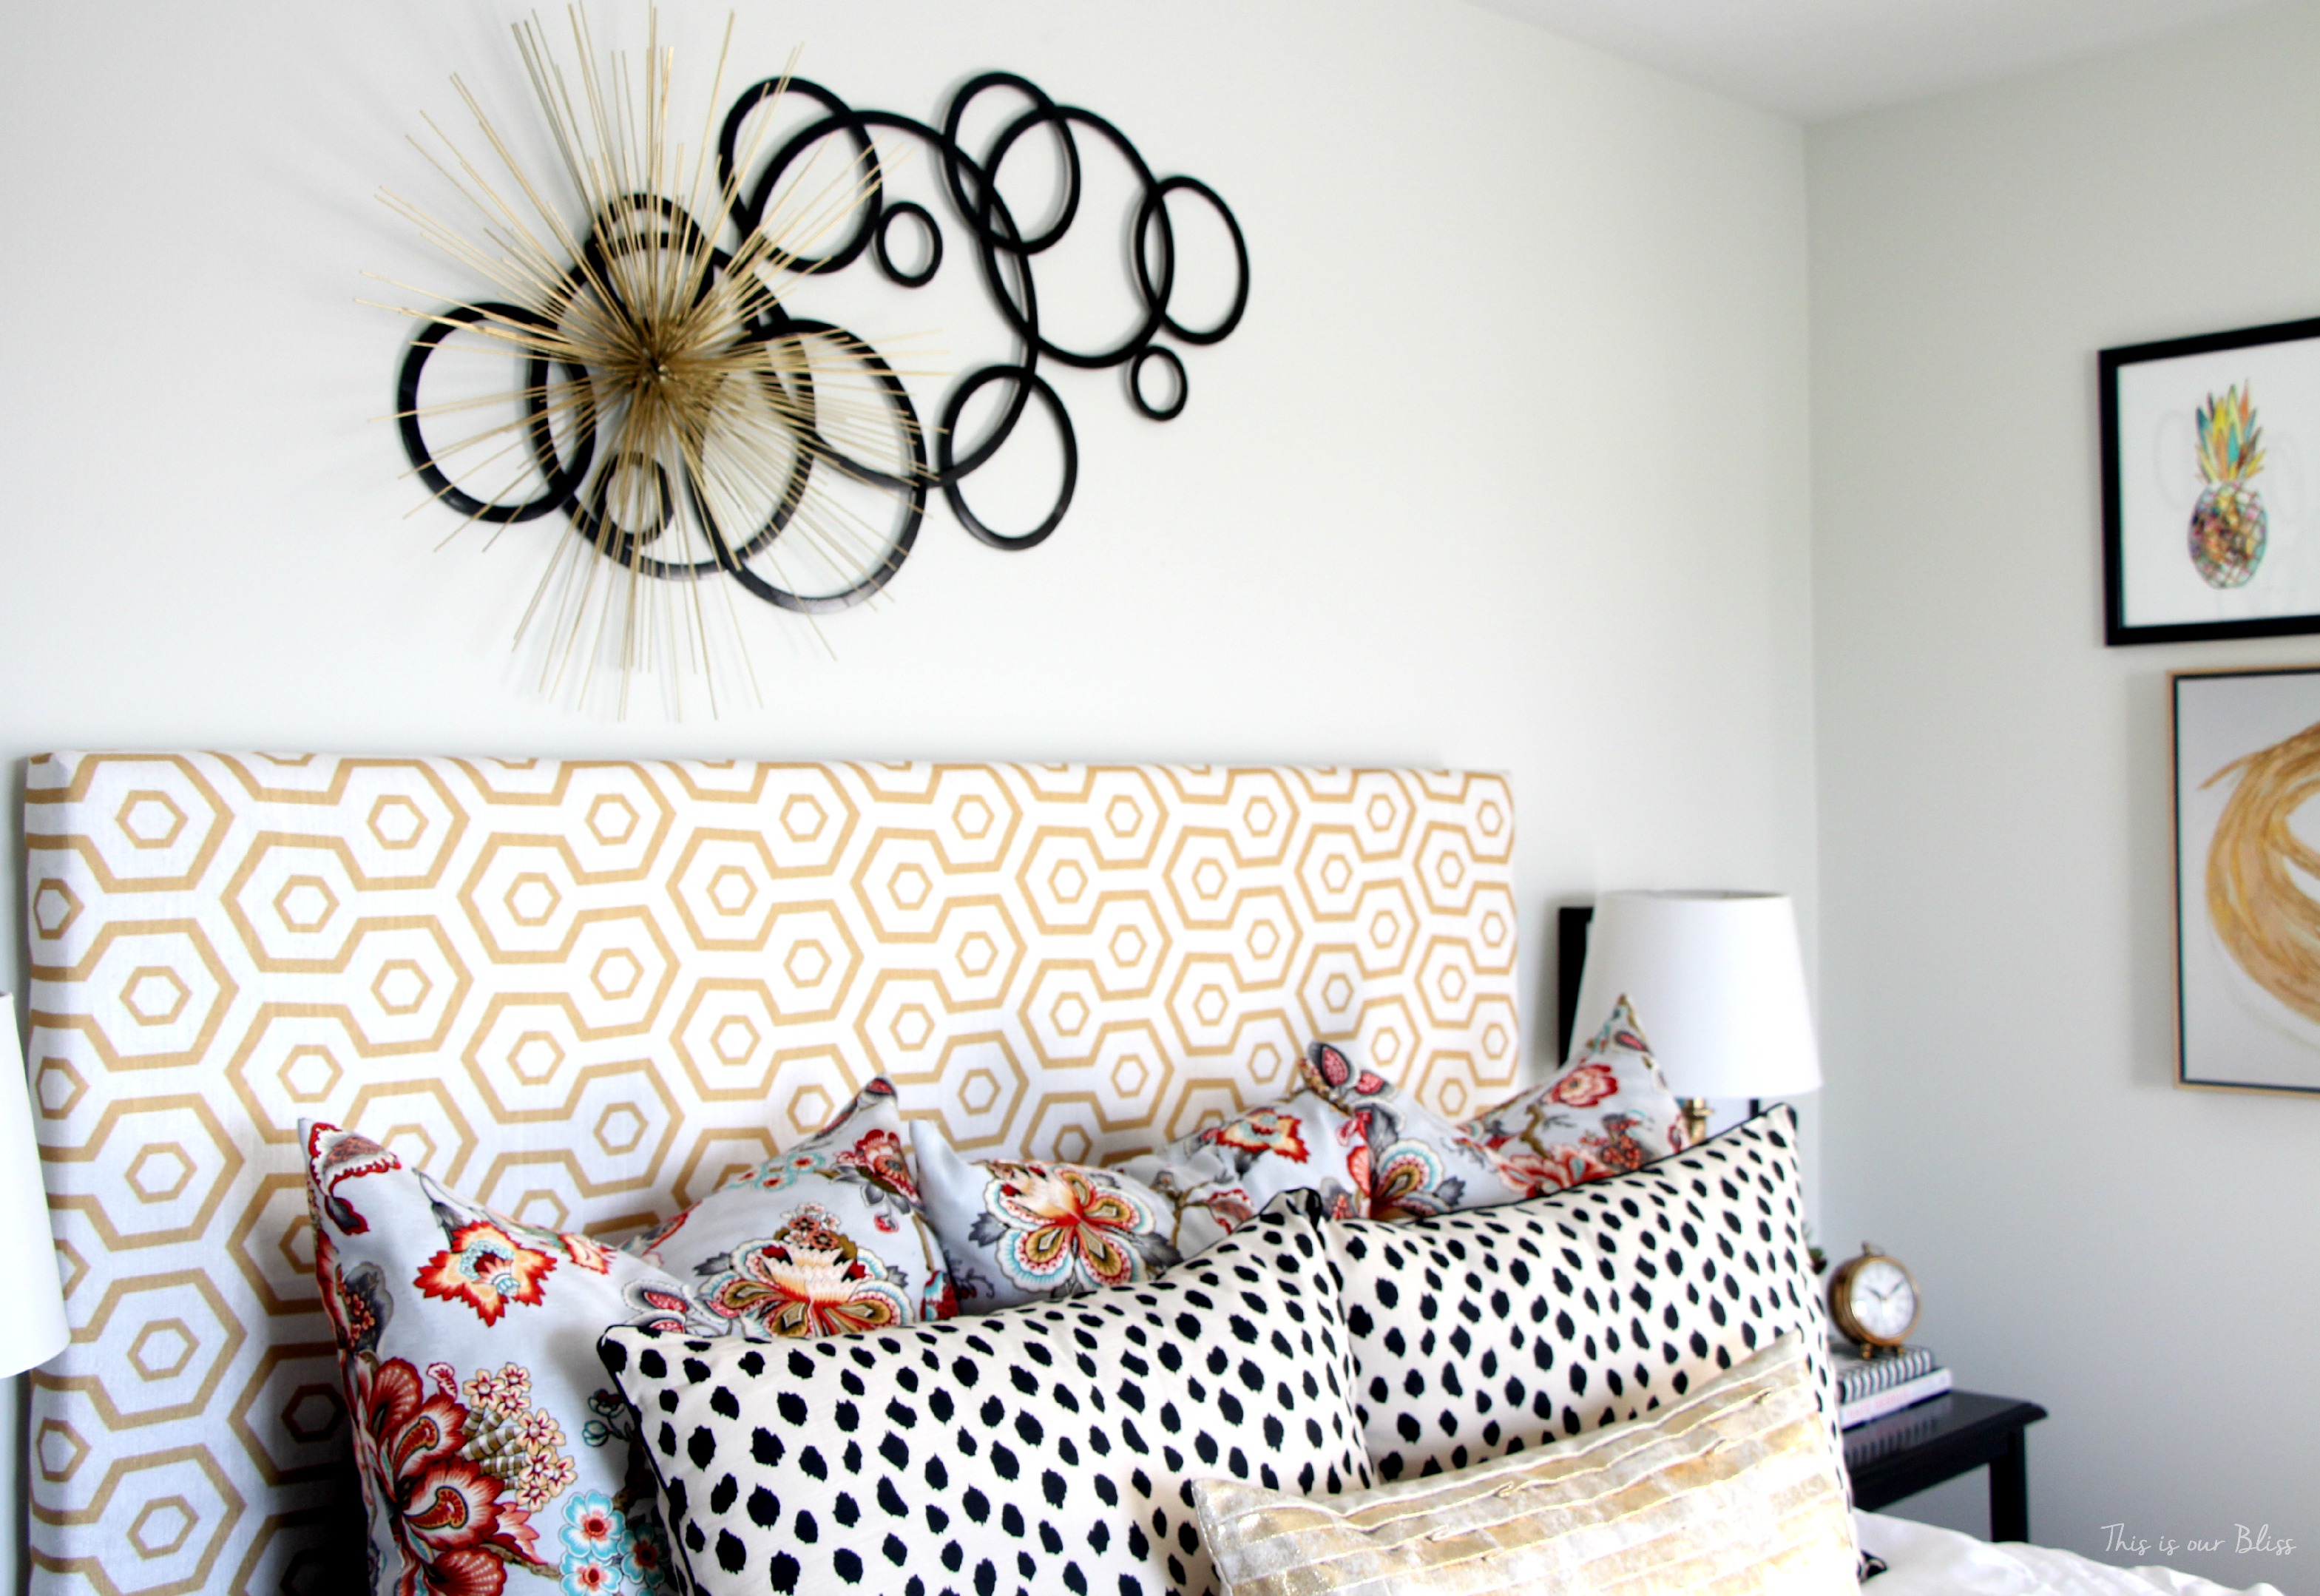
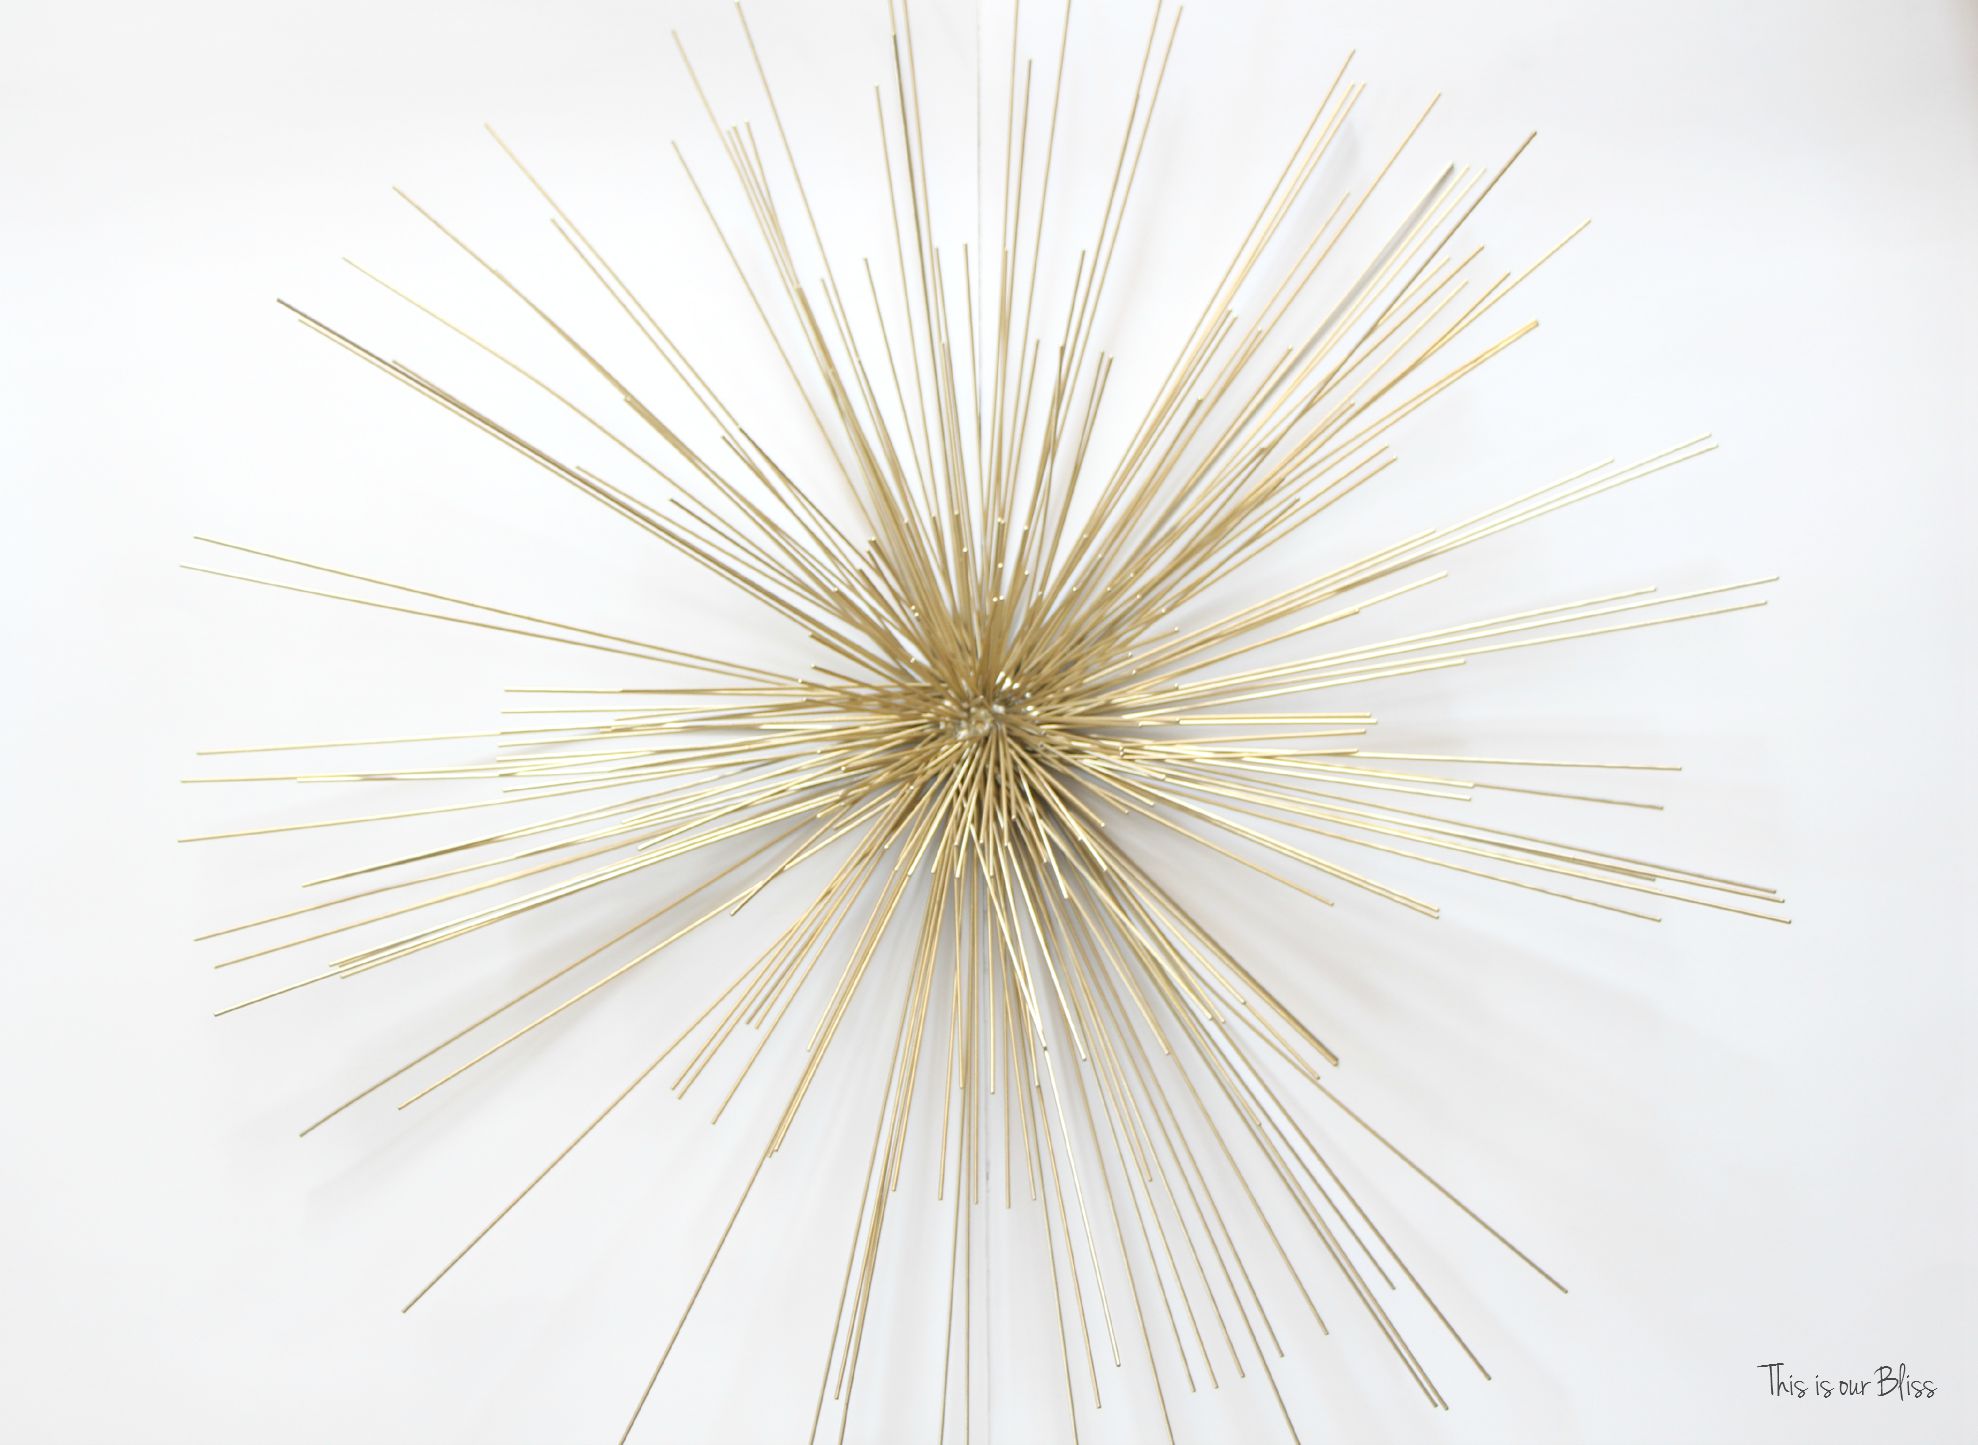 I scored this metal spike / urchin piece at Homegoods (I call her spikey) and brought it home to add to the pile. So, in typical me fashion, I didn’t know exactly what I was going to do with it, but knew it had to join my stash. I’d figure out the rest later.
 You’ve probably seen these everywhere. It seems the most popular of them all is the set of 3 small urchins from Target. I love these, too & they work well sitting out or on the wall because they are relatively small – just a little gold accent. Mine is quite a bit bigger though – 25″ in diameter. I stumbled upon this 11″ one on Amazon
![]() , but haven’t seen many as big as the one I have.
, but haven’t seen many as big as the one I have.
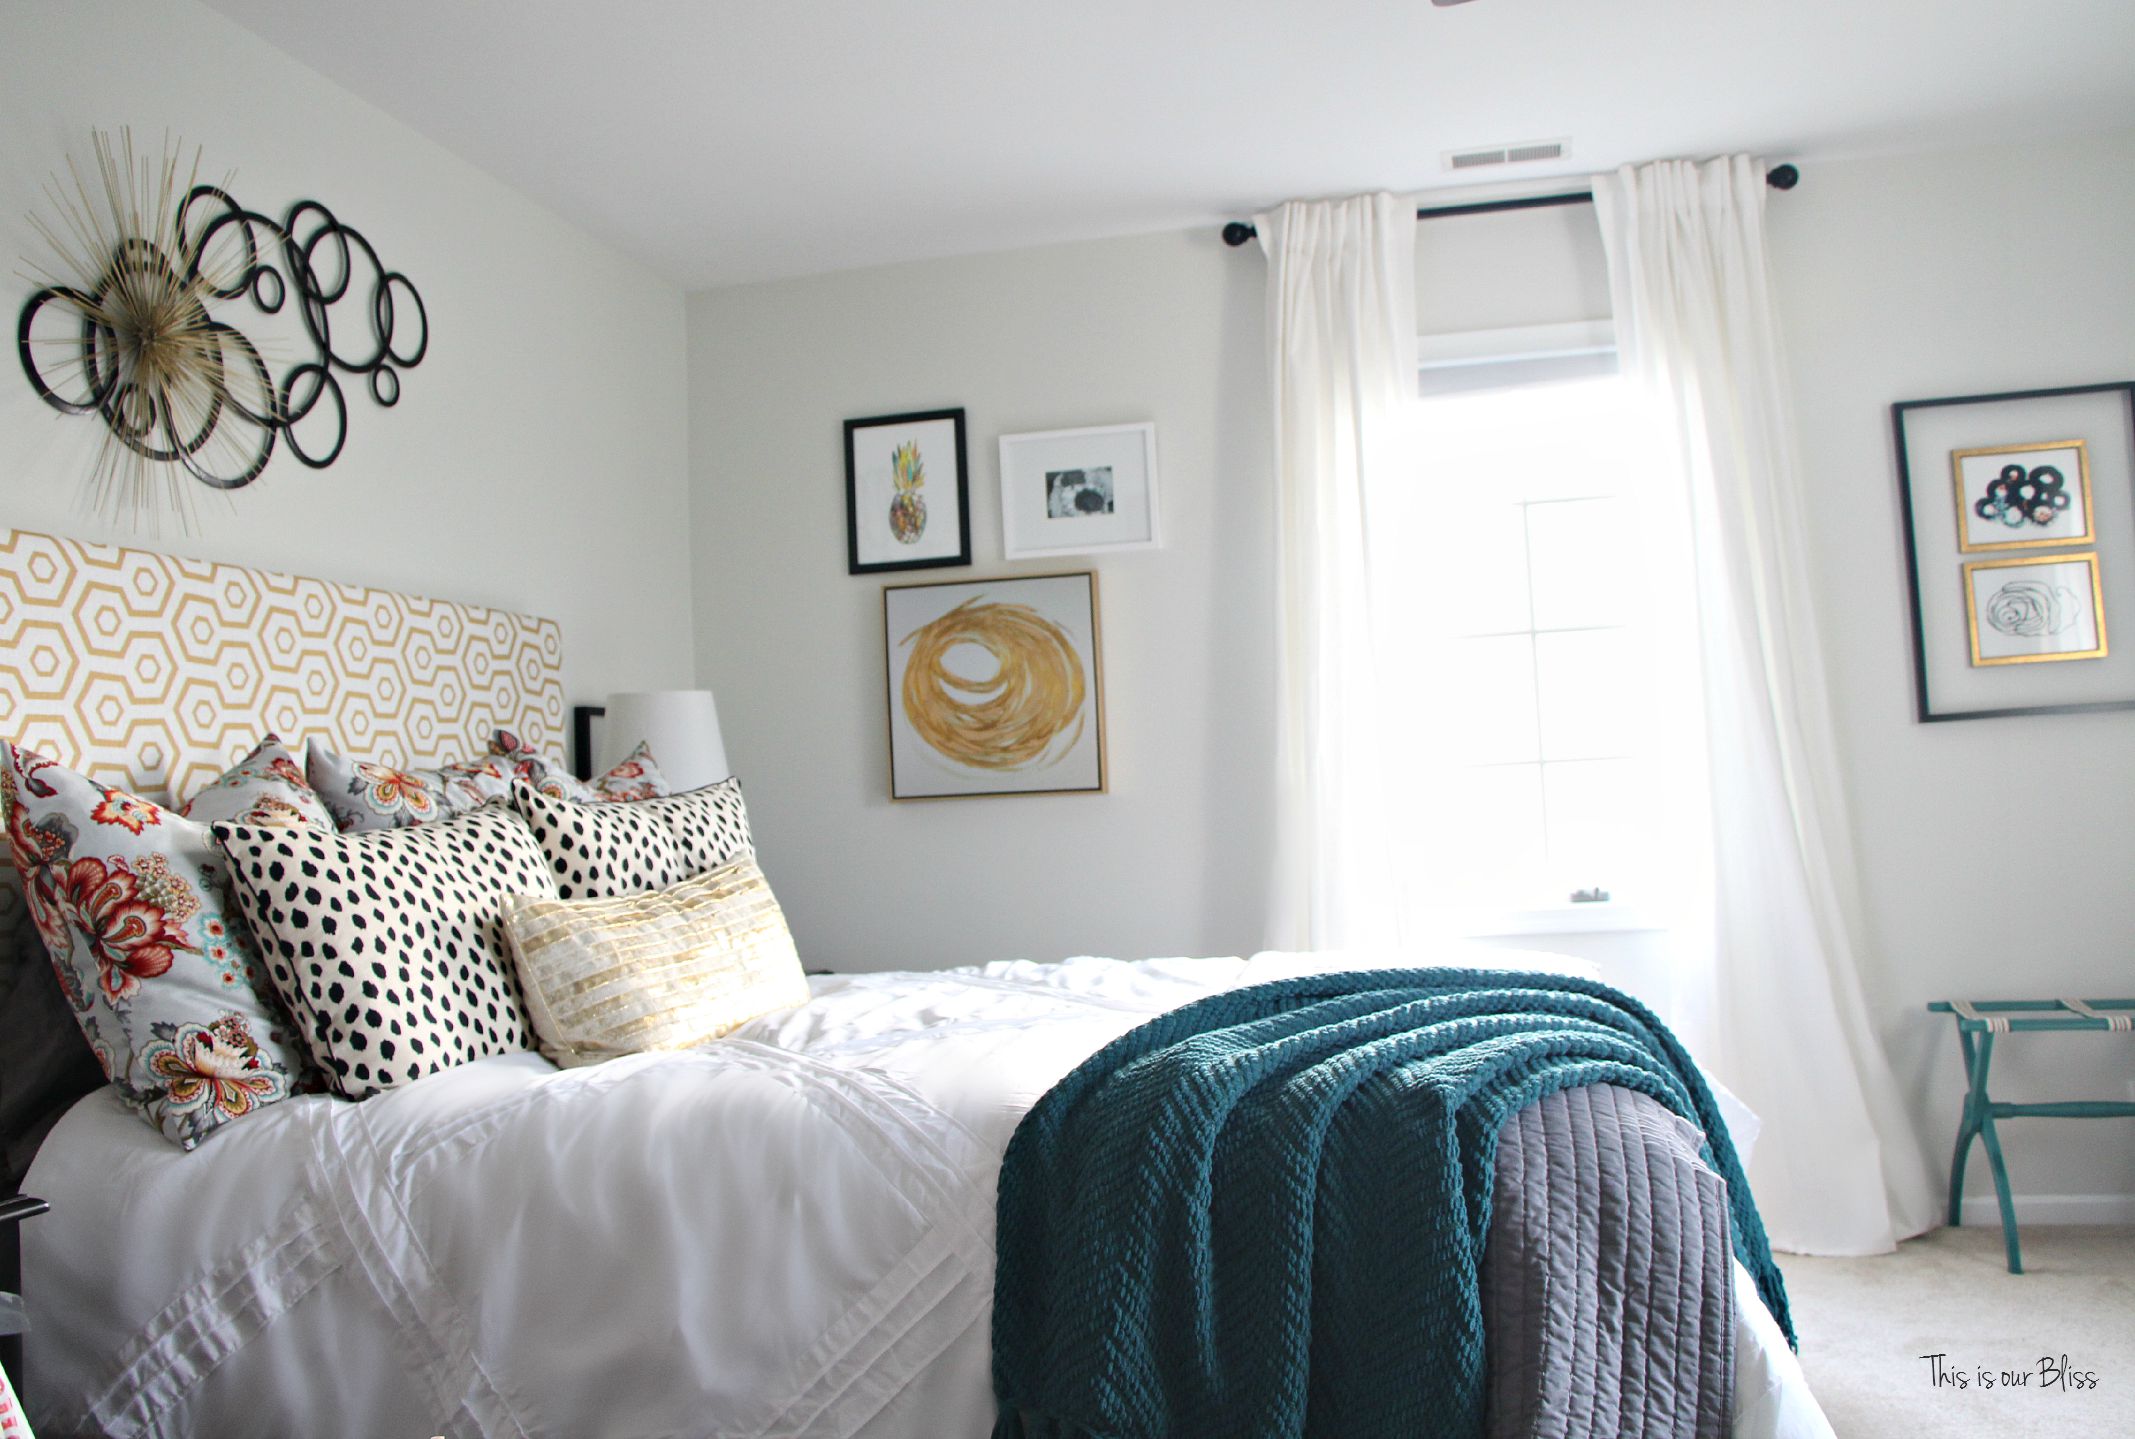
Spikey almost ended up on the wall left of the window in an art grouping, but I thought she was too big for that wall especially since the gold framed canvas piece (currently on that wall) is plenty big alone. So, once I determined the grouping for the left window wall, I moved on to the right-side of the window and ended up with the open-framed minted pieces.
Next, I wanted to focus on something for above the bed.
A larger gallery wall of mixed art & photo frames was already in the works on the other side of the room by my reupholstered chair, so a collection of frames was out. Then I thought maybe I could make a BIG statement and wallpaper behind the bed, but since I had a lot going on with the DIY headboard & the pattern play with the pillows, so another strike.
A circle. It needed something round.
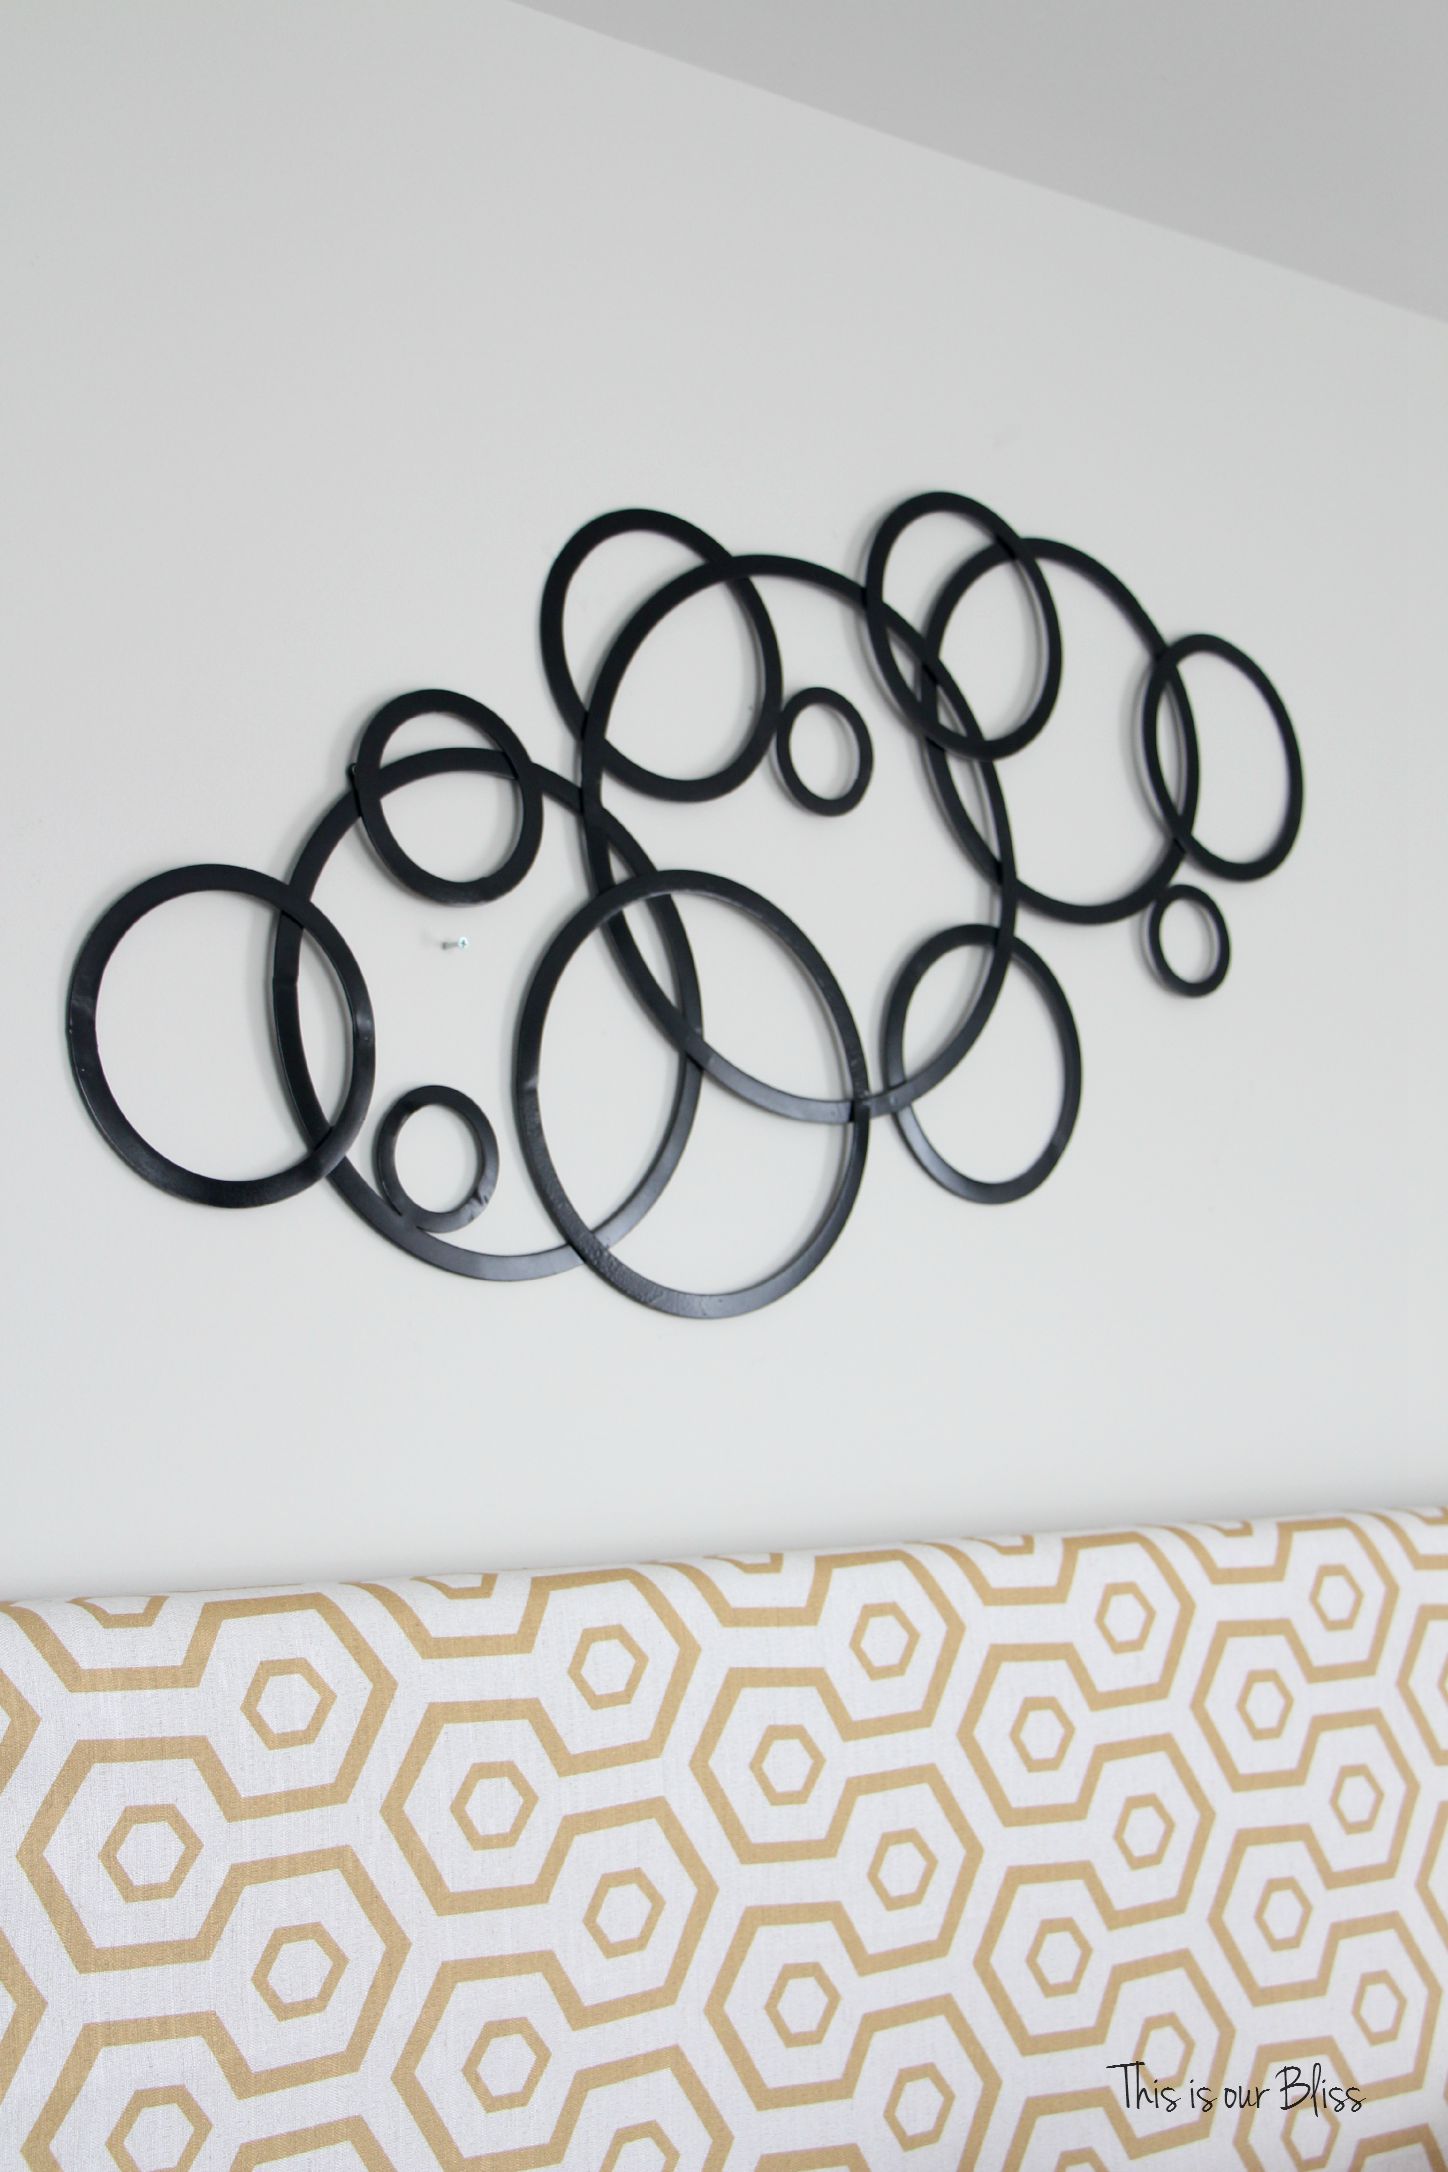
The room had a ton of square & rectangular shaped décor & accessories throughout, so I determined, round it was. One day while at Hobby Lobby, I stumbled upon this multi-circle metal wall hanging & figured it was worth a shot. I took it home & held it up over the bed. It just wasn’t quite enough. It needed something more.
 Enter spikey again!
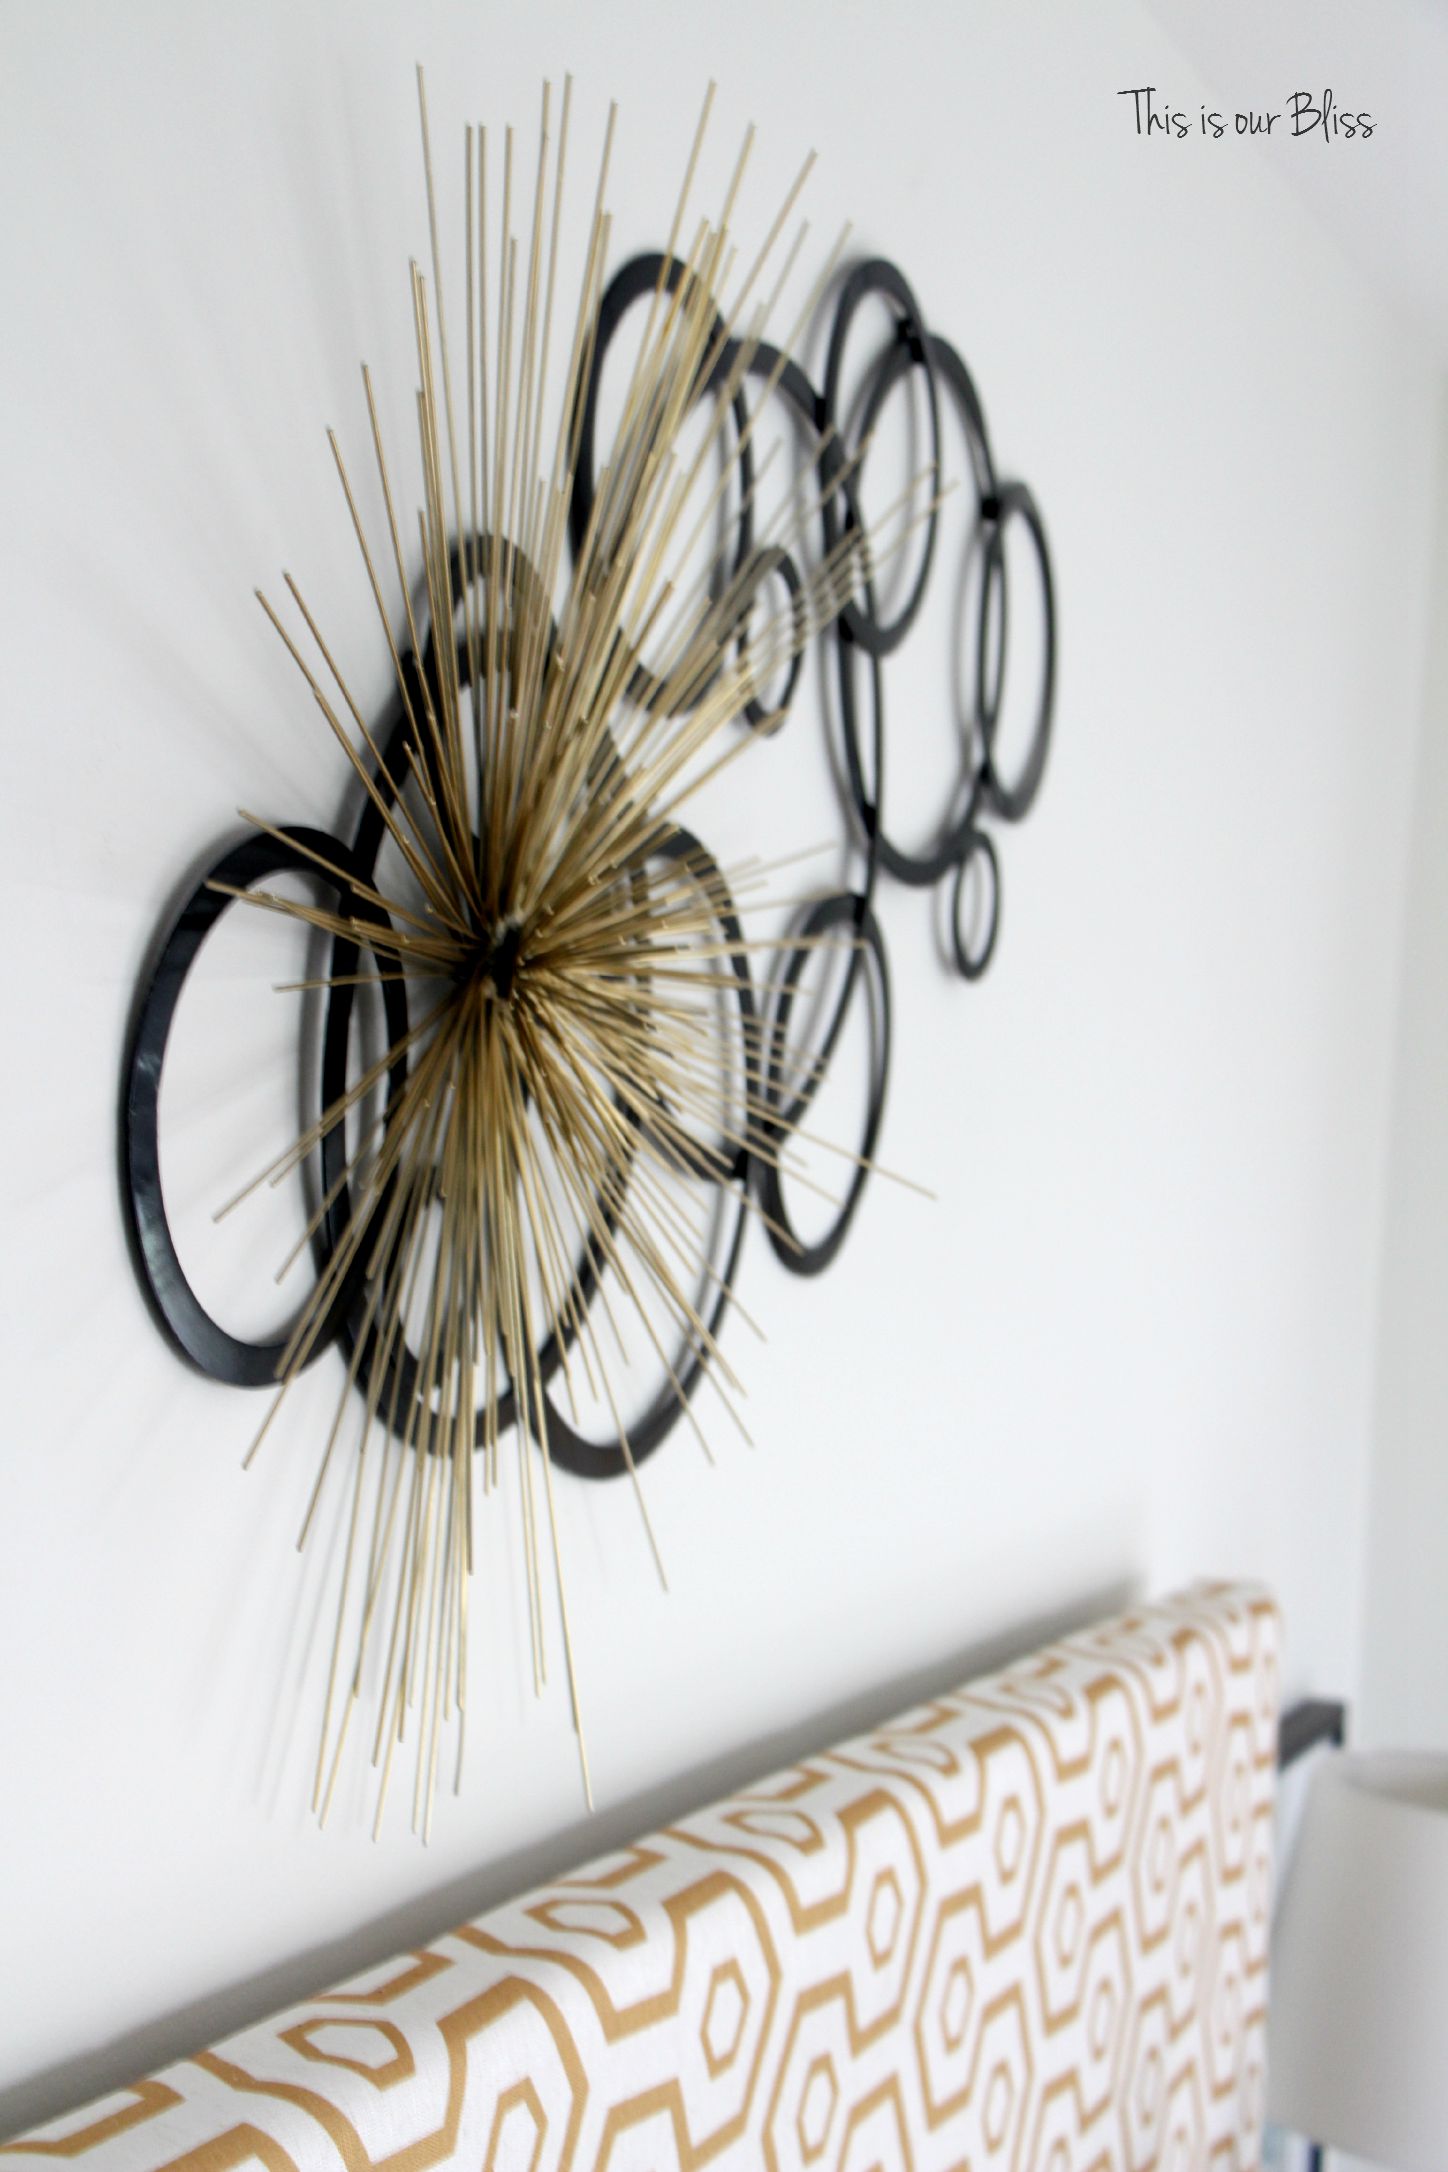
I decided to put it right on top of the multi-circle piece! It would be funky, unique, edgy & black & gold – perfect!
See the nail in the middle? I got so excited I forgot to take a picture before I threw spikey on the wall!
[side note: I did spray paint the multi-circle piece black before hanging. It was actually a mixed metal piece, but thought black would be an excellent contrast with the super light wall color. sorry I don’t have a before pic!]
That is it! I hung one piece up. Played around with where I wanted the 2nd one to rest and then hammered a nail in the wall. Finally, I placed the gold piece on the wall and it was complete!
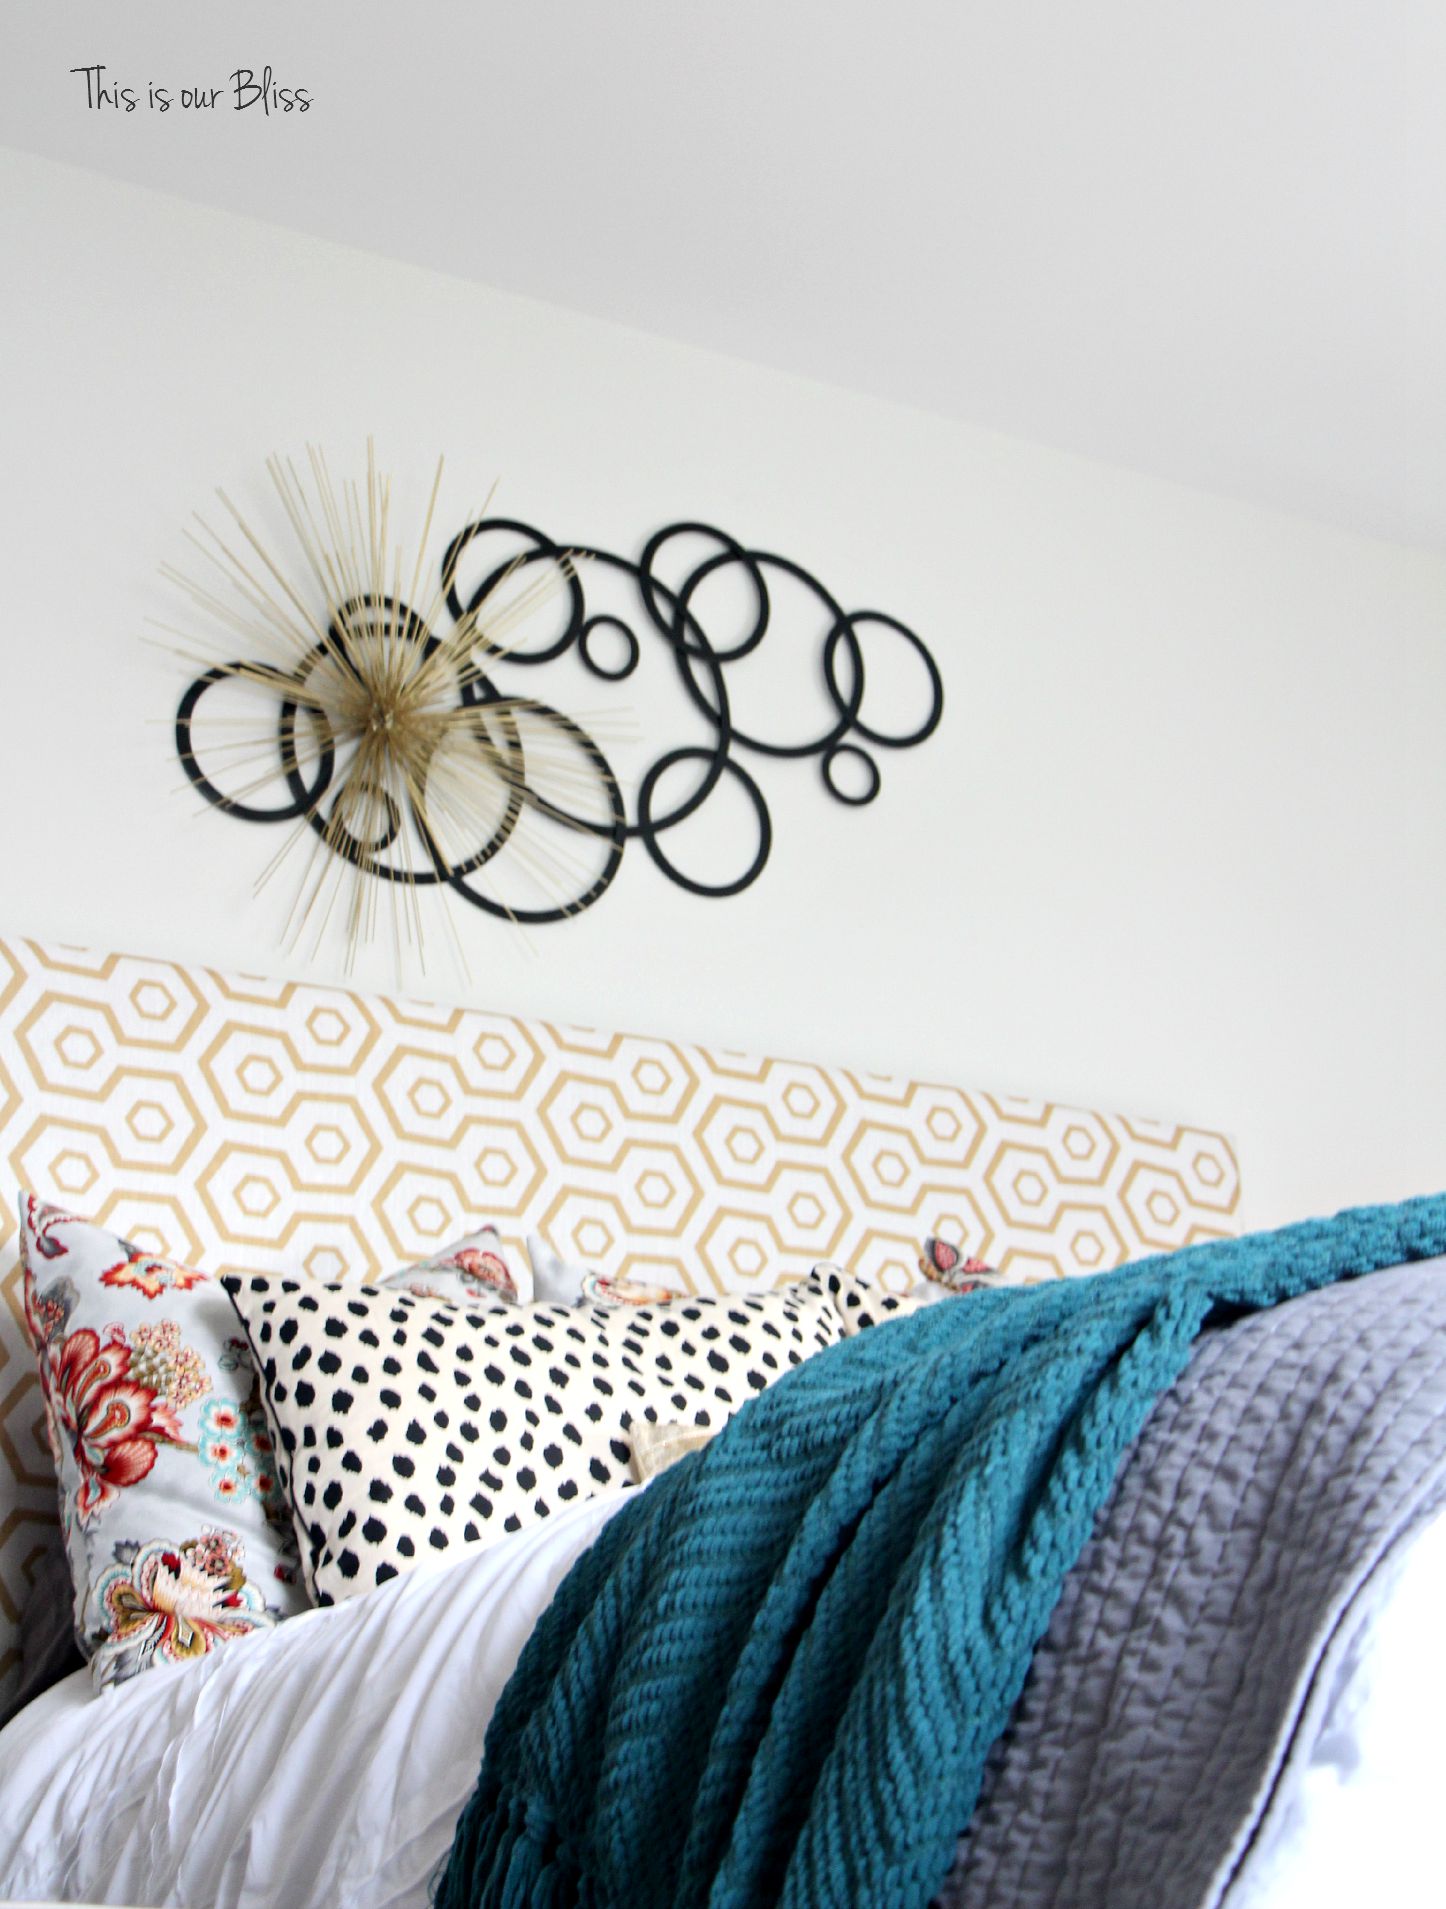 I really love how unsymmetrical it is. Working in even numbers is something I have been experimenting with a lot lately. The rule of odd numbers is still a good one to follow, but rules are meant to be broken, right??
 What do you think? Something you would try? I’d love to hear (& see) if you’ve ever done something like this! If you give it a try, please let me know!
 Please come back again! Crankin’ out basement projects over here, so updates are coming soon! Who knows? Maybe there will be more from this room, too 😉

*affiliate links were used in this post.


Smitha Easter
August 28, 2015 at 6:08 PMOh my gosh I love this! Great idea! 🙂
Rachael @ This is our Bliss
August 28, 2015 at 6:28 PMThank you, Smitha!! I’m going over to your blog now!
thecraftymummyblog
August 28, 2015 at 4:22 PMLove it! So inspiring
Rachael @ This is our Bliss
August 28, 2015 at 6:28 PMThank you! I’m so happy to hear that!!
thetaleofanuglyhouse
August 28, 2015 at 8:34 AMSuch a cute room and great idea on the layering Rachael 🙂
Rachael @ This is our Bliss
August 28, 2015 at 1:47 PMThanks, Amanda!! It was time to try something different 😉
thegarsowtwins
August 27, 2015 at 6:27 PMThis looks great! We love that gold metal spike. We’re seen a similar one at Home Goods. Love the unique look. Feel free to check out our blog, http://www.twinspiration.co 🙂