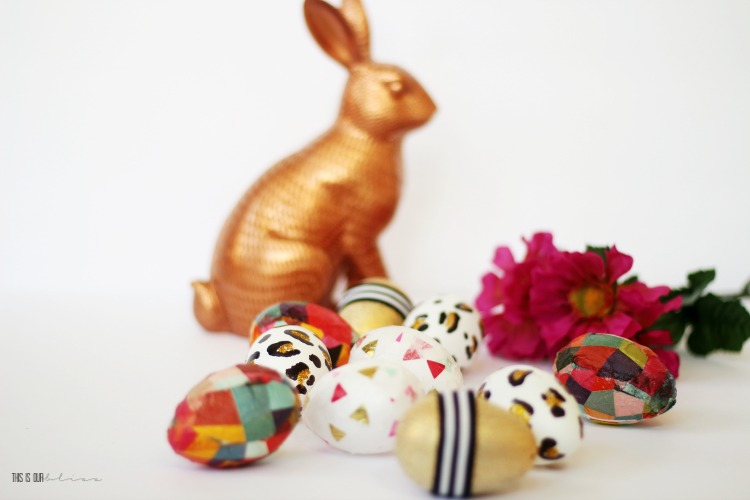
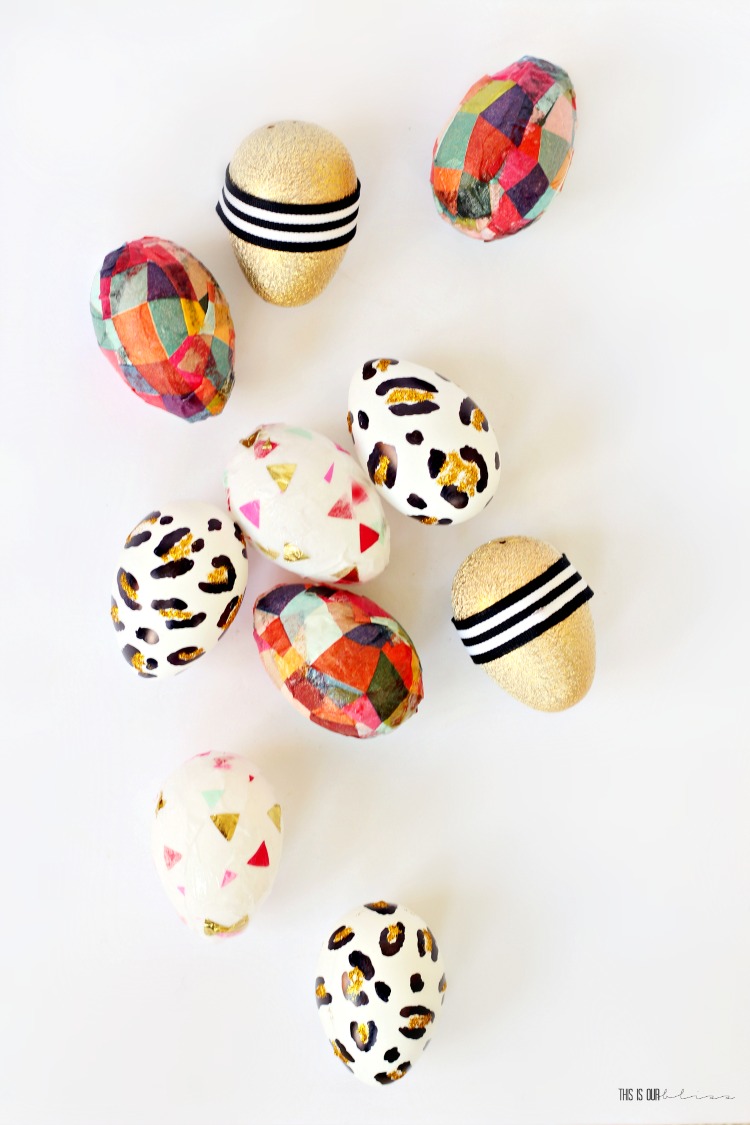
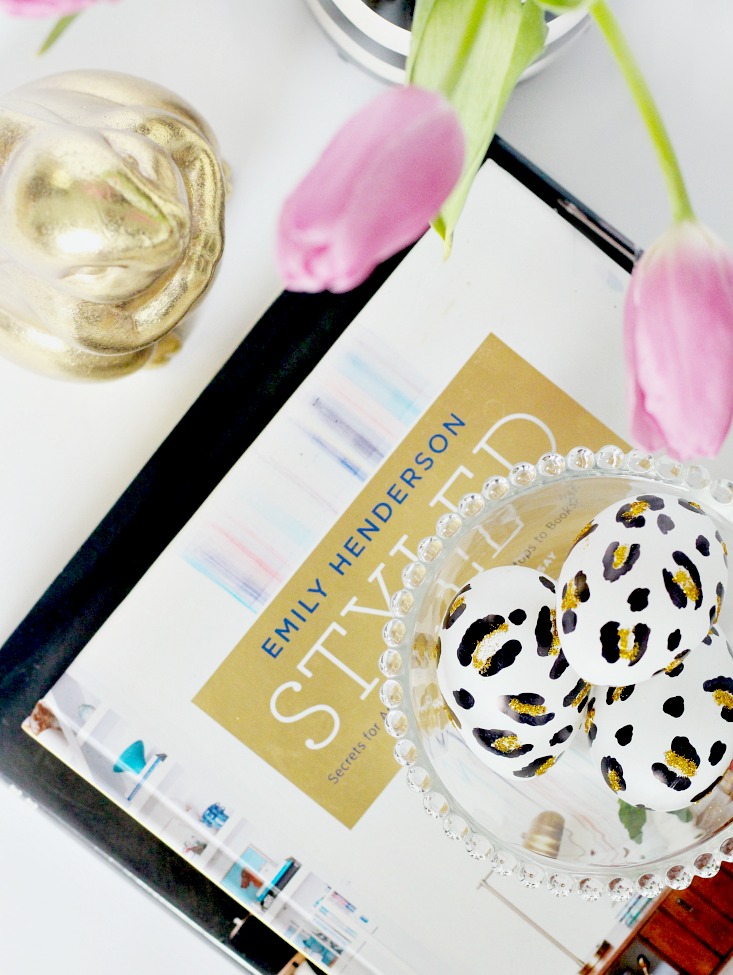
I just can’t stop crafting EGGS!! After sharing my Marbled Easter Eggs and then my Leopard Print Easter Eggs, I decided I wanted to take on one more round of egg crafting. This time I tried out the mod podge method using tissue paper and napkins from Dollar Tree. While my method isn’t perfected yet, I do love the idea of being able to spot a pretty paper and then turn it into egg form! Here is what I did to whip up these Bright and Colorful Mod Podge Easter Eggs!
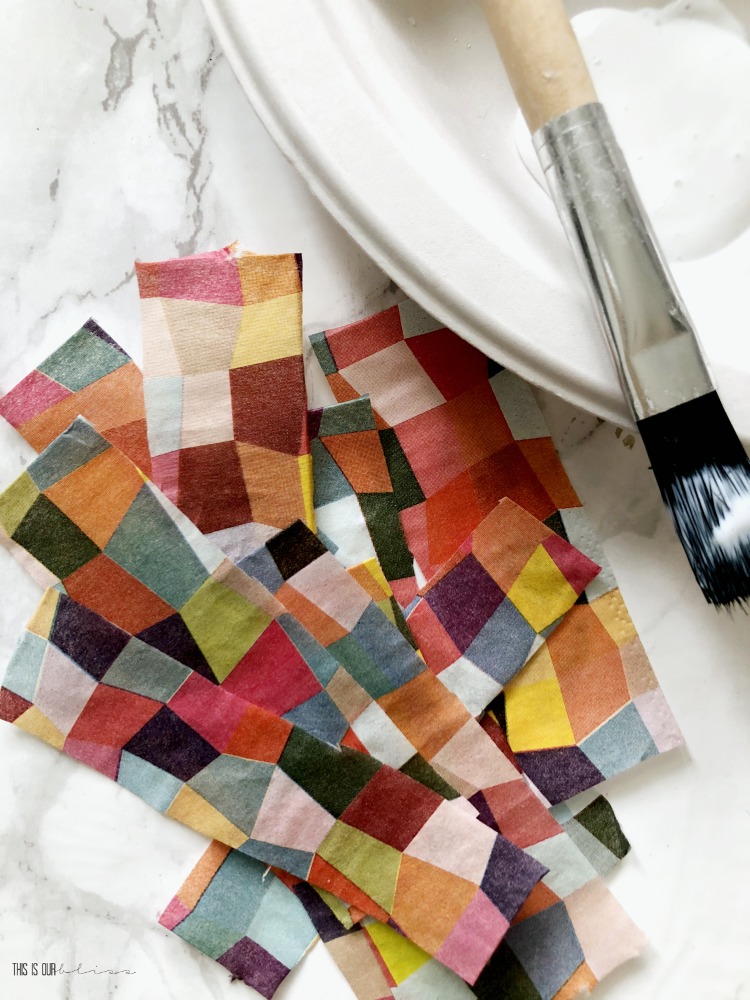
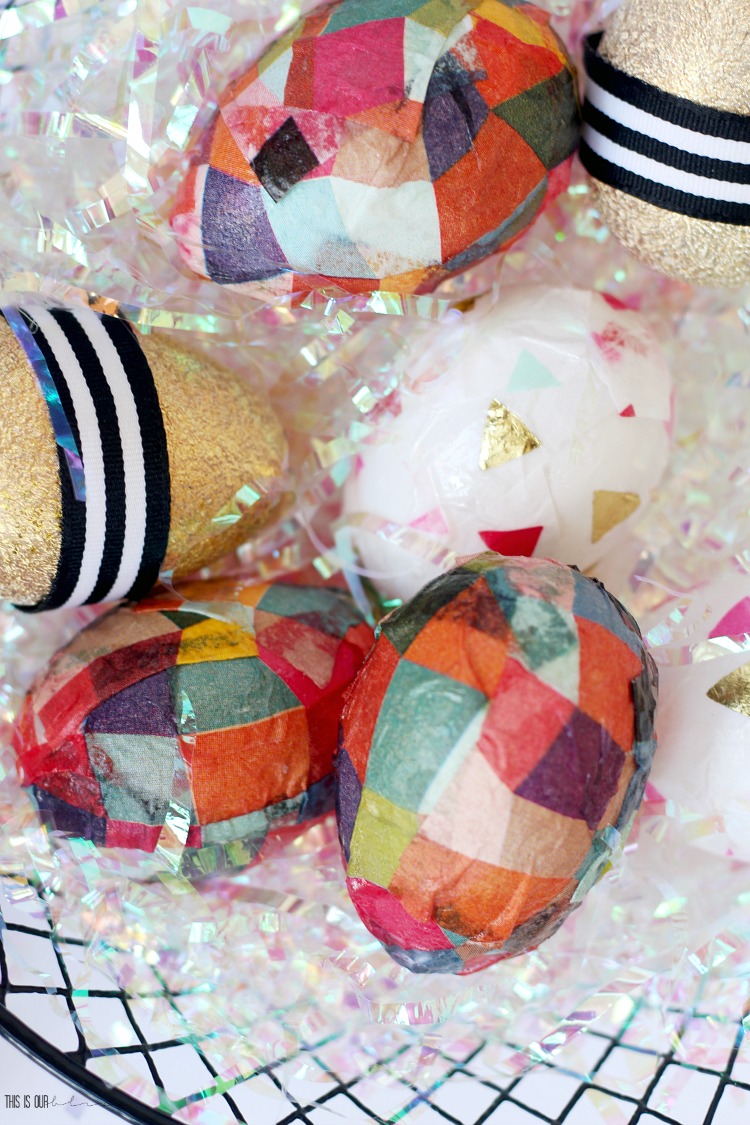
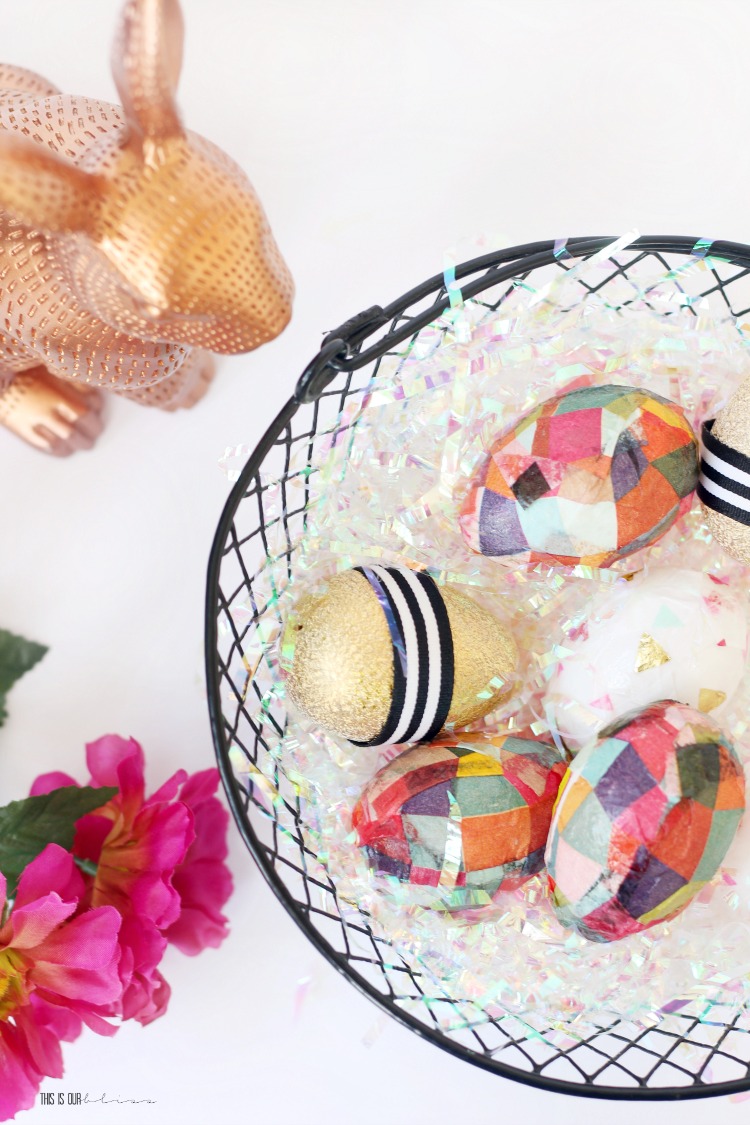
I first found these super fun mosaic napkins at Dollar Tree. I loved the colors in the design and thought they would make cute little eggs to sit in a basket on a table or shelf.
The technique is simple and you can even involve the kids!
Here is what I did:
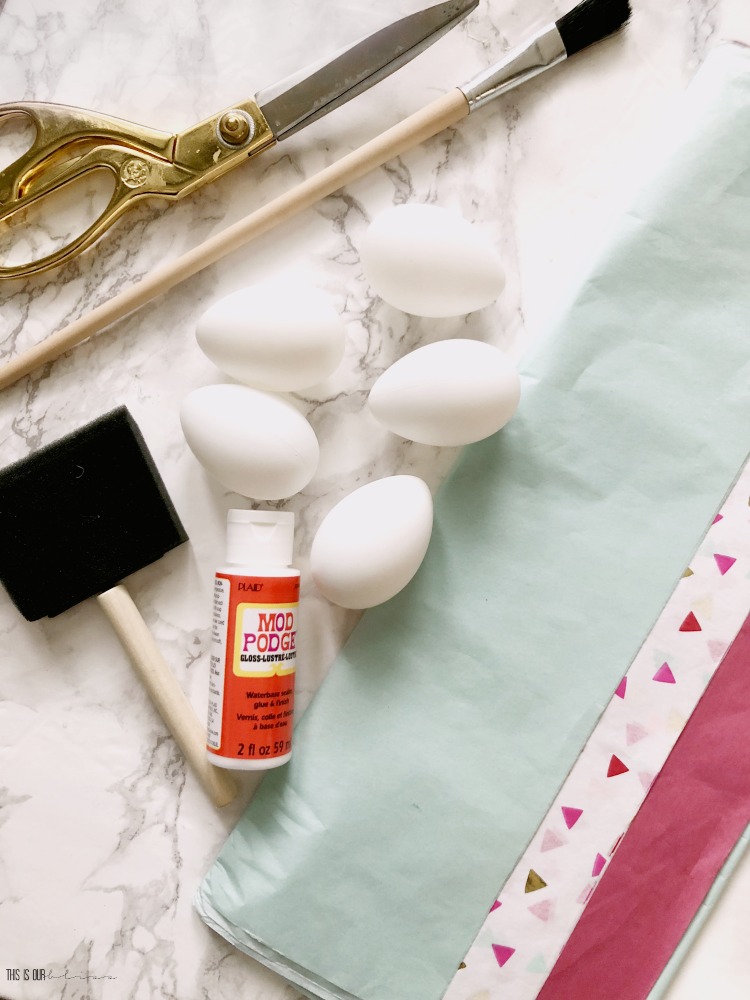
1 – Gather supplies.
tissue paper or paper napkins [I used both] I love this napkin option and although this pattern probably won’t work for the eggs, I think these napkins are DARLING for Spring!!
scissors
mod podge
small paint brush
craft eggs
2 – Cut strips of the tissue paper or napkin.
Some people use a fancy cutting method, but I just made small strips about 1/2″ wide and 2 1/2 – 3 inches long. This is where you could have the kids join in! Have them help you cut the strips of paper since they don’t need to be uniform with clean edges. The edges will overlap once they are mod podged to the egg.
3 – Apply a thin coat of mod podge about 1 inch wide on the egg from top to bottom.
Lay a strip down and press gently with finger to secure paper to the egg. Add another “stripe” of mod podge with your brush for the next piece of paper.
4 – Grab another piece of paper and place it on the egg, slightly overlapping the strip before.
You can add a coat of mod podge over top of the paper as you work your way around, and then I like to add a full coat once all the strips are laid.
5 – Work your way around the egg with the strips of paper.
When you’re working with the top and bottom of the egg [the points], you’ll have quite a bit of overlap of the paper. Smooth it with your finger and then apply the mod podge to keep it as flat or smooth and secure as you can.
This is where the not-so-perfect part of the egg comes into play! It’s not meant to be a masterpiece sitting on a stand under a spotlight, but rather a way to get your creative juices flowing! Crafting does just that!
6 – To finish the egg, once all the white space is covered, apply a thin top coat of mod podge.
I placed each egg in those handy little egg drying holders I used from the marble eggs and leopard eggs and waited 1-2 hours to allow the mod podge to dry.
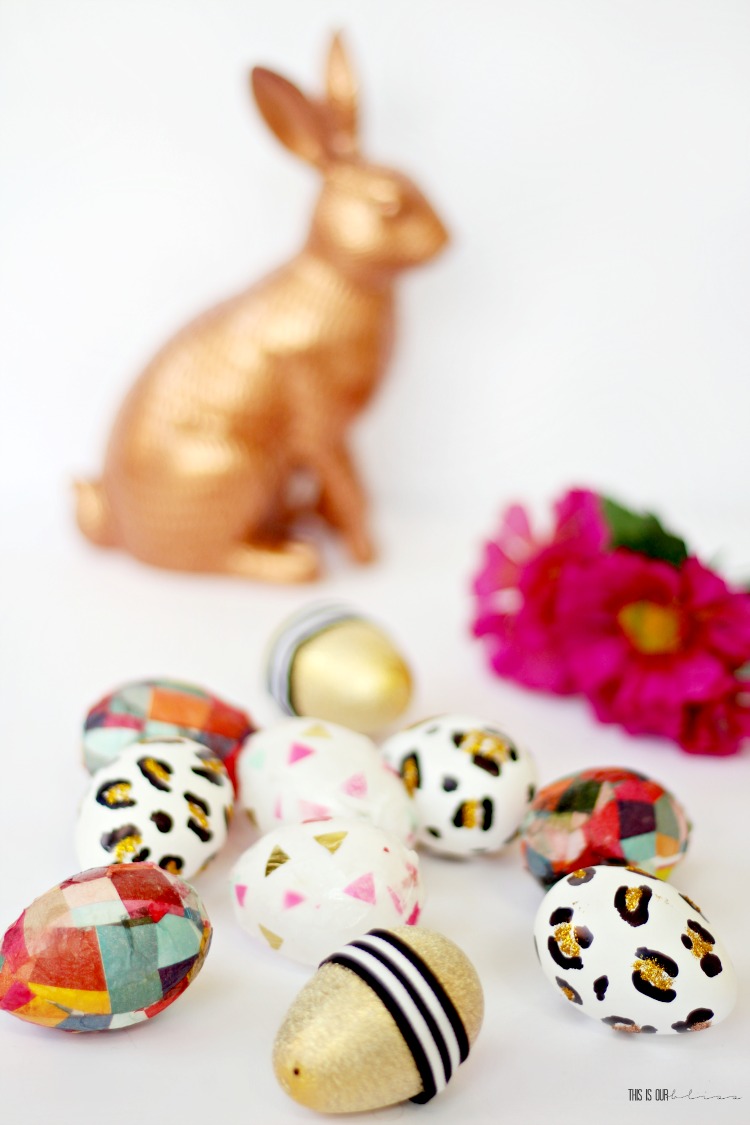
Then grab a basket and fill it up with your newly crafted bright and colorful mod podge Easter eggs!
This season was definitely the season of the eggs. I love diving into a small craft project, sometime on a whim when I feel the creativity bug biting. Even just 30 minutes does wonders for the soul 🙂
Crafting Easter eggs with or without the kids using any method – a traditional one or coming up with your own is a fun way to get in the Spring spirit. The Mod Podge Easter eggs method is a no-skill, fuss-free method — the best type!!
Have you done any Easter egg decorating yet? What methods have you tried?
In other news, we survived our first flight with 3 kids! Our “lap child” did amazingly well, sleeping 2.5 out of our 3.5 hour flight. I was worried about the littlest, knowing the big boys would be completely satisfied with iPads, coloring books and unlimited quantities of snacks.
Snacks solve all problems in the world of a 4 and 6 year old. I speak from experience.
So we are officially on Spring Break and loving everything that comes along with the sunshine in Arizona! I hope you are enjoying the start of the Spring season whether you’re traveling or staying local. If you want a small dose of of sunshine wherever you are, be sure to check out my Spring Break favorites.
These are so pretty! I love how easy they are to make, yet how cute they look. The patterns you’ve created are so beautiful and colorful. Thank you for sharing these tips, I’ll definitely try them out this Easter!


")


Katarina - Sukhirugs.com
March 25, 2019 at 10:43 AMThese are so pretty! I love how easy they are to make, yet how cute they look. The patterns you’ve created are so beautiful and colorful. Thank you for sharing these tips, I’ll definitely try them out this Easter!