Thanks for the love! The Shared Boys’ Bathroom Reveal is live and as promised. I’m back with the first of several follow-up posts. Today, I’m breaking down all of the vanity details – the paint, the knobs, the counter, the sinks & the faucets. We knew replacing our vanity was not necessary because it was custom fit between the two walls, but we did want to give it a fresh look. Today, I’m sharing How to Achieve a High-End Vanity Look with Paint & Hardware for under $50.

We did replace the yellowish counter top and old-school faucets in addition to a DIY makeover with paint. But if adding a new Quartz counter-top, new sink bowls and high-arc faucets are not in the budget, then I guarantee you can still achieve an updated, budget-friendly look with some paint and new hardware on the drawer fronts and cabinet doors.
I’ve done it several times!
One of the most asked questions from the updated bathroom has been related to the painted vanity.
What paint did you use on your vanity?
Did you paint the vanity yourself?
How did you decide to go with a bold black vanity?
How long did it take to paint the vanity?
I have very simple answers. I used my favorite furniture paint on the vanity and transformed it for a completely updated look. Since I knew I wanted a bold, masculine feel, black was the answer! And I painted during naptime and we replaced the knobs the next morning.
It really was a simple process and I’ve done it many times before. You can see a few of the painting projects below:
Painted Laundry Room Cabinets
Updated Guestroom Dresser
A Freshly Painted Entryway Table
DIY Geometric Dresser
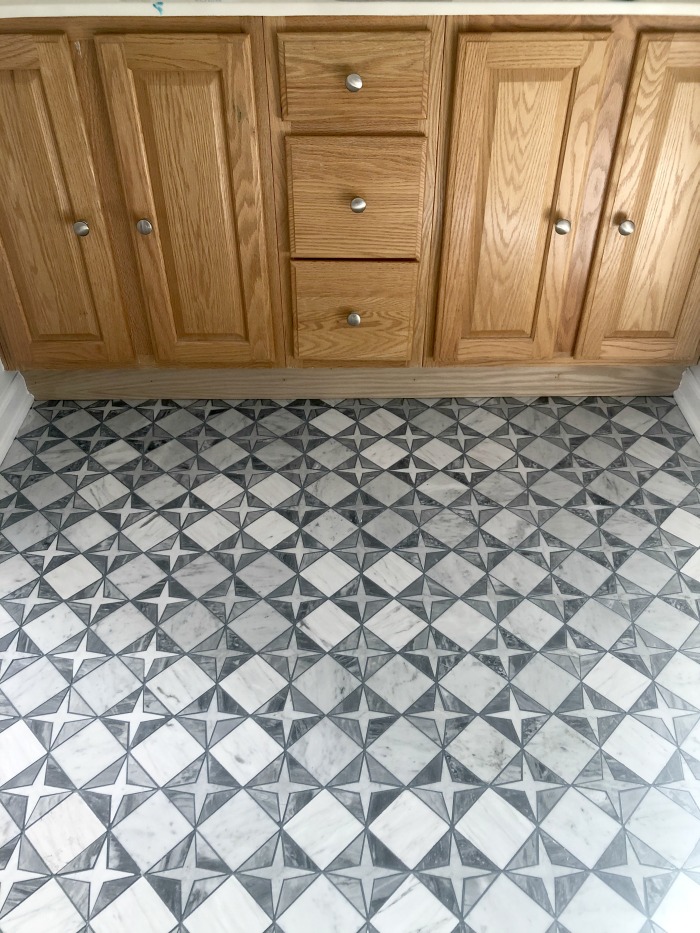
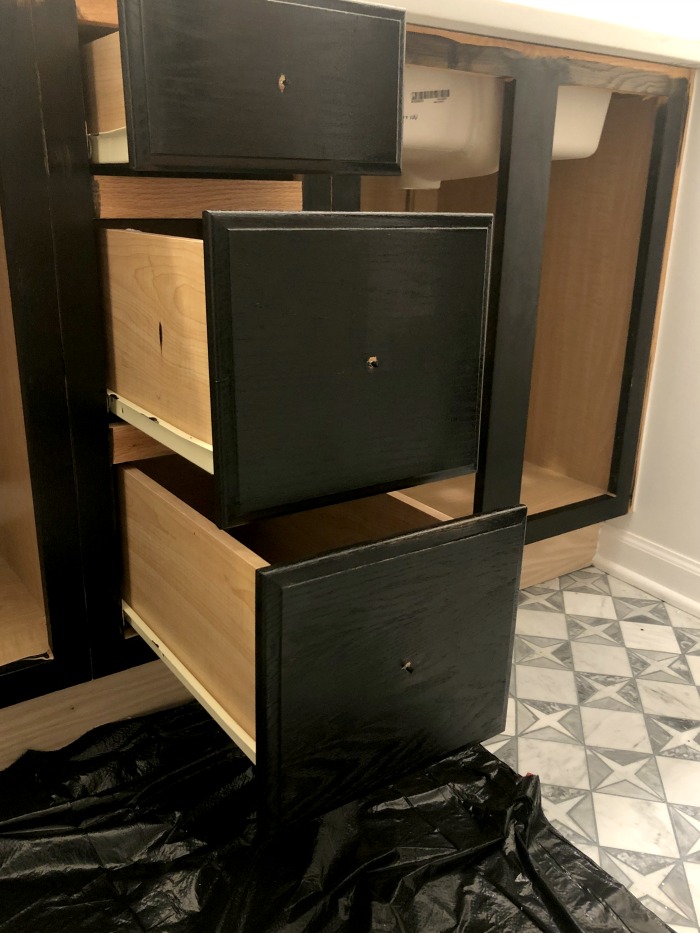
Here is what the vanity looked like before we painted it and replaced the hardware.
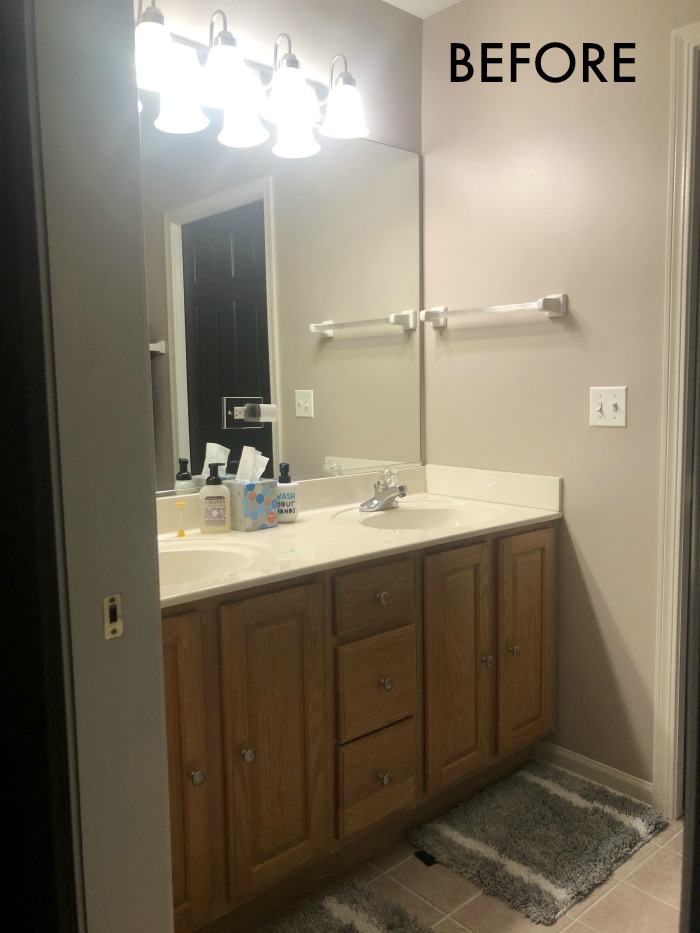
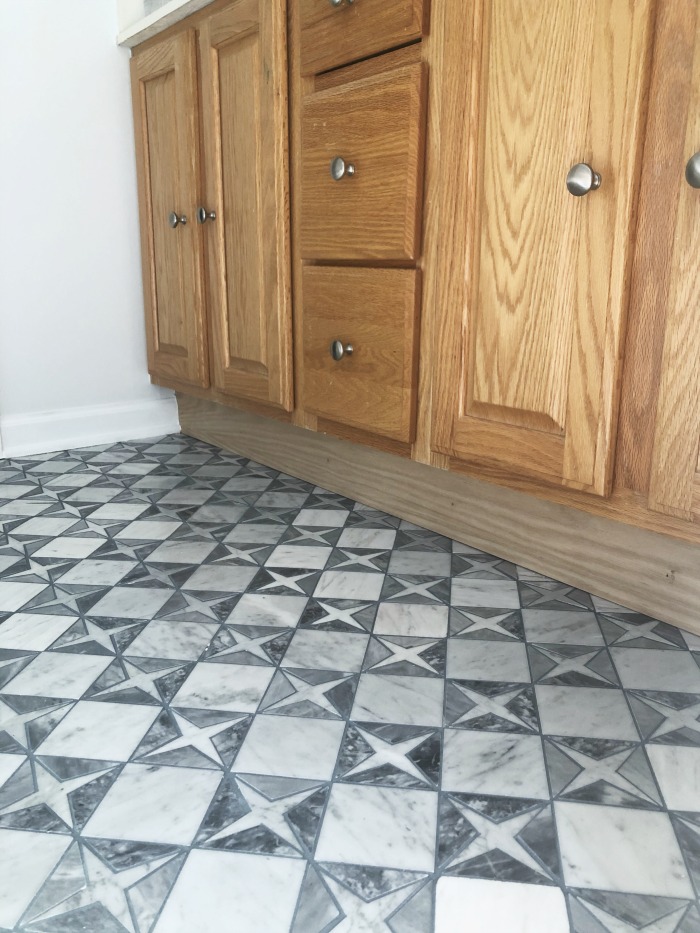
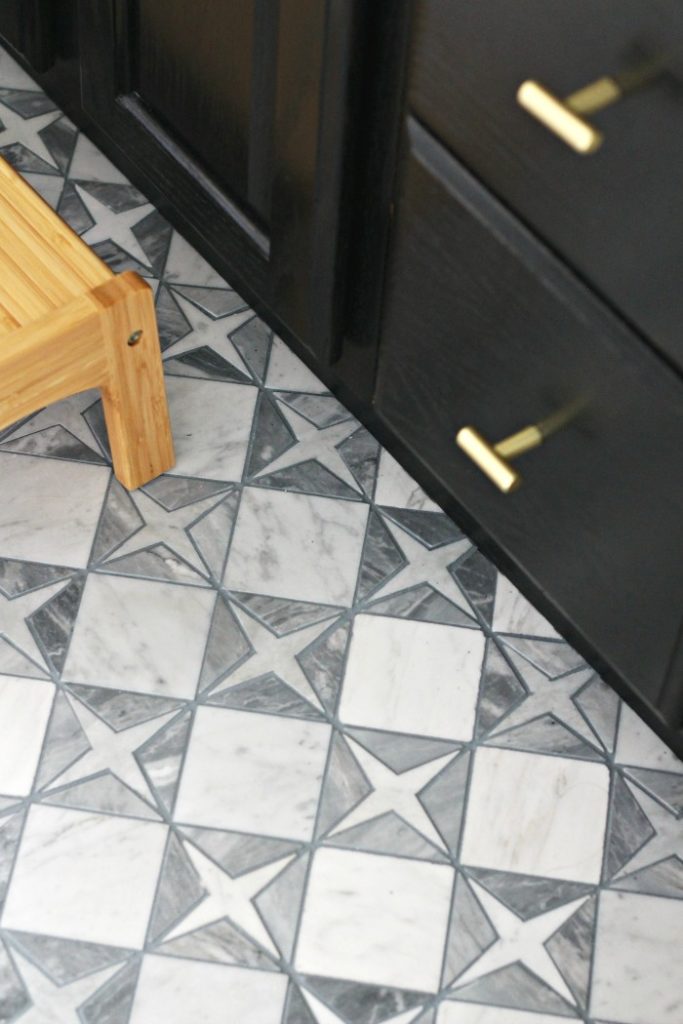
The one right above was a progress shot. I realized just how badly I wanted to paint the vanity black after the star mosaic floor tile was installed.
HOW TO ACHIEVE A HIGH-END VANITY LOOK WITH PAINT & NEW HARDWARE
VANITY PAINTING SUPPLIES:
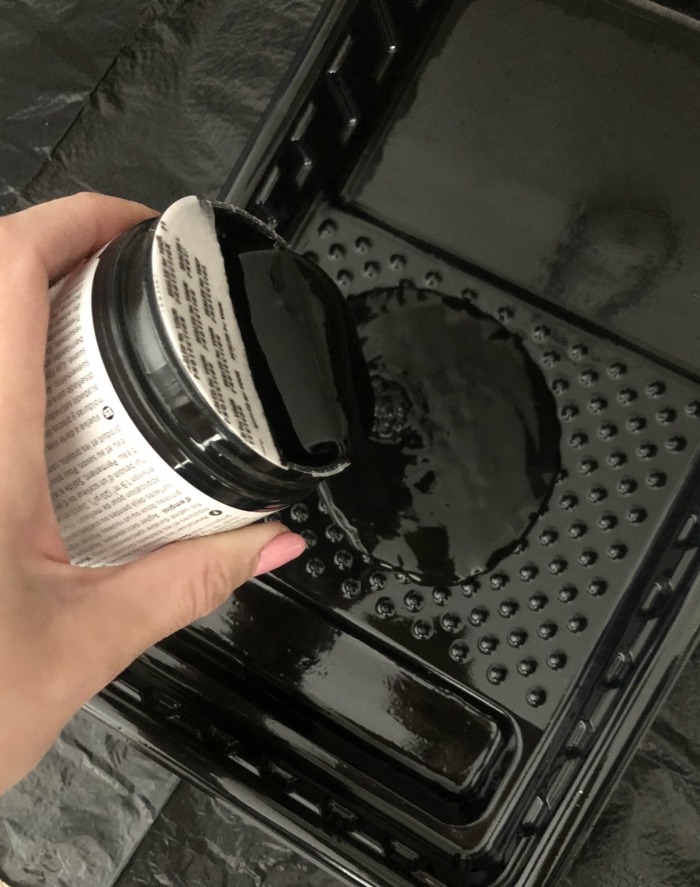
- DecoArt Americana Decor Satin Enamels paint in Classic Black [I used a little more than 1, 8 oz. jar]
- 4 inch foam roller
- small foam brush
- new knobs
- tarp
- drill or screwdriver
BASIC VANITY PAINTING INSTRUCTIONS:
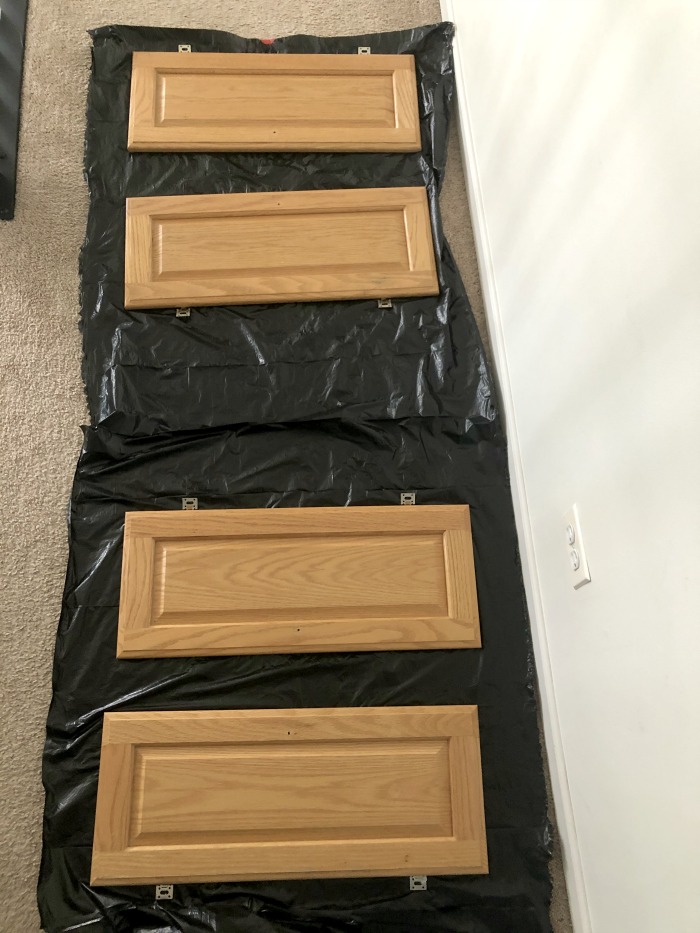
- Remove your cabinet doors and lay them out on your painting surface. I like to use garbage bags or an old sheet if I don’t have a tarp. Make sure to place your hinges and screws in a safe place. Lay the doors in order of how they are on the vanity front. You don’t want the doors to be lopsided because the hinges and holes don’t align properly.
- Wipe the doors down with damp cloth to gently remove any dirt or dust before you start painting.
- Roll first coat of paint on the front of each door and the sides. Let dry for an hour.
- Repeat 2 more times and let dry for an hour after each coat.
- After you’re confident the paint is dry, flip the doors over and put a coat of paint on the back and sides of the door. Repeat 2 more times and let dry.
- Once the back of the doors are dry, I flipped the doors over and took the foam brush to paint in any of the creases and indents of the door. You can also use the small foam brush to touch up the top, bottom and sides of the door.
- While you’re waiting for each coat to dry on the doors, take your foam roller and apply a coat of paint to the vanity base and drawer fronts. I alternated back and forth, putting a coat on each area while the other one dried.
- Once the paint has fully dried and cured [usually 12-24 hours] you can attach the doors back on the vanity base with the hinges and screws.
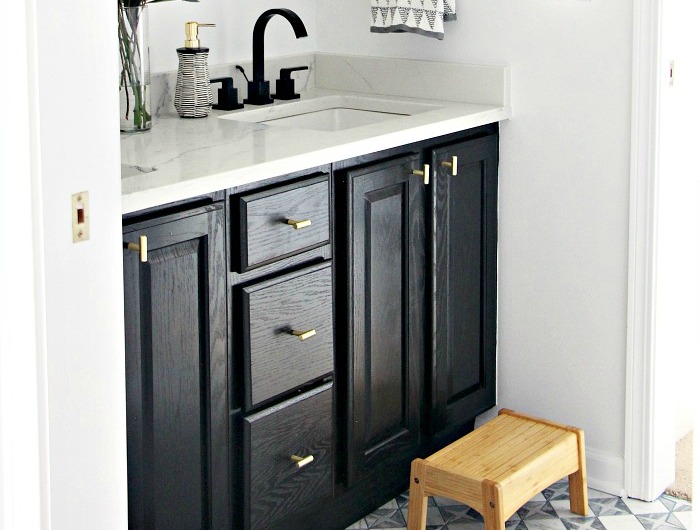
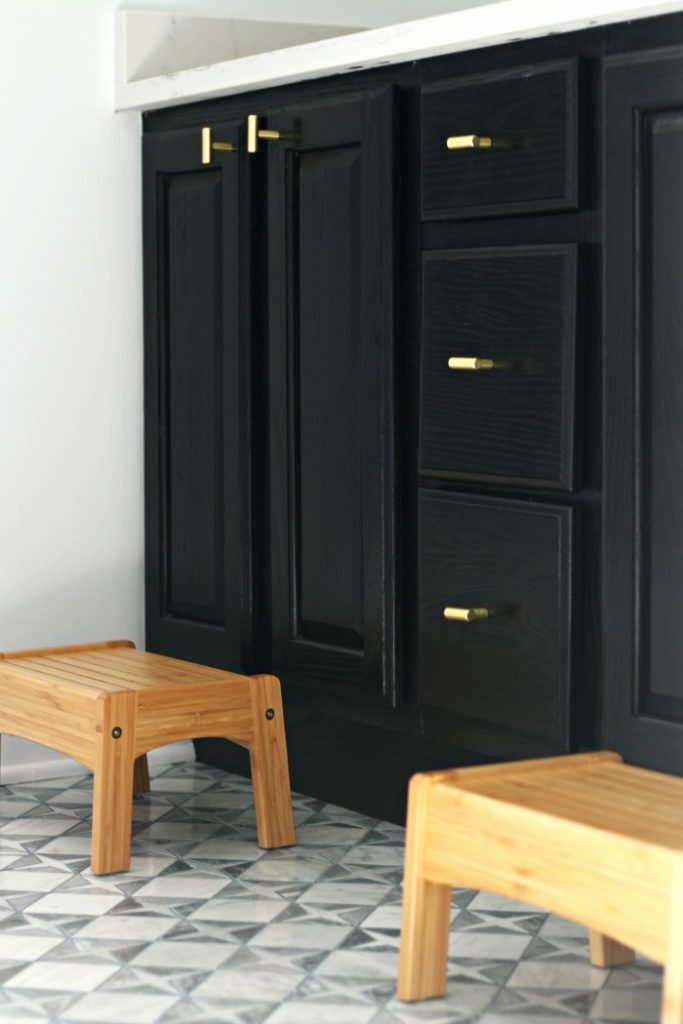
- Finally, replace your old knobs with the new by screwing them on. We used these brass knobs and absolutely love how they look!
- You are finished and can admire your work!
In just a day [or weekend!] your bathroom vanity is fresh and updated and you probably spent less than $50 to do it!
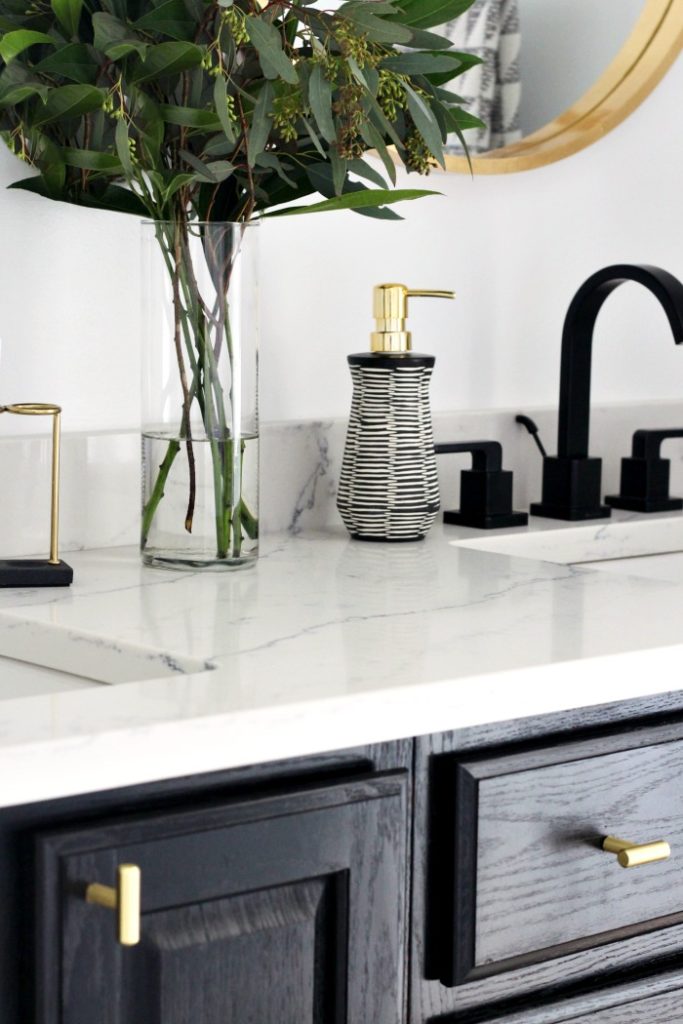
The paint is so affordable and I absolutely love everything about it! It goes on smoothly and dries quickly with great coverage.
I have’t had any issues with this paint to date! And the best part is, I haven’t had to do any prep or post-painting work! No sanding or sealing has been needed in my experience!
All woods and materials will be different and you’ll have to assess if any light sanding will be necessary given your particular vanity or piece of furniture.
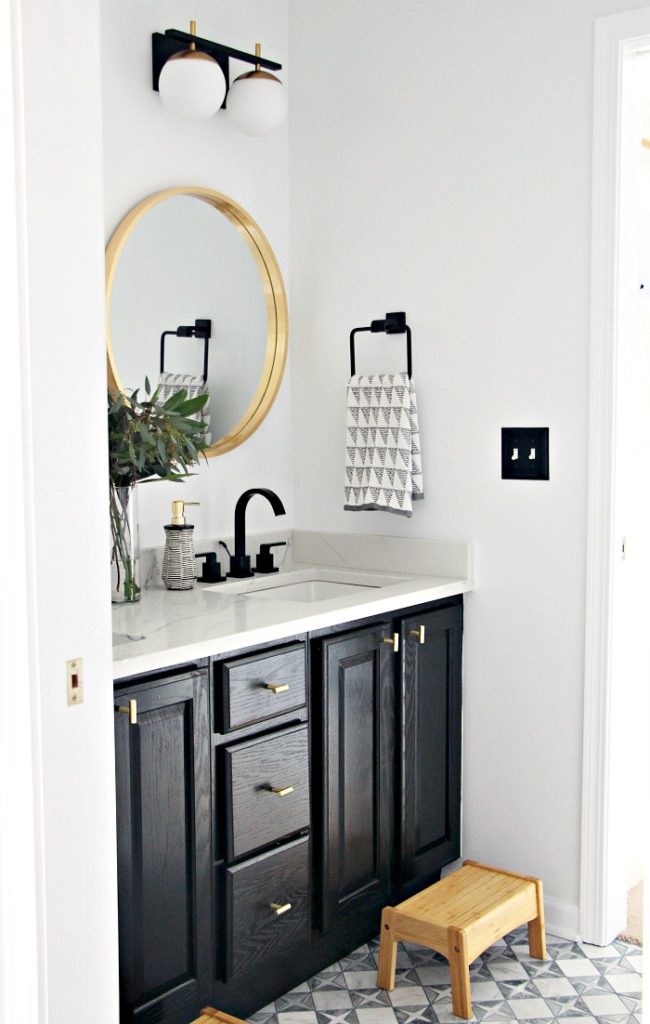
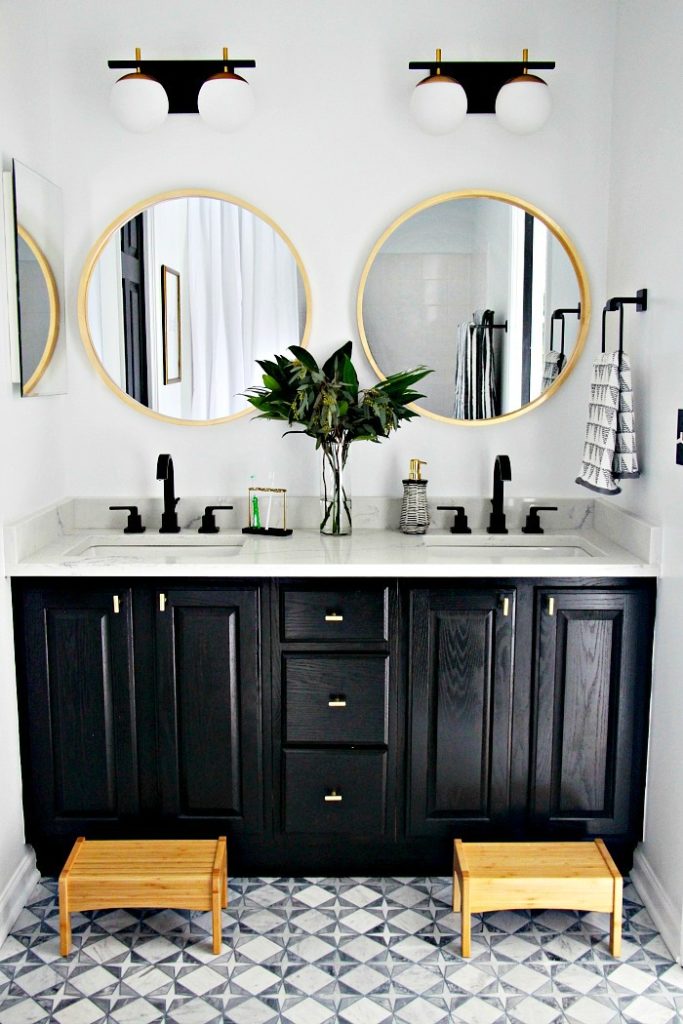
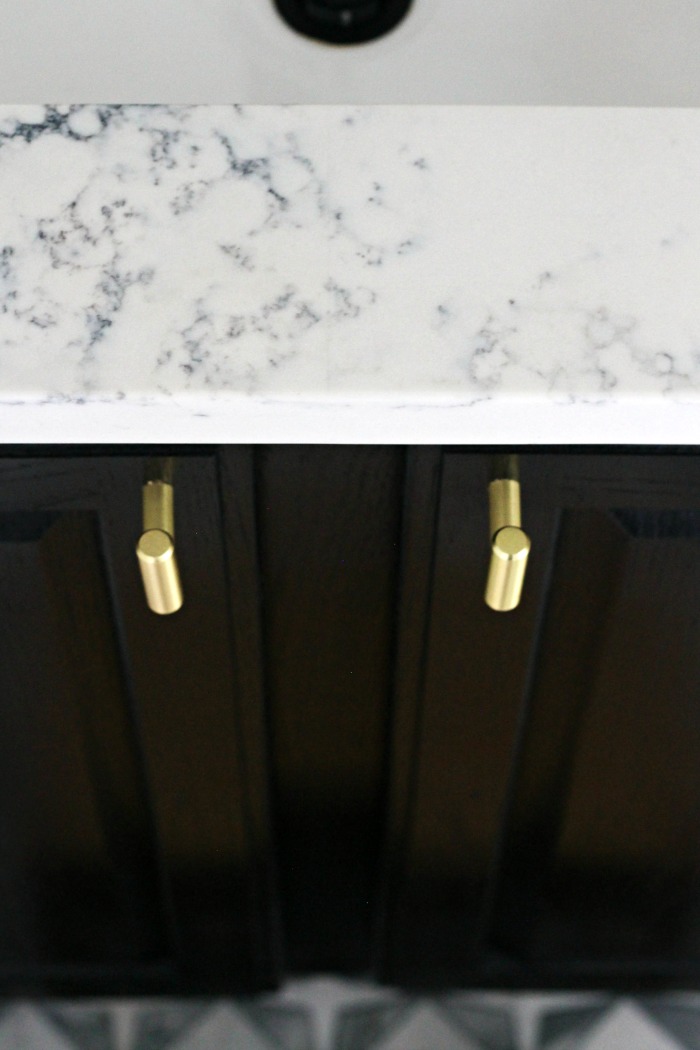
Our newly painted black vanity has a nice subtle sheen to it, without it being overly glossy. I think this gives it a very high-end look on a very small budget! The black is classic and bold, but I’ve also used the two shades of white and the two shades of gray and feel it equally updates an old vanity or piece of furniture.
Black was just my preference for this particular project. I wanted a dark and edgy vibe.
And since it’s a little boys’ vanity after all, fingers crossed the black helps hide all the grit and grime from their dirty little mits!!
The rest of the vanity details are below:
KNOBS
SINKS – I wanted to change from a round bowl to a rectangular bowl with clean, straight lines.
HIGH-ARC FAUCETS || such a beautiful faucet at a great price!
COUNTER-TOP || we picked out a remnant of Quartz from a local shop and they came to measure, cut sink and faucet holes and install for a flat price based on size. I had to provide the sinks to them at the shop ahead of time.
If you have any other vanity or bathroom-related questions, please don’t hesitate to leave me a note in the comments section of this post!
So I’m dying to know…what bathroom vanity are you tackling first?!
Did you have any idea you could achieve a high-end vanity look with paint and hardware for under $50?!
To see the rest of the posts in the Shared Boys’ Bathroom series of the New Year, New Room Refresh Challenge, click on any of the links below!
SHARED BOYS’ BATHROOM BEFORE PHOTOS + DESIGN + PLAN
BATHROOMS I’M PULLING INSPIRATION FROM
HOW TO MAKE A BIG IMPACT IN A SMALL BATHROOM WITH STATEMENT TILE
BOYS’ BATHROOM PROGRESS REPORT
NEUTRAL & MODERN SHARED BOYS’ BATHROOM REVEAL
BATHROOM VANITY DRAWER LINERS + STORAGE & ORGANIZATION
DIY WORD ART PRINTABLE
*I collaborated with DecoArt on this project and received free product, however, all thoughts and opinions are my own. Thank you for supporting the brands that help make This is our Bliss possible.


Get an Organized Bathroom Vanity in 5 Simple Steps | This is our Bliss
February 11, 2020 at 3:57 PM[…] the time! After committing to updating the boys’ bathroom, I knew I needed to not only tackle updating the exterior of the vanity, but also the inside of it. Today, I’m going to share How to Get an Organized Bathroom Vanity […]
Neutral & Modern Shared Boys' Bathroom Reveal | This is our Bliss
February 7, 2020 at 5:52 PM[…] We painted the vanity and added these gorgeous brass knobs. You can see the full detailed post I wrote on the black painted vanity and the rest of the vanity info here! […]